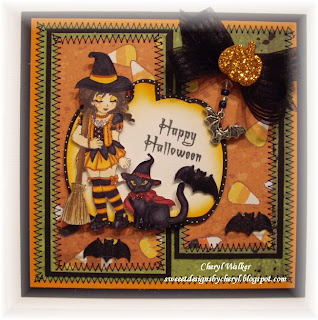
Designed for Scrapbookpal.com/Scrapbookpal's Blog
Hello everyone, todays card was designed using the Wal Decor and More Cartridge & matching Embossing folders for Scrapbookpal.com I LOVE this set!!! :)
Supplies I Used:
Cricut Expressions Machine(You could use any of the cricuts)
12x12 Mat
Wal Decor and More Cartridge
Wal Decor and More Cuttle Bug Cricut Companions(Matching embossing folders)
ATG700 Adhesive
Smooch(
Kiwi, and
Siren) ,
Colorbox Chalk(Olive Pastel)
Design Paper of your choice, and cardstock
Ribbon,pearls,sewing,flower!
Instructions on how I made my card:
Cardbase is Cream 6x12 folded in half to become a 6 x 6 card!
Cut your brown layer at 5 1/2 x 5 1/2
Cut the Cream design paper layer at 5x5 then emboss
Your scalloped circle is done with the spellbinders cut 1 in brown, and 1 in your choice of dp(design Paper)with the regular circle spellbinders then add sewing!!
Next is the Panel that is over the circle-
cut brown @ 4 1/4 x 3 3/4
then cut dp @ 4 x 3 1/2
Butterflies:
Large Butterfly is cut @ 2 1/4 in dp
Small butterfly is cut @ 1 1/4 inch
Then in Green @ 2 1/4 this is for the green backing
again,then in green again @ 1 1/4 inch for smaller butterfly
Next is the 1 1/4 inch butterfly
Now for Border
Cut green @ 1 inch
Cut Design Paper@ 1"inch
Now we are ready to put them together! First you need to glue together your Design Paper butterfly to the green cardstock butterfly. Do this with all of them!
Next you will take your Colorbox Chalk and distress the edges of the green(Only on the border)
Then I took the Smooch in Kiwi and added dots to the 2 butterflies just on the green cardstock. I then added siren dots to the dp! Its hard to see in the picture but in person it looks sooo pretty!!!
Lastly add your pearls to all butterflies!
Challenges:
SCS IC Challenge/Inspiration Challenge
I really enjoyed making these butterflies and will be making a ton more!!!
Thank you for looking and have a lovely day!!
Hugs,
Cheryl


.JPG)

.JPG)


.JPG)
.JPG)


.JPG)


.JPG)
.JPG)
.JPG)

.JPG)

.jpg)
.JPG)

.JPG)

.JPG)
