Showing posts with label Different Folds for Cards. Show all posts

Thursday, March 7, 2024

Happy Birthday Fun Fold Z card

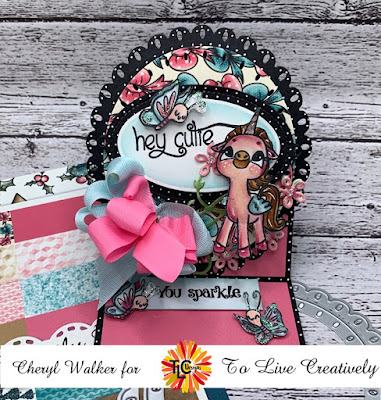
Hello crafty friends, and Happy Thursday to you all! Today I have a fun fold Birthday card to share that Ive created for KaDoodle Bug Designs Birthday Challenge on Facebook. If you would like to join you can find the link HERE!

So my card today I designed using 6" x 12" pink card stock and scored at 6" and then 9" and then fold the 6" valley, and 9" mountain fold. Next I cut another piece of pink card stock that measures 5" wide, and 6" tall. that will be the front of the card. Then decorate. I used the darling Unicorn from KaDoodle Bug Designs and added a different muzzle and different eyes from another SVG from KaDoodle Bug. I use the matching tag and then some beautiful Really Reasonable Ribbon satin, and Robins Nest Dew drops. Ooo don't forget the sewing, I just had to add that too. 


Wednesday, February 22, 2023

Fun fold Gift box/Gift card holder card

Hello crafty friends and Happy Wednesday to you all! today I have a fun project I designed for The Robins Nest Creative using dew drops. Also Made for Kadoodle Bug Designs using the darling Treat bear.

I will have a video on how I made this fun fold box and envelope to hold a gift card soon. I used several dew drops in yellow, pink, blue and purple. Love using these on my projects. I also used Echo park design paper, Really Reasonable Ribbon and a few dies. If you dont want to add a gift card you can always add a tag. 


The drawer can hold lots of kisses, or any other candy you like. I think these are super fun and perfect for giving gifts to friends, coworkers, and family. 


Thank you so much for stopping by and have a lovely day! Hugs to all,

Cheryl

YouTube 


Tuesday, February 21, 2023

Tri Fold Message card/Envelope video

Hello crafty friends and Happy Tuesday to you all! Today's post is a short one with Cards and envelopes that I designed for KaDoodle Bug Designs using the darling Chocolate Covered Strawberry Bear,a nd the Valentine Patch Bears. I do have a video on both, and how I made the card and matching envelopes. 

Chocolate Covered Strawberry Bear

Valentine Patch Bears

Ribbons used are Really Reasonable Ribon Gingham

 Tri Fold Card Tutorial and Craft with me(Decorating)

Hope you enjoyed my post for today, of course its a short one, but I have been busy with lots coming soon!

Hugs to all,

Cheryl

Tuesday, October 4, 2022

Hidden Message card & Video Tutorial


Hello everyone and Happy Tuesday to all! Today's fun fold card with Hidden Message was designed for TLC Designs using their darling stamps, dies, and design papers. Here is a link to my YouTube video I will post all information below.


Inside of my card and hidden message area. Love this as it gives you more room to write or even hide a message from others. You can always add a magnet. Then for the inside I used the stencil Celebrate Sweetly Stencil and I have a Video on this

  • card base measures 6" x 6" , cut a 6" x 12" and scored in half to make 6" x 6"
  • Next for Layer 1 on the front of card Black 5 3/4" x 5 3/4", Tan 5 1/2" x 5 1/2" , black polka dots 5 1/8 x 5 1/8 from Sincerely Yours design paper
  • secret message area- cut tan using largest die(see you in the center) please see video tutorial on this one.
  • cut black in the second largest size die
  • next cut the design paper and white in the smallest die from this set, (please see video)
  • lastly decorate using the darling forest Pals set, some ribbon, flowers, and the tiny vine.

Supplies Used: TLC Designs Forest Pals , Sincerely Yours Design paper , See you in the Center DieTiny Vine Oval DieCelebrate Sweetly Stencil 

Also used Ribbons from Really Reasonable Ribbon and Dew Drops from The Robins Nest Creative 


Thank you so much for stopping by and have a lovely day! Hugs!

Thursday, September 15, 2022

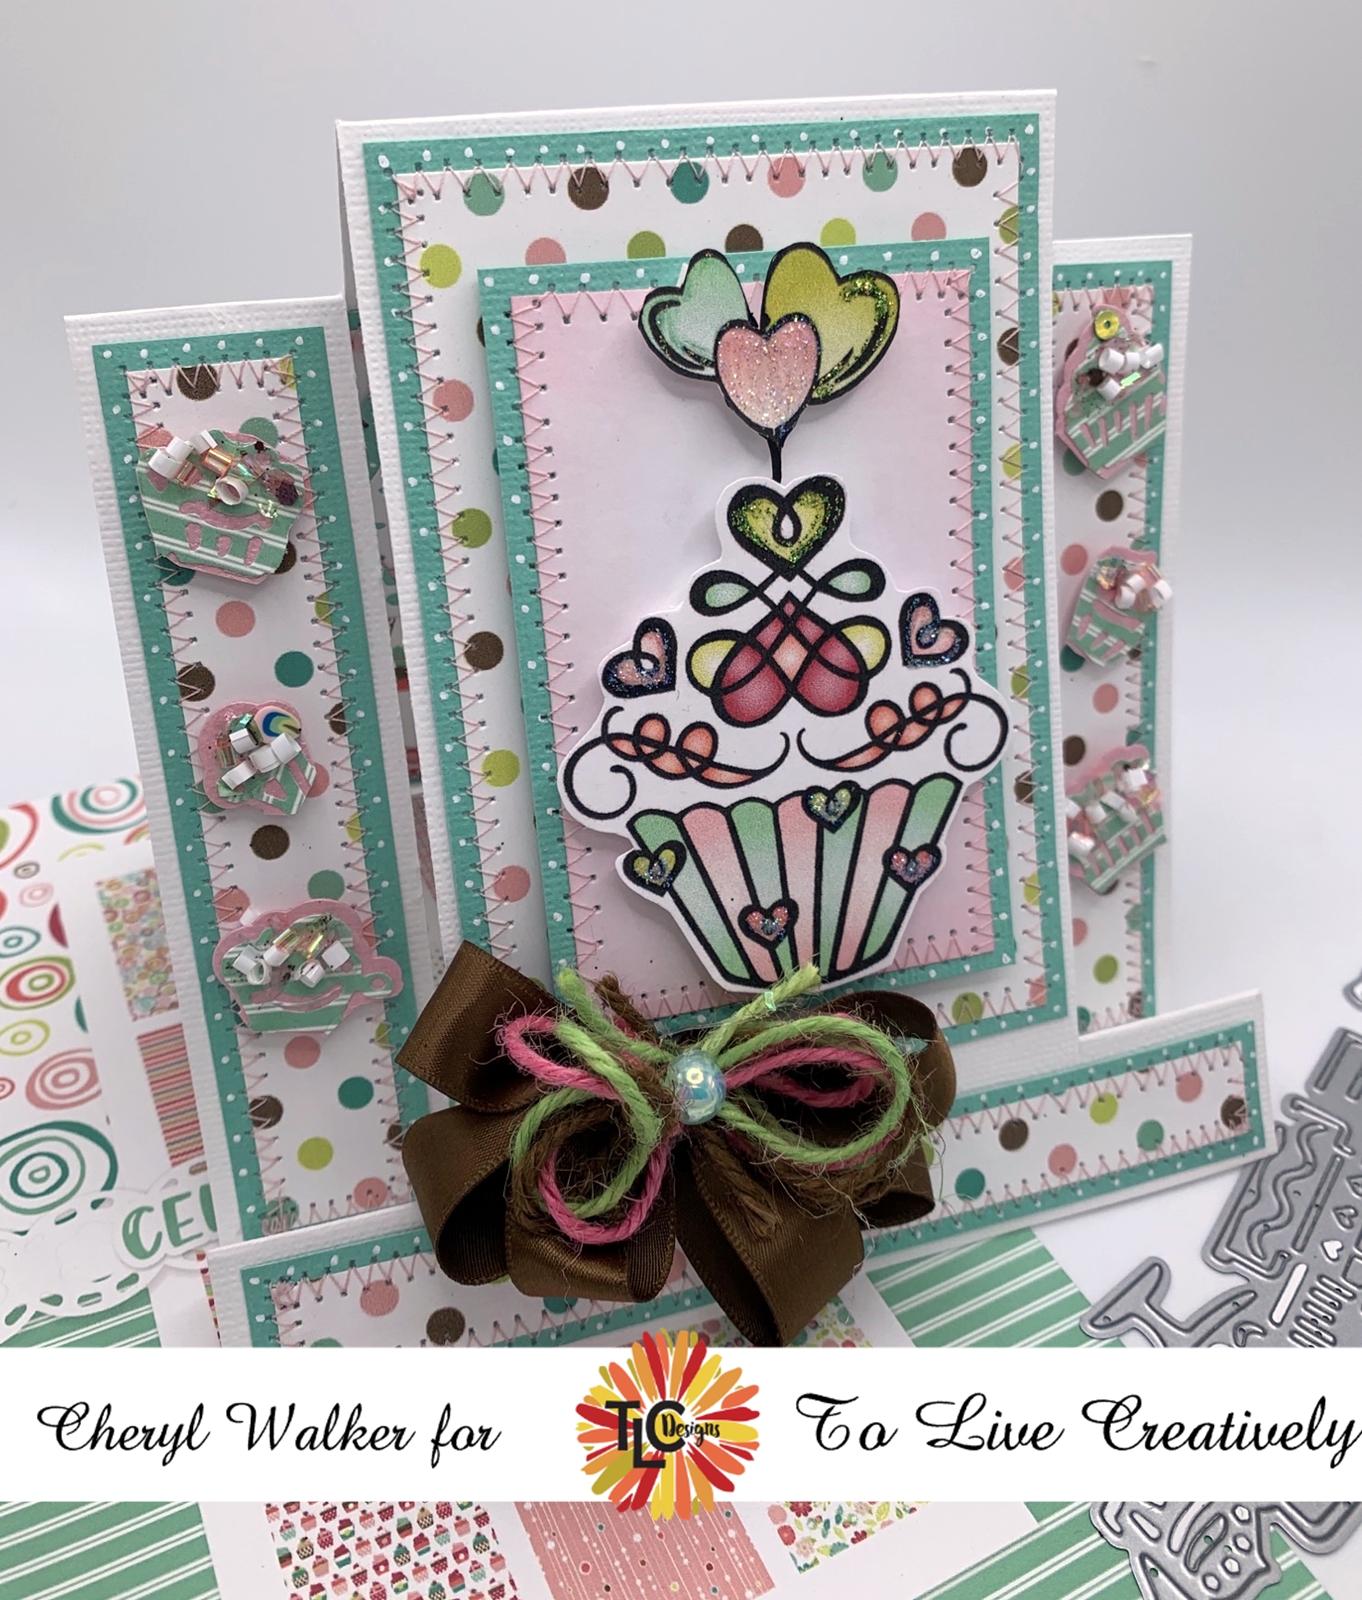
Celebrate Funky Fold card & video


 Hello everyone and happy Thursday to you all! Todays card was designed for TLC Designs Instagram Hop that has started today and will go through the week. Hope you will join us for some fun and inspiration. Link for hop here 

So for todays super fun hop we are using this absolutely darling Celebrate Suite, its the cutest ever, and you will fall in love with everything in this suite! I love the stamps, paper, ephemera pack, stencil, and dies, ooo even the darling sprinkle collection is so super cute. 

So for my card today I re-visted the funky fold cards as it was one of my favorite folds ever. I will show easy ways on how to do inside and decorate this fun card. Video can be found here .

Now on the inside of this one I did do a pocket, I dont show the pocket part but do show how to get the measurements and score and cut the pieces for the inside panel. Its an updated version and different measurements for inside. On this one here I did use the darling border die to create my pocket and layered it 3 times, love the look. I also used the border die to create my cupcakes on the front of my card.


TLC Designs supplies:
Celebrate Ephemera collection
Celebrate sprinkles
Celebrate twine


Thank you so much for stopping by and hope you liked my card for today! Also to view my videos you can see them all here


Wednesday, August 31, 2022

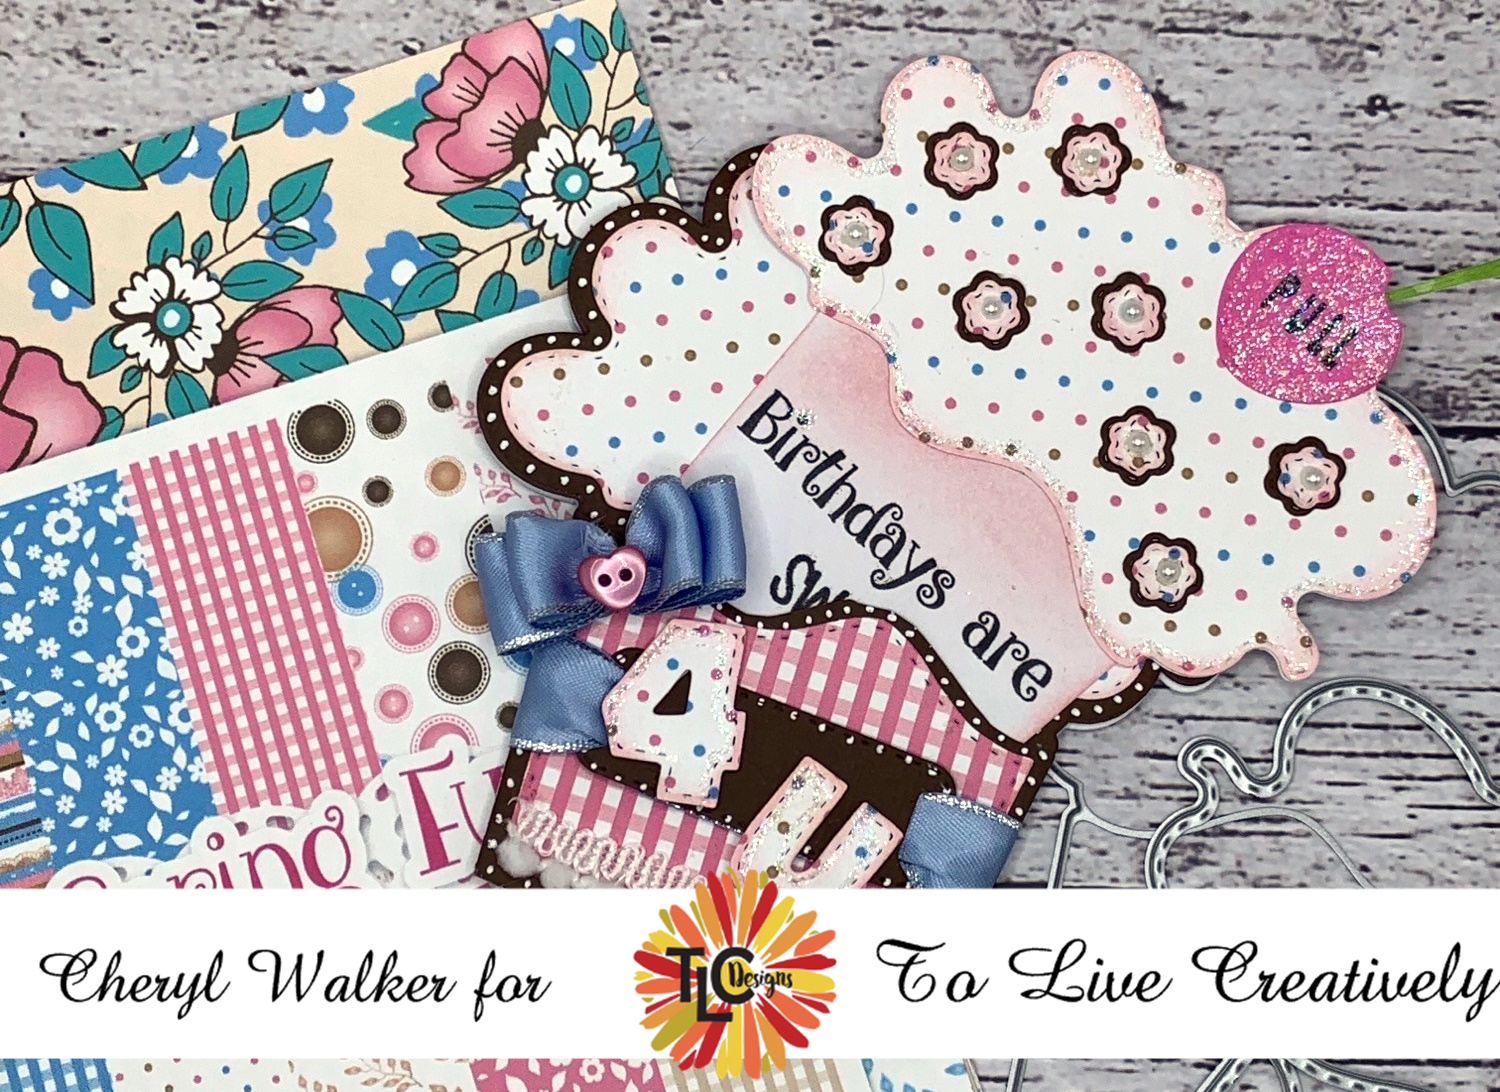
Sweet Cupcake Card w/tag and video

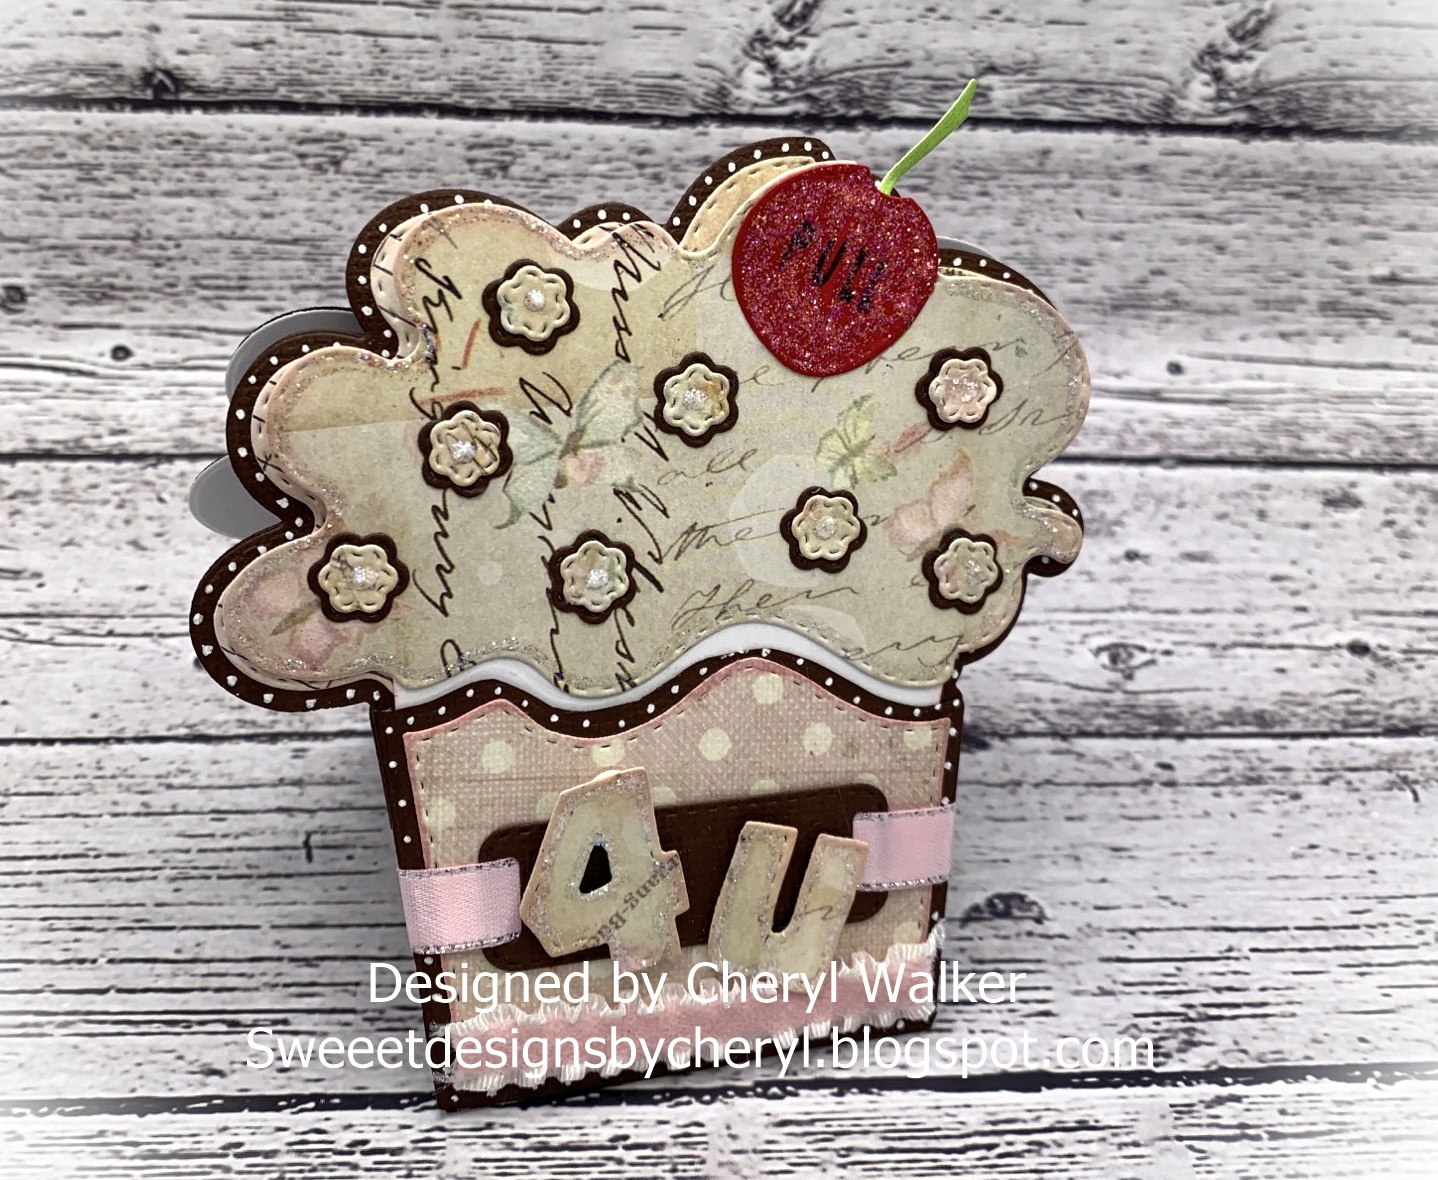
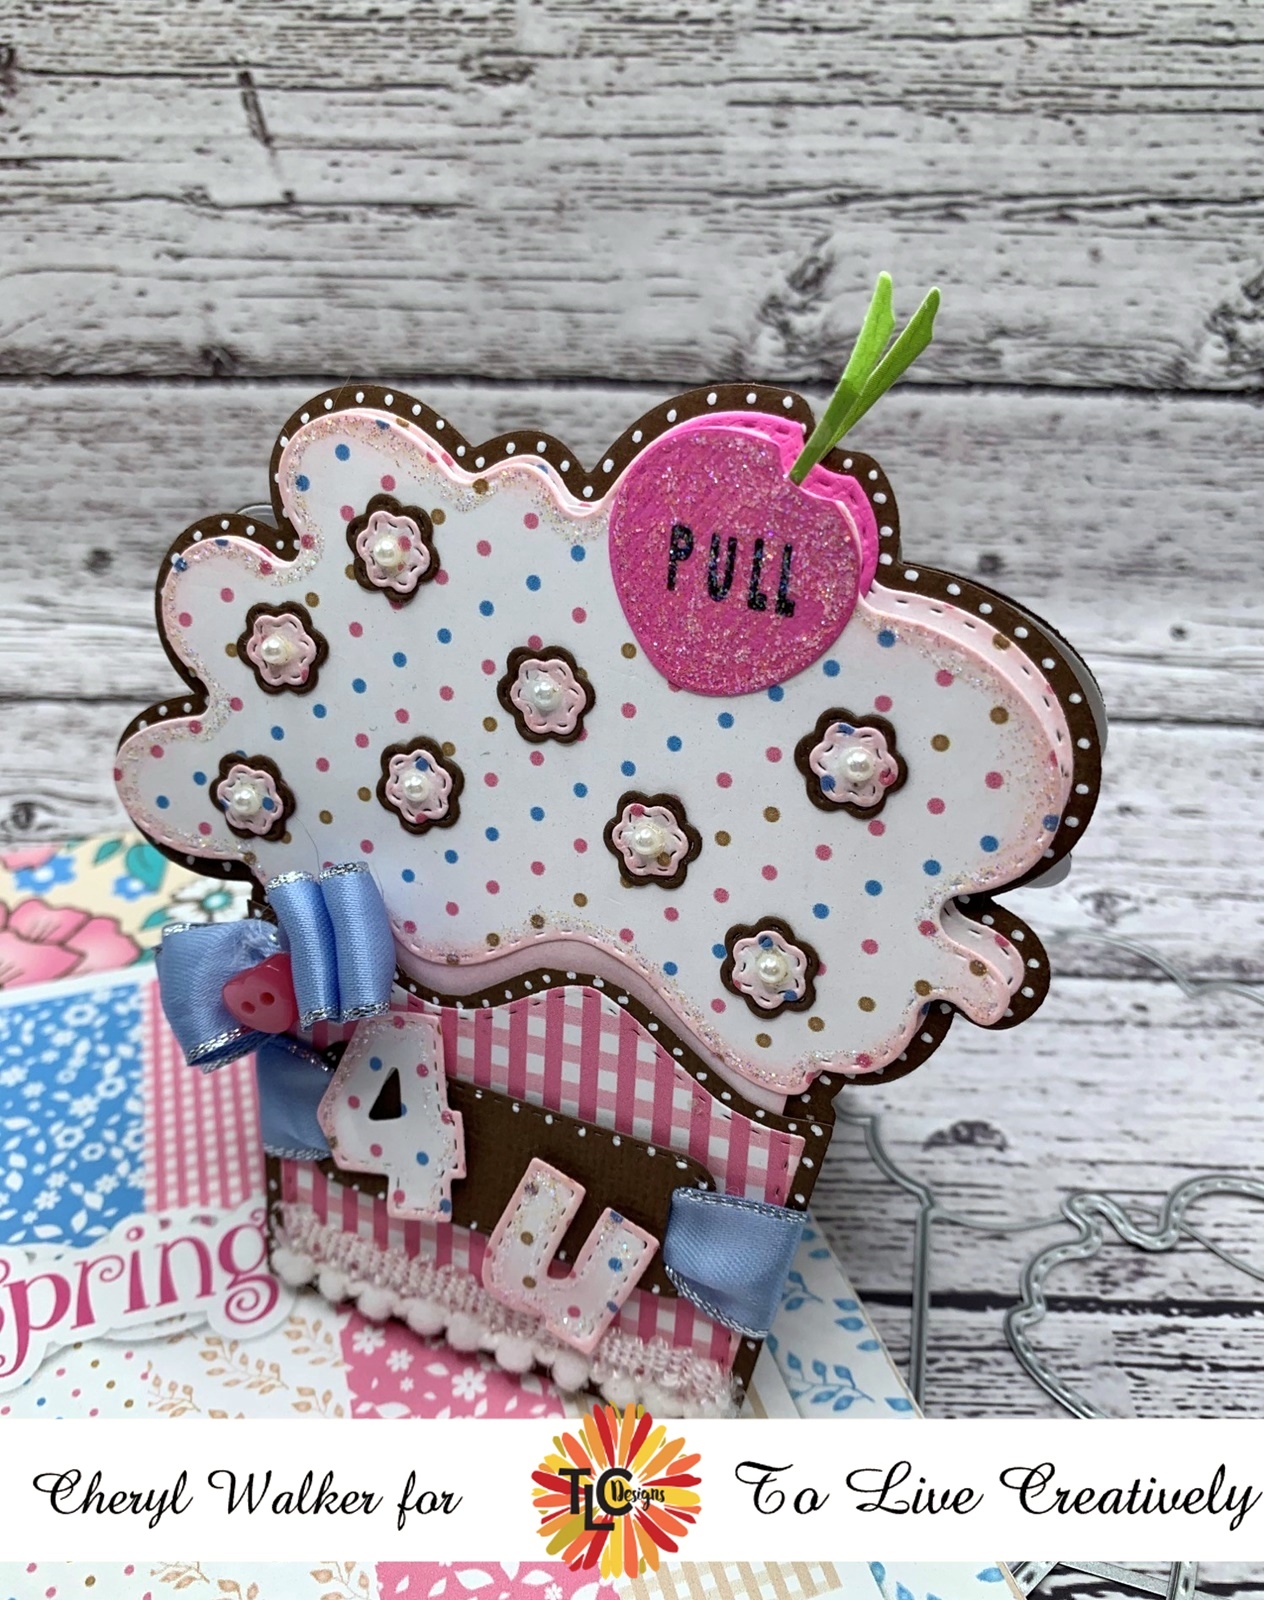
Hello crafty friends and happy Wednesday to you all! Today I have another cupcake card using the darling cupcake die from TLC Designs, using Cherry On Top Die. This is a pocket card I created using the cupcake die and also creating a tag out of it as well. I show how to do all this in my Video Tutorial, and you can see it here. I've also put the video below at the bottom to see as well.

  • For the cupcake card you will need card base cut at 4 1/2" x 10" fold in half you will be using the large cupcake die for this part and for a white inside piece for writing. Please see video for instructions on this part.
  • Card layer 1 cut card stock large cupcake, cut wrapper design paper, cute icing design paper, cut card stock using large die for bottom part this will be your pocket.
  • tag- cut cardstock using large cupcake this will be white (video shows how to cut this before adding icing), then cut 2 icings one for front and one for back, cut 2 cherries and 2 stems
  • decorate- I chose to use the darling little flowers and layered them and then added pearls to the centers. I did use stickles for adding accents and also my white paint pen. Lastly I added ribbon, and a little heart button embellishment.

VIDEO on how to make the cupcake card

Thank you so much for stopping by and have a lovely day!
Hugs to all,
Cheryl


Thursday, August 18, 2022

Mini Easel card

Hello crafty friends I have an extra post today to share. Today I'm sharing another Mini Easel card but this one is interactive.  The sweet little butterfly moves up and down, super cute! These darling stamps and dies are all from TLC Designs and are absolutely darling, and also super fun too!


I do have a video on how I made the card, and will have one later on how to do the interactive part. You can see my videos here on youtube 


TLC Designs


Video on Mini Easel card using dies

Thank you so much for stopping by and have a lovely day! 
Hugs to all
Cheryl


Tuesday, August 16, 2022

Sweet Alicorn Easel card & videos

Hello crafty friends and Happy Tuesday to you all! Todays sweet little Easel card was designed for TLC Designs using their darling Alicorn stamp set. Absolutely love this sweet set and cant wait to stamp up more of these. 


For my card I chose to use the Tiny Vines Oval die set from TLC , and the darling Snow Family Fun design paper pack. Love this! I absolutely love all the design papers in this set, as they are all so pretty and can be used for other than the holidays. I wanted to make a small easel card. This one is super small, it measures about 3 1/2" x 4 1/4" 


My sweet Alicorn was colored using copic markers and I do have a video here on it. I absolutely love this little darling she is so sweet. There are 3 different ones in this stamp set to choose from and all sorts of sentiments and little butterflies, stars, bugs and such. So much fun! 

TLC Designs supplies used:


Thank you so much for stopping by and have a lovely day!
Hugs to all,
Cheryl

Tuesday, August 2, 2022

TLC cupcake card w/pocket video

Hello crafty friends and happy Tuesday to you all! Today I have a fun project using the darling cupcake die from TLC Designs, using Cherry On Top Die. This is a pocket card I created using the cupcake die and also creating a tag out of it as well. I show how to do all this in my Video Tutorial, and you can see it here.

  • For the cupcake card you will need card base cut at 4 1/2" x 10" fold in half you will be using the large cupcake die for this part and for a white inside piece for writing. Please see video for instructions on this part.
  • Card layer 1 cut card stock large cupcake, cut wrapper design paper, cute icing design paper, cut card stock using large die for bottom part this will be your pocket.
  • tag- cut cardstock using large cupcake this will be white (video shows how to cut this before adding icing), then cut 2 icings one for front and one for back, cut 2 cherries and 2 stems
  • decorate- I chose to use the darling little flowers and layered them and then added pearls to the centers. I did use stickles for adding accents and also my white paint pen. Lastly I added ribbon, and a little heart button embellishment.


Video tutorial on cupcake card with pocket

Thank you so much for stopping by and have a lovely day!

Hugs to all, Cheryl

Thursday, September 13, 2018

Really Reasonable Ribbon September Blog Hop


Welcome to "Really Reasonable Ribbon's" September Blog Hop!


No automatic alt text available.

If you arrived here from Ginny's Blog you are on the right track. If not , you will want to head back to the Really Reasonable Ribbon Blog that way you don't miss out on any of the FABULOUS Designs from the Design Team today! There is going to be lots of Beautiful projects to see today using the Halloween Ribbon Assortment, so I hope you Enjoy!!!

Really Reasonable Ribbon Supplies :
Halloween Ribbon Assortment 3 ribbons used delicate stitched , checkered, and polka dot
pretty flori flowers

Other supplies
Graphic45 design paper
Sizzix card die
gel pen, black ink pen
glue gun for flowers

My card for today was created using a super fun die that I borrowed from a friend. I am loving this cared base, so I just had to use it again. I thought the Graphic45 Halloween design paper went perfectly with this months ribbon assortment, and love how they look together. Also used Really Reasonable Ribbon assorted flowers and leaves on my card as well, as I'm loving all the different flowers mixed together :) Lastly I did add in some stamens , you may see them, they are black.

Around my card layer I added white gel dots, and then on the design paper I added black dots, kinda takes the place of my sewing, as I didn't add any to this card. This one came together quickly, so I do like that :) 

 the little card I cut from the same design paper pack. Love this design paper!


Thank you for stopping by 
hope you all are enjoying today's hop, and hope you enjoyed my post as well! :)
Your NEXT stop for today's hop is Bonnie's Wonderful Blog!!!
Hugs to all,
Cheryl

Thursday, March 9, 2017

Cheery Lynn Step Card

 Hello everyone and Happy Thursday to all!
Today's card was created using the Beautiful Step Card Bundle set from Cheery Lynn! LOVE this die, its super fun and easy to use! I chose to use it with the flourishes it came with(BEAUTIFUL) and the Shasta Daisy Strip die. I added layers using card stock and design paper & of course a little sewing.

The Shasta Daisy's were cut using a pink design paper, and then dusted with 2 different red inks. I added some vintage pearl type things to the centers of each flower.

The Flourishes were cut using a green design paper, and love the way they look.

For my sentiment layer I chose to use Cheery Lynns Pierced Stacker XL20 #2 its one of my many fav's. I cut it out in red card stock, and added some white gel dots to it. Next I cut out an M7  Oval Classic , and airbrushed it using yellow copic and keeping the die over the top as a template. I then stamped my verse in black ink.

Cheery Lynn Dies Used:
Pierced Stacker XL20 #2
M7 Oval Classic
B587 Step Card Bundle
B310 Shasta Daisy

Satin Ribbon is from Really Reasonable Ribbon

Stamp set is from Our Daily Bread

Challenge:
Our Daily Bread anything goes challenge

Thank you for stopping by and have a lovely day!
hugs to all,
Cheryl

Friday, February 10, 2017

All 9 Lives/Tri Shutter Fold

 Hello everyone, and Happy Friday to all!! Today I have another fun Tri Shutter fold (Video Here)card that I designed for The Project Bin  using the DARLING new release called "Feline Good" , I LOVE this darling stamp & die set, its so sweet!
 I absolutely LOVE making this fold, its super fun and super easy to create. On this card here I chose to use American crafts design paper, The Project Bin stamps & coordinating dies, Cheery Lynn dies, and Really Reasonable Ribbon ,embellishments, and flowers.
 My kitty was stamped on the coordinating design paper, and then cut out using the matching die. I stamped my sentiment on the design paper using club scraps black ink.

Flowers are from Really Reasonable Ribbon and the branches are from Martha Stewarts punch. The little gems I used to embellish are from a green gem pack.

Challenges:
As you like it challenge/Ribbon or Lace? I choose ribbons, as it makes for easy bows!
Creative Knockouts/Flower Power
Simon Says challenge/Cute
Scrappy Land challenge/Anything goes

I hope you enjoyed my card for today!!! Thank you so much for looking and have a super awesome weekend!

VIDEO tutorial can be found here!
Hugs to all,
Cheryl

Thursday, February 9, 2017

Club Scrap Fancy Fold Challenge & Video Tutorial

 
Hello everyone,
Todays card  & Scrapbook layout were created for Club Scraps Technique Challenge "Fancy Folds"for cards and layouts, that I'm hosting right now on the Club Scrap Blog. I do have 2 video tutorials that you can view. 1 is on the Tri-Shutter Fold card, and can be found here on yesterdays post. The other is at the bottom of this post.
I absolutely LOVE LOVE LOVE this months club kit, its called Succulents and its absolutely Gorgeous! I used the design paper, and stamps on my card. All dies used are from Cheery Lynn Designs. Ribbon and pearls are Really Reasonable Ribbon.
 
OMGOSH this design paper on my layout is absolutely Gorgeous, and I did not wan to cover it up. I LOVE it! In my video you will see how I created the folds for photo's on this. Flowers were designed using Cheery Lynn Sweet William Strip die . The card stock on my layout, is a deep wine, and I love it too. I also used the cut a-parts for this as well.
 
All the photos below show the different tri folds opening on this page. I wanted to do some fun fold on the page, for those who do not make cards. Hope you like this! My video shows how I did the folds on this :)

If you would like to do a different fold like the waterfall, please visit Kay's post here on Club Scrap for that fun fold!


Succulents Deluxe Kit for the design papers, Card stock, Cut a-parts.
 Video on layout below.


Thank you for stopping by, hope you have a lovely day!!
Hugs to all,
Cheryl