Showing posts with label Treat Bags. Show all posts

Wednesday, October 25, 2023

Halloween shaker topper treat bag


Hello everyone, and Happy Wednesday to you all! todays Shaker treat bag was designed for The Robins Nest Creative , Really Reasonable Ribbon and KaDoodle Bug Designs. 

For the treat bag I chose to use a shaker topper, that I decorated using Really Reasonable Ribbons Satin ribbon, Foam tabs, and some Scor-tape to adhere everything. I also used some of the bold checked ribbon for my smaller bow.

For my SVG file I chose to use KaDoodle Bug Designs sweet Cutie KaToodles Devil Pumpkin Bear that I did up. I added some tags, lots of dew drops from the Robins Nest, and some shaker pieces too. Super fun!

All details on my bag can be found Here on the Robins Nest Creative Blog .


Thank you so very much and have a lovely day!

Hugs to all, Cheryl

Wednesday, January 25, 2023

Knightly Kisses Treat bag

Hello everyone and happy Wednesday to you all! Today I have this darling Knightly Kisses Dragon treat bag I decorated for The Robins Nest Creative. Isn't he darling?

To Start

To start with I bought some of these bags from American crafts years ago in different colors, and they always work perfect for treat giving for different holidays. For my layering I used 3 different dies to cut out the brown, white heart, and then doily. I then used one of my SVG files from Kadoodle Bug Designs that I had already made up from last year and layered them all up on the front. Next I punched out the border with the hearts, and glued it on, and then glued on the ric rac to the top and added some bows. The little darling dragon is called Knightly Kisses. The ribbon I used is from Really Reasonable Ribbon and is a white satin. 

Decorating Valentines Treat Bag using Dew drops

I started with using the red dew drops by adding them to the border on the bottom of my treat bag, and glued them on using some art glitter glue. For the Dragon, I try to keep some of these made up and in a book so I can use when needed. I decided to use some pink dew drops on his toes, and then clear ones on the doily behind him. Next I chose to add some red dew drops to the white bows at the top, and glued them on usind hot glue, love how they look. Love using these for different projects and gifts, so much fun. Its nice to be able to make some quick and easy treats for the holidays.


 Thank you so much for stopping by and I hope you enjoyed my post for today!

hugs to all, Cheryl

Tuesday, December 13, 2022

Christmas Poinsettia Treat Holder


 Hello crafty friends and Happy Tuesday to you all! Today I'm sharing this Andes Treat holder I designed using the TLC Butterfly Rectangle Die set, Peppermint Design paper and Delicate Poinsettia Stamp set. 

To start with I took the largest die out of the Butterfly Rectangle Dies and cut it in a green card stock. Next I scored it at 3" and then 3 1/4" press your folds so the small part comes up like in photo above. Next I just used the second largest die and cut a piece or portion of that using the die, so I did not cut out the entire die. I then glued my design paper to the front, easy peasy!  

Next I wanted to cut out the oval from the Loving petals square, this is what helps hold the bottom in place once treats are inside. So I cut out a pink card stock and then used the smaller oval for a white. I stamped my sentiment on the white and then distressed using green ink. I did put these ovals together and then used a punch with 2 holes to tie my ribbon through to hold in place at the top. Now is time to add poinsettia and bow. super fun and easy treat holder for the holidays!

supplies used:


Thank you so much for stopping by and have a lovely day! Hugs to all, Cheryl

Wednesday, November 9, 2022

Nash's Hot Cocoa Gift Pocket

Hello crafty friends and happy Wednesday to you all! Today's post is a sweet Hot Cocoa Gift Pocket I made for Really Reasonable Ribbon, The Robins Nest Creative & Kadoodle Bug Designs. Love making these fun little pockets, as you can add treats, or whatever you choose, super fun!

For my pocket I chose to use a large die, and cut it 2 times in craft card stock, then also cut my design papers too. Now to create the pocket you will cut one of the 2 in half for the bottom of it. I just glued on my design papers to both pieces and then glued the edges of the bottom piece so it forms a pocket to hold the hot cocoa and peppermint chocolate stick. I did add a border and the beautiful christmas ribbon from RRR. I ran it across the border and the cup. This ribbon was from Octobers Ribbon club. Cardinals & Ornaments Satin  , then used the green plaid Ribbon to create my bows. I used the Robins Nest dew drops on my doily, cup, Nash's Hat, and the candy cane. Love using these to embellish.

Really Reasonable Ribbon Scor-Tape 1/4" For adding ribbon and border.

Thank you so much for stopping by and have a lovely day!
hugs to all,
Cheryl


Monday, October 24, 2022

KBD Moon Witch Salem Treat Holder

Hello crafty friends and Happy Monday to you all! Today I'm sharing this darling Moon Witch Salem from Kadoodlebug Designs, isn't he just the cutest!? I used him for another treat holder, this one is for my granddaughter for Halloween.


Making the treat holder

  • to start with I cut a piece heavy card stock measuring 4" x 8 1/4"
  • Next I score at 3/4" , 4 1/2" , and then 4 3/4" , now fold the 3/4" up and staple. also fold at the others so it closes like a matchbook.
  • I cut the design paper for the front at 3 1/2" high x 3 3/4" wide, and glued to the top flap. If you are wanting to you can add a message or more design paper to inside, would do this now.

adding the candy to inside

Outside

Thank you for stopping by and have a lovely day!

Hugs to all, Cheryl
 

Sunday, October 23, 2022

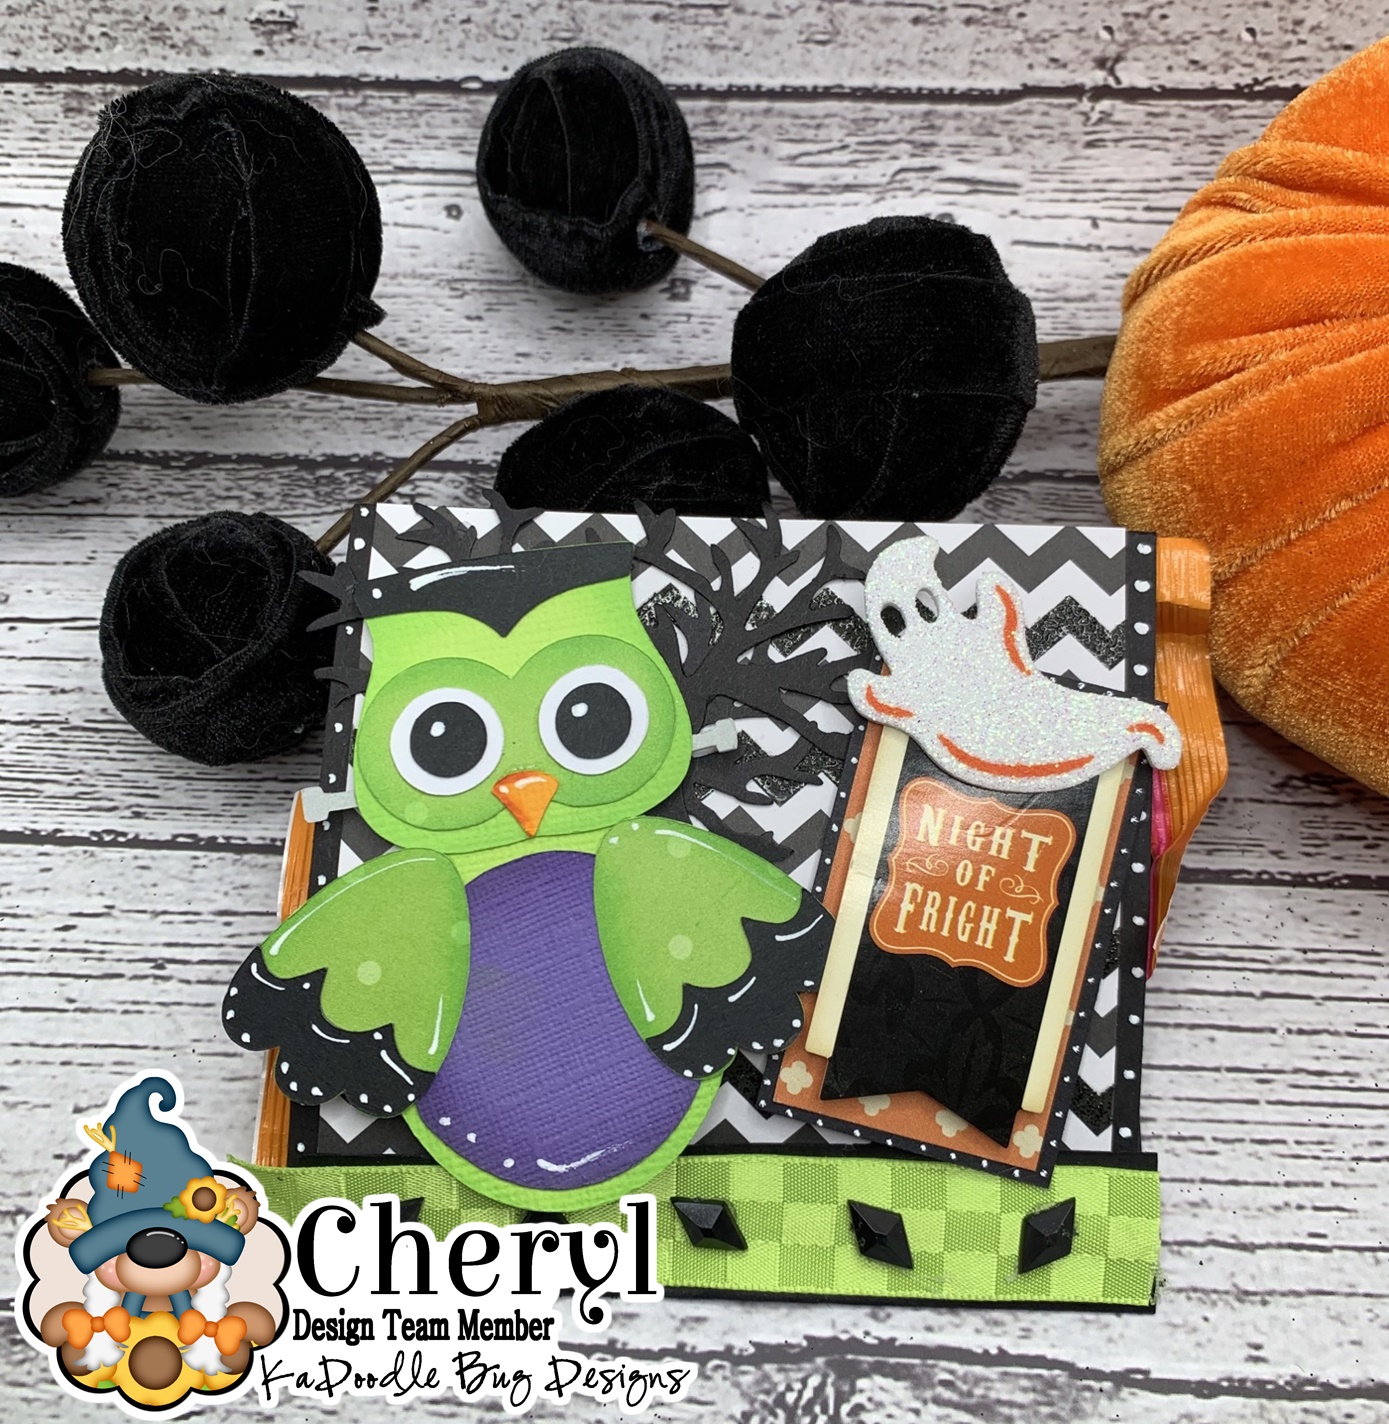
KBD Spooky Hoots Treat holder


Hello crafty friends, today I'm sharing this darling treat holder I made for my grandson for Halloween. This little cutie is a Kadoodlebug Designs Spooky Hoots SVG file. Love these little guys as they are so stink'n cute.

Spooky Hoots- was cut in green , green polka dot design paper, purple, black , orange and white. I distressed each piece and then glued together. Lastly added some white paint pen dots and marks.  
I added some branch trees from a punch, a sticker sentiment , and the ghost is a sticker too. The Ribbon is Really Reasonable Ribbon, and the black diamonds are dew drops from The robins nest Creative.

Making the treat holder

  • to start with I cut a piece heavy card stock measuring 4" x 8 1/4"
  • Next I score at 3/4" , 4 1/2" , and then 4 3/4" , now fold the 3/4" up and staple. also fold at the others so it closes like a matchbook.
  • I cut the design paper for the front at 3 1/2" high x 3 3/4" wide, and glued to the top flap. If you are wanting to you can add a message or more design paper to inside, would do this now.

adding the candy to inside


thank you for stopping by and hope you have a lovely day! Hugs to all, Cheryl

Wednesday, July 13, 2022

Gift bag & Video Tutorials using Creative Dew drops

 
Hello everyone, and Happy Wednesday! Today I am sharing my 1st post for The Robins Nest Creative using the beautiful dew drops they carry. I'm super excited to be part of their amazing design team!


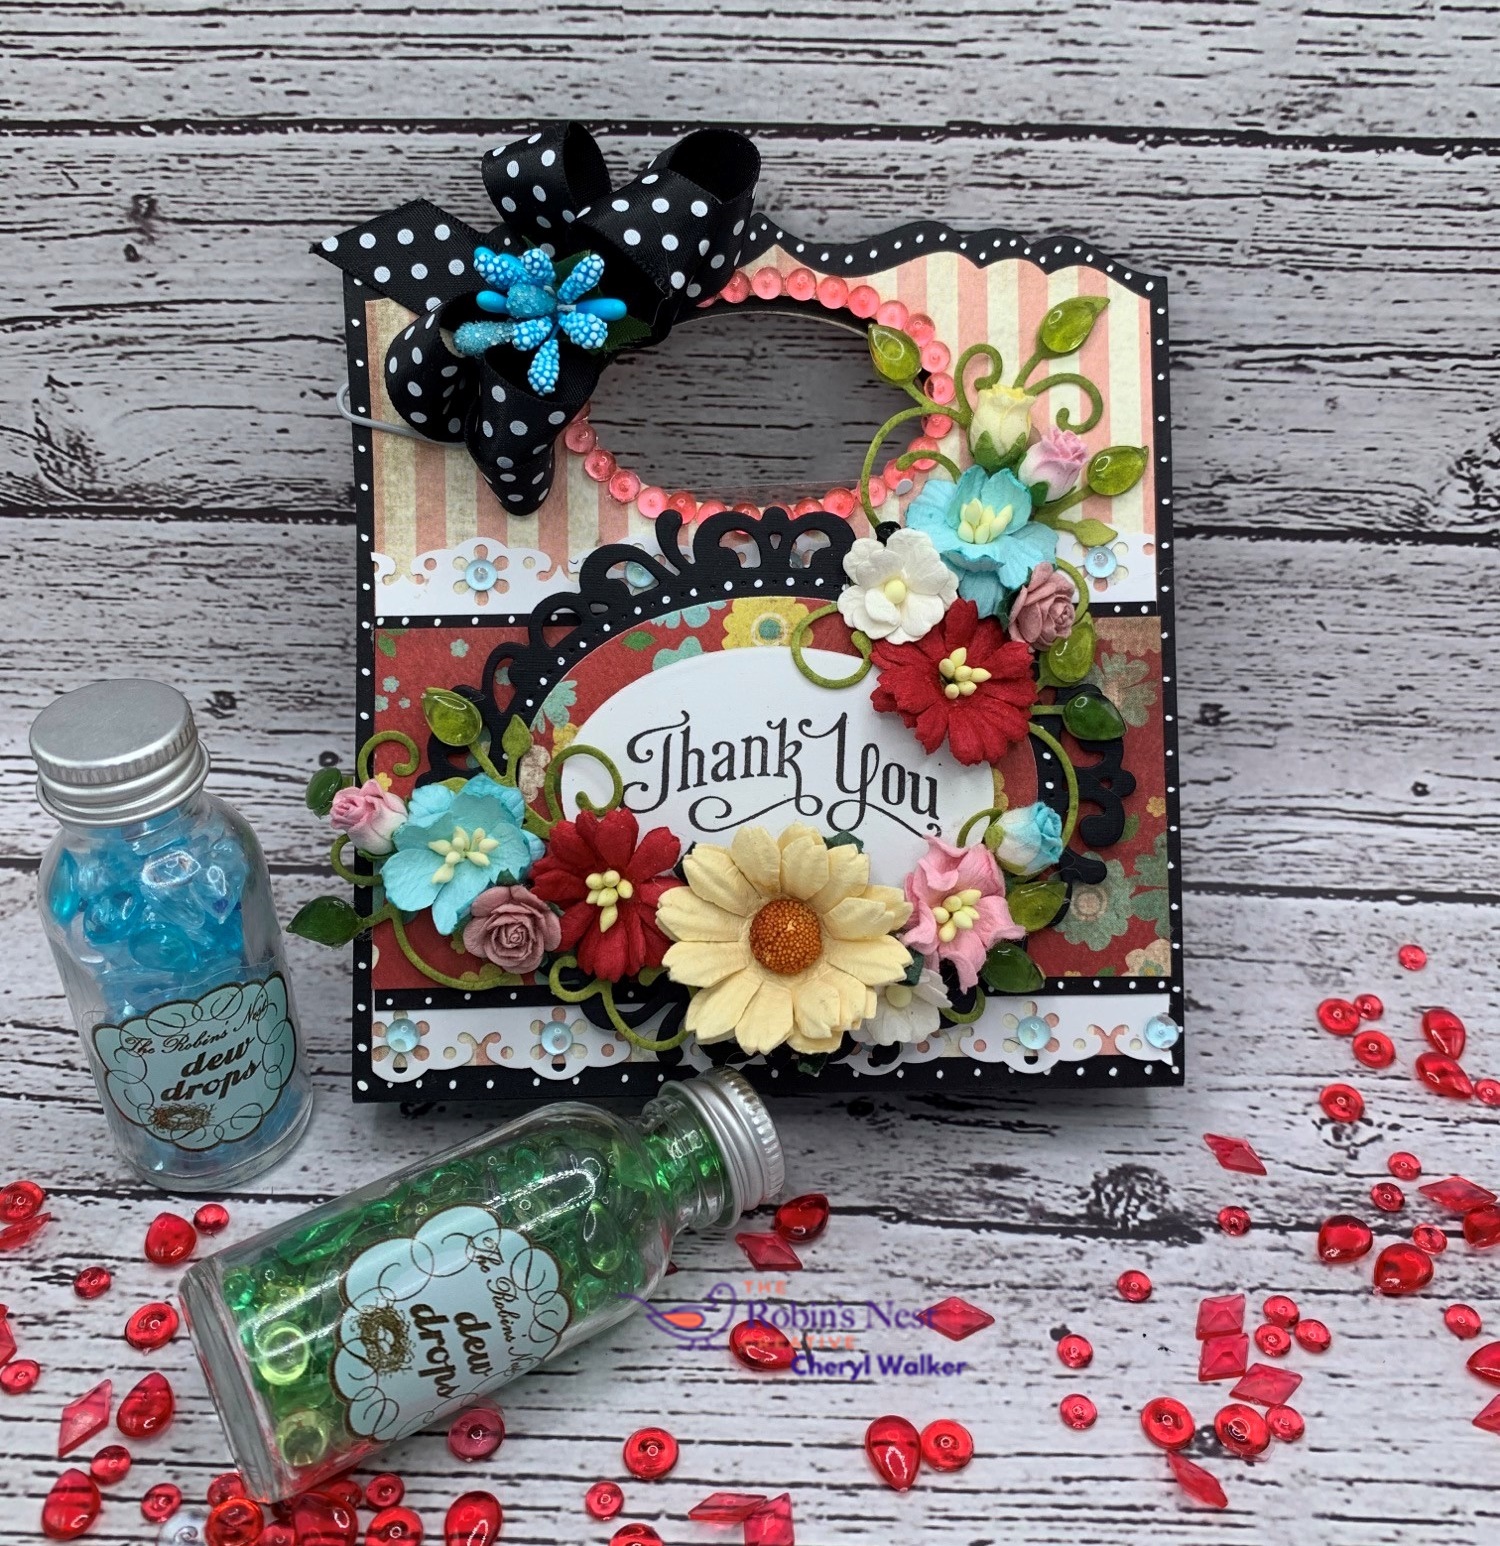
 Todays project is a Gift bag/treat bag I designed and decorated using the dew drops , flowers, punches, and dies. I do have 2 video tutorials, and also links to The Robins Nest Creative Blog.


Thank you for stopping by and I hope you enjoyed my videos and post ! Please leave a comment letting me know what you thought, as I'm starting out again to share videos, and would love to hear your feedback on them.

Hugs to all,

Cheryl

Monday, March 21, 2022

Pretty In Pink Envelope Treat Holders

Hello everyone and Happy Monday to you all! Today I'm sharing a little envelope treat holder I designed for some friends. I will be gifting these at a get together next month and cant wait. These were super fun and I just had to share with you all today.
first I picked out my design paper, and then used an old envelope die to cut each one out. I made a total of 14 of these. Super fun! Next I used 2 stampinUp! old punches to punch out my circle layers, and then used wood buttons on these. The ribbon is from Really Reasonable Ribbon, and so are the roses, and heart gem. I Love how they turned out, and super fun to give. I just need to buy more Ghirardelli chocolates.

 Thank you for stopping by today! Have a lovely day! 

Hugs to all, Cheryl

Friday, October 29, 2021

Ghost Trick Or Treat Bags/Maker's Movement

Hello crafty friends and Happy Friday to you all! Today I'm sharing another fun Treat bag I designed for My Makers Movement using several of their dies. Love this little Ghost and hope you love my post for today!
So for these bags: I used store bought bags that I picked up at our local warehouse sale this past summer. I then used some of the old shape dies from Makers Movement for layering my main image "Spooky Buds Die Set". Next I cut out 3 Ghost, and then stamped up 3 of the candy corn candies to fussy cut out. I also wanted to add eyelashes and some distressing to my ghost. 

Tags: were done using the Nested Square Tags die set, and then I stamped the Trick or Treat stamp from the Trick or Treat set. The candy corn also came from this set as well. I had to add some fun embellishments, so I chose to add the Tricks and Treats shaker sprinkles , they are so darling and I glued on the bats and pumpkins from the sprinkles. Lastly I added some Really Reasonable Ribbon to my tag and main image layers. I Love how these bags turned out! 

Maker's Movement Supplies:

Thank you for stopping by and have a lovely day!
Hugs to all,
Cheryl


Friday, October 8, 2021

Beary Sweet Halloween Bags

Hello everyone and Happy Friday to you all! Today's  Halloween Treat Bags were designed for Really Reasonable Ribbon using the beautiful Shimmer Satin Ribbon they carry, and then a Cuddly Cute SVG Bear dressed as a spider. Love how these turned out, and Hope you do too!
The bags were purchased at one of the warehouse sales here in utah. I bought a ton of these bags so I could decorate them up to give. I started on this bag by using the spider ribbon from Really Reasonable Ribbon, and glued it to the bottom of each bag. Next I punched out the scalloped circles using a spider design paper ,and distressed it with orange, and then added black dots. the larger one was cut using black card stock and I added white dots. I used my New Cricut air machine to cut out 9 bears dressed like spiders, so cute! I airbrushed them and added eyelashes, and shadowing. the all have a little white flower on their heads. The Happy Halloween was cut using a die, and same with the bat. Next I chose to use the beautiful Orange Shimmer Satin ribbon. Love how these all turned out. May have to make some others using different designs, and ribbons.
Supplies Used:
Hot glue
SVG Bear
Punches
Dies , white gel pen, black pen, chalks, copics, air compressor , 


Wednesday, September 11, 2019

Halloween Treat bag w/Really Reasonable Ribbon


Hello everyone and Happy Wednesday to you all! Today I have a super fun Halloween Treat Bag I decorated using Really Reasonable Ribbon's beautiful Ribbons and supplies. I forgot how much I love designing cards and such for Halloween, its so much fun! Also Lily Kitty just had to get in the photo's , she loves being with me when crafting and I guess taking photos too....heheeheh
Hope you enjoy!


So for my treat bag I used a bag I had from Pebbles, and added some design paper in orange, then a tag, Tilda, and then some other fun tags and dies. Of course I had to use some of the Beautiful ribbons from this months ribbon assortment, aren't they swee?! Love the web ribbon, and the ghost and kitties on the orange one. I did add the stripe one to the bottom of the bag as a border.

Tilda is one of many stamps I have of her, and this one is absolutely darling! She was colored using copic markers, then fussy cut her out so she could sit on the border of pumpkins. That pumpkin border was some random stuff I had from the warehouse sale from American Crafts. The Potion bottle is CottageCutz dies, and fits perfectly on my treat bag. The little bat was a potion bottle top and I cut it down to yuse just the bat. Super fun treat bag to make! Of course Lilybean is the sweetest, she is just hanging out to photo bomb my photo....heheeh Love her!

Really Reasonable Ribbon Supplies Used:
Really Reasonable Ribbon Halloween Assortment
Halloween Critters
Spider Webs on Black
Delicate Stitched Ribbon
Striped Grosgrain Black
Foam Squares
scotch advanced tape refill

other supplies:
Pebbles gift bag
tags
CC dies
Tilda
Copics

Thank you so much for stopping by and have a wonderful day!

Thursday, December 13, 2018

Really Reasonable Ribbon December Blog Hop

 Welcome to "Really Reasonable Ribbon's" December" Blog Hop!


If you arrived here from Ginny's Blog you are on the right track. If not , you will want to head back to the Really Reasonable Ribbon Blog that way you don't miss out on any of the FABULOUS Designs from the Design Team today! There is going to be lots of Beautiful projects to see today using the Winter Blues Ribbon Assortment, so I hope you Enjoy!!!

Really Reasonable Ribbon Supplies Used:
Decembers Ribbon Assortment
(Delicate Stitched White Satin)
Grosgrain Snowflake print)
Embellishment flower
tape refill

I made 9 of these treat bags for the ladies in our doll club as we have our doll club Christmas party today, and we do a little swap of candy or card, and then a gift exchange too, well this is for the little candy/card part. I started with these super cute bags, and added just some simple chocolates inside, and then made some tags to tie on the tops using this months ribbon assortment, for this bag here I chose the white and silver with snowflakes.. I did add a flower to Santa's cap in place of his fluffy ball, as I thought it would be super cute. for some extra glitz I added glitter to him as well, and then stamped Merry Christmas to the bottom of the tag.


Thank you for stopping by 
hope you all are enjoying today's hop, and hope you enjoyed my post as well! :)
Your NEXT stop for today's hop is Bonnie's Wonderful Blog!!!
Hugs to all,
Cheryl

Sunday, February 12, 2017

Thanks Gift Bag

 Hello everyone , and Happy Sunday to all!
Today I wanted to share a super fun and easy Gift Bag I made for Really Reasonable Ribbon using ribbon, Lace, flowers, & Embellishments all from RRR.
 I love when you can make a last minute project and it comes together quickly, and its super fun to make. This is one of those projects that took me no time at all to create. I added my Lace 1st using RRR lace and Hot glue gun. Next I used a Cheery Lynn doily as my layer with a circle design paper piece. Both are popped up using RRR Foam tabs.

My bow was created using this months Ribbon Club Assortment, the swirl pink satin, and I added a big Half Backed pearl to the center. The flowers and embellishments were all glued on using hot glue gun, This sweet gift bag was so fun to create, and perfect to give to someone with either treats, gift card, or some fun crafting goodies.

Really Reasonable Ribbon Supplies Used:
February Pink & Green Mix club assortment
Theresa white crocheted lace
Cherry Blossoms
Sweetheart Blossoms
Embellishments

Other supplies:
AC gift bag
Cheery Lynn dies
tag piece
Rub on alphabets
Martha Stewart branch punch
 
Thank you for looking and have a lovely day!
hugs to all,
Cheryl

Friday, December 9, 2016

Christmas Wishes Candy Pocket Tags

 Hello everyone, and Happy Friday to you all! Today I wanted to share 5 of 14 tags I created using the BEAUTIFUL Cheery Lynn Designs Dies. I had a blast making these, and created them to bring to our Doll Club Christmas Party, and everyone LOVED them!!! :)
 Of course I had to use the Beautiful Christmas Poinsettia Strip die from Cheery Lynn to create my Gorgeous flowers. They were cut using a striped metallic and regular dp print. I also did my favorite Glass Flower technique on these, as it makes them sturdy and beautiful :)  I love using the wreath strip die, as it cuts the perfect amount for each pocket tag, and that was 7.
 Cheery Lynn Designs Dies Used:
Cheery Lynn wreath strip 7 piece die set B216
Cheery Lynn Poinsettia strip B324
Cheery Lynn Christmas Bell 7 Piece B846
Cheery Lynn Pierced Stacker 3 XL21
Cheery Lynn Mirror CABD-74
Cheery Lynn Designs Oval Classic SM silver Stacker Layers 8

Really Reasonable Ribbon Embellishments & Shimmer Satin Ribbon used!

Challenges:
Craftaholics R Us/Tags and Christmas
Crafty Ribbons/Christmas
Sweet Stampin Christmas/Anything goes
Scrappy Land Challenges/Anything goes /Cheery Lynn dies used
Sisterhood of crafters /use pearls
Stampin Royalty /Holiday Tags
Deep Ocean Challenge/Santa is coming to town
Holly Jolly Christmas Challenge/Anything but a card
Try it on Tuesday /Celebrate (Christmas)
Craft-Dee Bowz/Anything goes with a handmade bow
Crafty Boots/Christmas
 To create my tags I started with Cheery Lynn's Pierced Stacker 3 XL21 using the largest die in this set for the main tag and dp. If you are creating 5 tags you would need to cut 8 greens to give you 5 entire ones, and then cut the others in half to create the pocket, leaving 1 half leftover. Dp pieces were cut using the same die. be sure to add your design paper before adding your pocket.

Next I cut my tag, oval , poinsettia's , holly, and wreath branches and had them all prepped and ready to decorated my pocket. you can also use ric rac, or trip or whatever to border the pocket , and then ribbon to embellish with a bow. I did add some half backed pearls to my flowers too. For these 5 Pocket tags I did add some vintage ric rac to the pocket. On the Oval Classic it was cut in white, stamped sentiment in black, and then added some red dots around the edges.

I really had a lot of fun decorating these up, and adding some fun Christmas candy to each one. The pockets were easy and came together quickly. Love using Cheery Lynn dies as they make for some beautiful crafts!!! 

 I hope you enjoyed my post for today, as I truly enjoyed sharing! Thank you so much for looking!!!
 
I hope you enjoyed my post for today!
Hugs to all,
Cheryl
Sunday, December 4, 2016

Christmas Poinsettia Candy Tag

Hello everyone,
Today I have a super fun and sweet Candy tag I made for Really Reasonable Ribbon using the beautiful Ribbons and Embellishments. I also used all Cheery Lynn Dies to create this fun project.
 Base Tag was cut using Cheery Lynn dies pierced stacker #3 dies, and also for the dp on the front pocket and inside.I also used Cheery Lynn dies for the tag, oval, poinsettia's , branches are cut using Wreath Strip 7 Piece Die Set - B216 , and holly leaves were cut using Christmas Bell 7 Piece Die Set - B846 . Centers of flowers were done using Really Reasonable Ribbons Flat Half Backed pearls in sizes 8mm, 10mm, and 12mm.

Bows were made using Really Reasonable Ribbons Delicate Stitched Satin Ribbon in Emerald Green, and 1/8" diagonal striped ribbon. In the center of my bow  I used Really Reasonable Ribbon flatback round pearl flower.

Flowers were done using Cheery Lynns Poinsettia strip and I also used my Glass flower technique on these.

Stamped sentiment was done with JustRite Papercrafts Large Oval Christmas Wishes stamp set.

Design paper is from American Crafts

 I will be making more of these, and will have a video coming soon, showing how fun and easy these are to make. I am making 14 to bring to our doll club Christmas party this Thursday. Cant wait!!
Thank you for stopping by, and have a lovely day!
hugs to all,
Cheryl

Tuesday, September 27, 2016

Every Leaf Speaks Candy Wrapper


Hello everyone, and Happy Tuesday to all!
todays candy wrapper was created for The Project Bin using the "Autumns Calling" stamp set using 1 of the sweet sentiment! I did used the Ombre stamping technique and you can view my video here on that. I seem to be addicted to using the Mini Misti tool! :)

I used different StampinUp! markers to create the look here. The ribbon I used is the beautiful Shimmer Satin from Really Reasonable Ribbon in the Rust color. I also used the grosgrain leaves on truftan brown ribbon.

Embellishments: Leaves, glitter leaves, and plastic leaf from my stash. Also the pumpkin is from my fall stash as well.

JustRite Papercraft Hello Decorative Frame dies this is one of my favorite frames to use, it seems to be my go to frame.
Thank you for looking and have a lovely day!
hugs
Cheryl