Showing posts with label Cheery Lynn Designs. Show all posts

Wednesday, August 9, 2023

Halloween Luna Page 3


 Hello crafty friends and happy Wednesday to you all. Today's notebook page was designed for The Robins Nest Creative using the beautiful dew drops. Ive been working on this book for some time now and finally sharing my pages. 

Todays page has a belly band that holds a notebook for me to use. I have more photos and info on the Robins Nest Creative page and it can be found here. 

Ribbons and flowers are from Really Reasonable Ribbon. Dies are old ones from Cheery Lynn designs.

Hope you enjoy!

Hugs to all,

Cheryl

Thursday, July 13, 2023

Really Reasonable Ribbon July Blog Hop


Welcome to "Really Reasonable Ribbon's  July” Blog Hop if you arrived here from Kathy's Blog you are on the right track. If not , you will want to head back to the Really Reasonable Ribbon Blog that way you don't miss out on any of the FABULOUS Designs from the Design Team today! There is going to be lots of Beautiful projects to see using Summer theme, So each DT member will showcase something using Beach or Beach colors.

Be sure to comment on the blog hop post on the RRR Blog for a chance to win a $10 gift certificate to Really Reasonable Ribbon  


So for my project today I made a Nautical Theme Carry Caddy with side compartments . I absolutely had so much fun making this sweet caddy. I used some dies, and made up a box as I figured out how large I wanted it to be. The measurements on this caddy are 4 5/8"w x 5 1/4" H x 3 1/4" D. The sides can hold any crafting goodies, gift cards, candy, or office supplies. The inside can hold a little gift or whatever you choose. These would be fun to make for co-workers, crafting swaps, or whatever you choose. I will be making more of these and may do a video tutorial on this as well.

I used lots of Really Reasonable Ribbon for my Caddy today, and also lots of flowers. The paper collection I chose to use is By the Sea by Carta Bella . The little Sailor dog is by KaDoodle Bug Designs.
Ribbons and flowers used:


Be sure to comment on the blog hop post on the RRR Blog for a chance to win a $10 gift certificate to Really Reasonable Ribbon


Your NEXT stop for today's hop is Bonnies Wonderful Blog!!!
Hugs to all,

Cheryl

Sunday, March 19, 2023

Baby Girl Mini Album Page 1

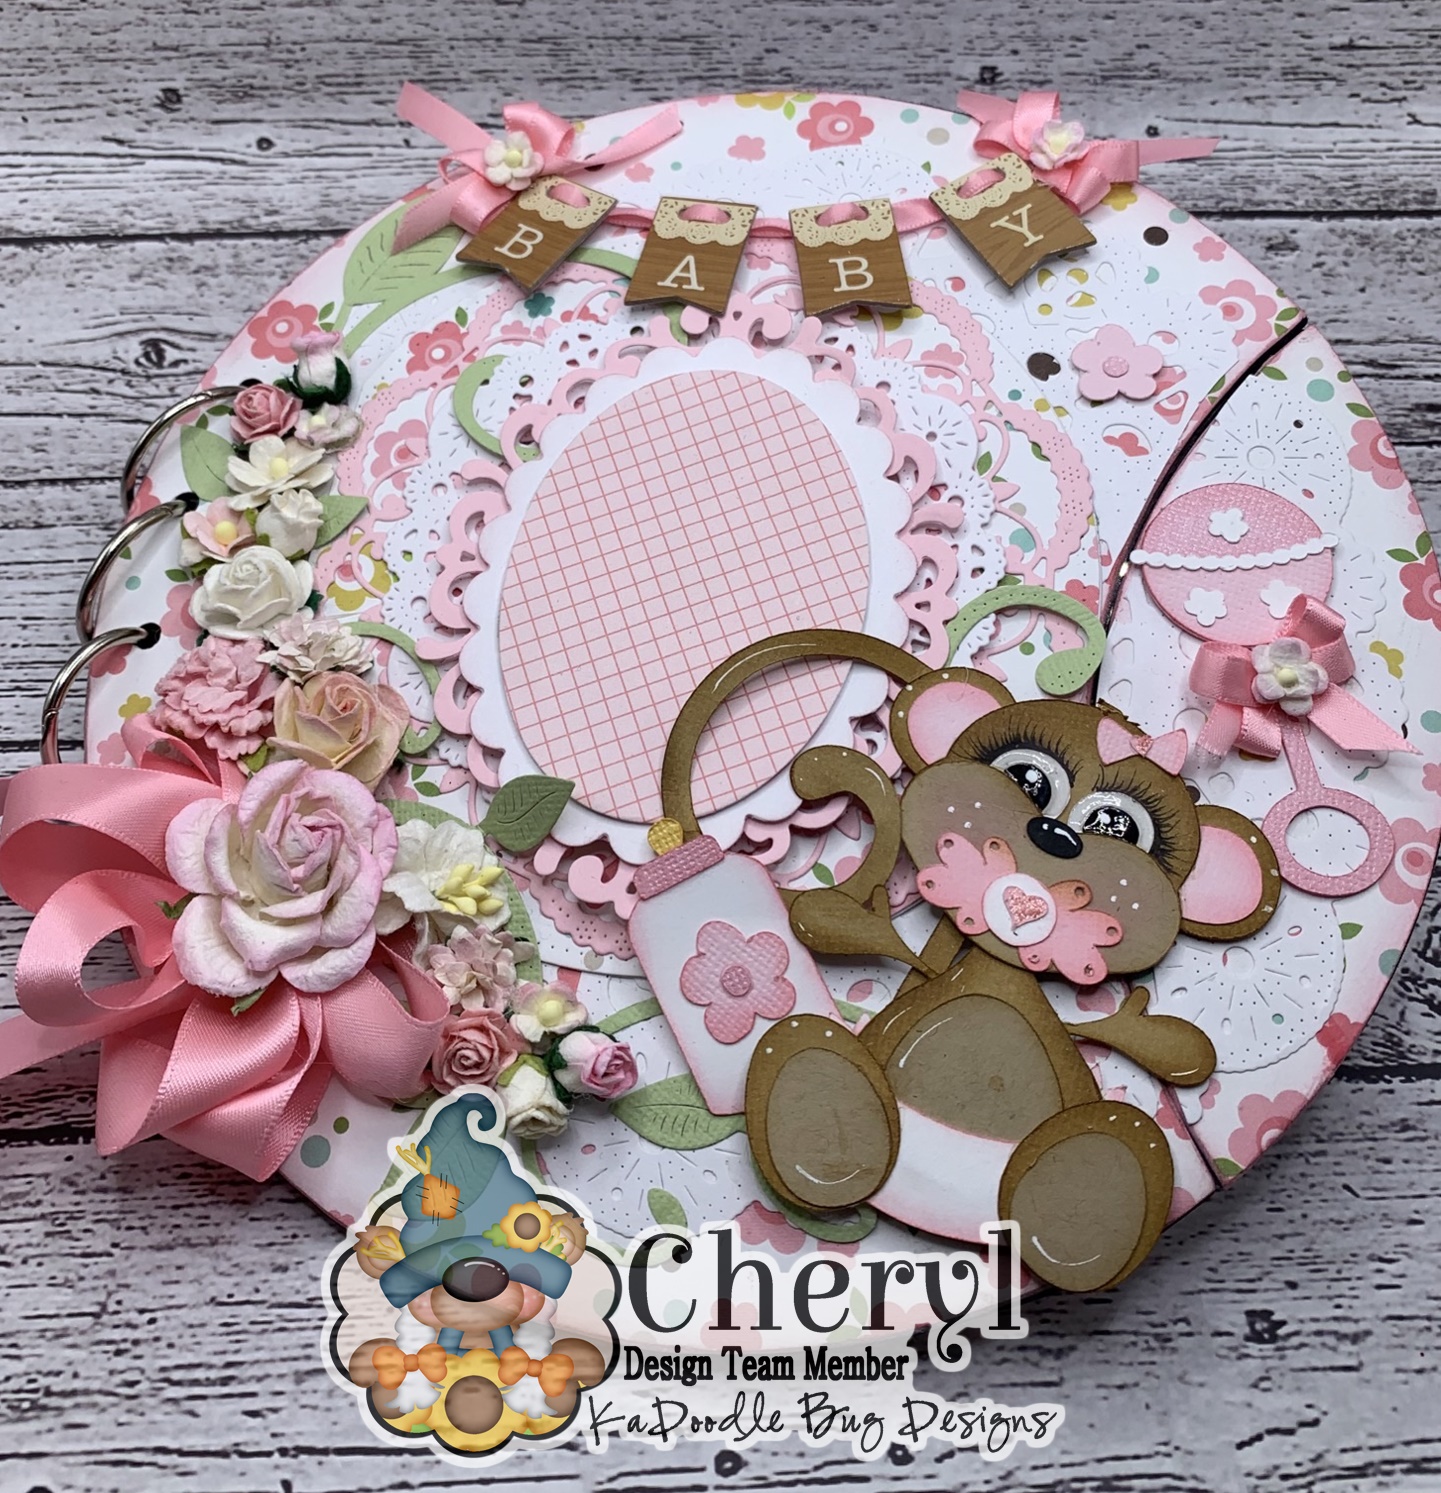
Hello crafty friends and Happy Sunday to you all! Today I'm sharing this darling Mini Album page 1 , that I designed for KaDoodle Bug Designs using the darling Monkey, Rattle and Bottle from the Precious Baby Girl set found here . Love this darling set and will have page 2 to show tomorrow.
I chose this old mini album I had in my mini album drawer and thought it would be super cute using the precious baby girl set on it. I covered it using the gorgeous Echo Park Paper co Bundle Of Joy Paper collection. Love this collection! Next I chose to use lots of die cuts for the front and most are from cheery lynn designs, and then one is just right. The BABY banner is Thickers from American crafts, and I used Really Reasonable Ribbon to run through. I also used tons of Really Reasonable Ribbon flowers on the front as well. Love how this page turned out. i will add a photo to front and then on the inside pull tab.
Here it is closed up! 


I do hope you enjoyed my post for today! Thank you so much for stopping by and have a lovely day!
Hugs to all , Cheryl


Wednesday, October 26, 2022

Sweet Fall Shaker card

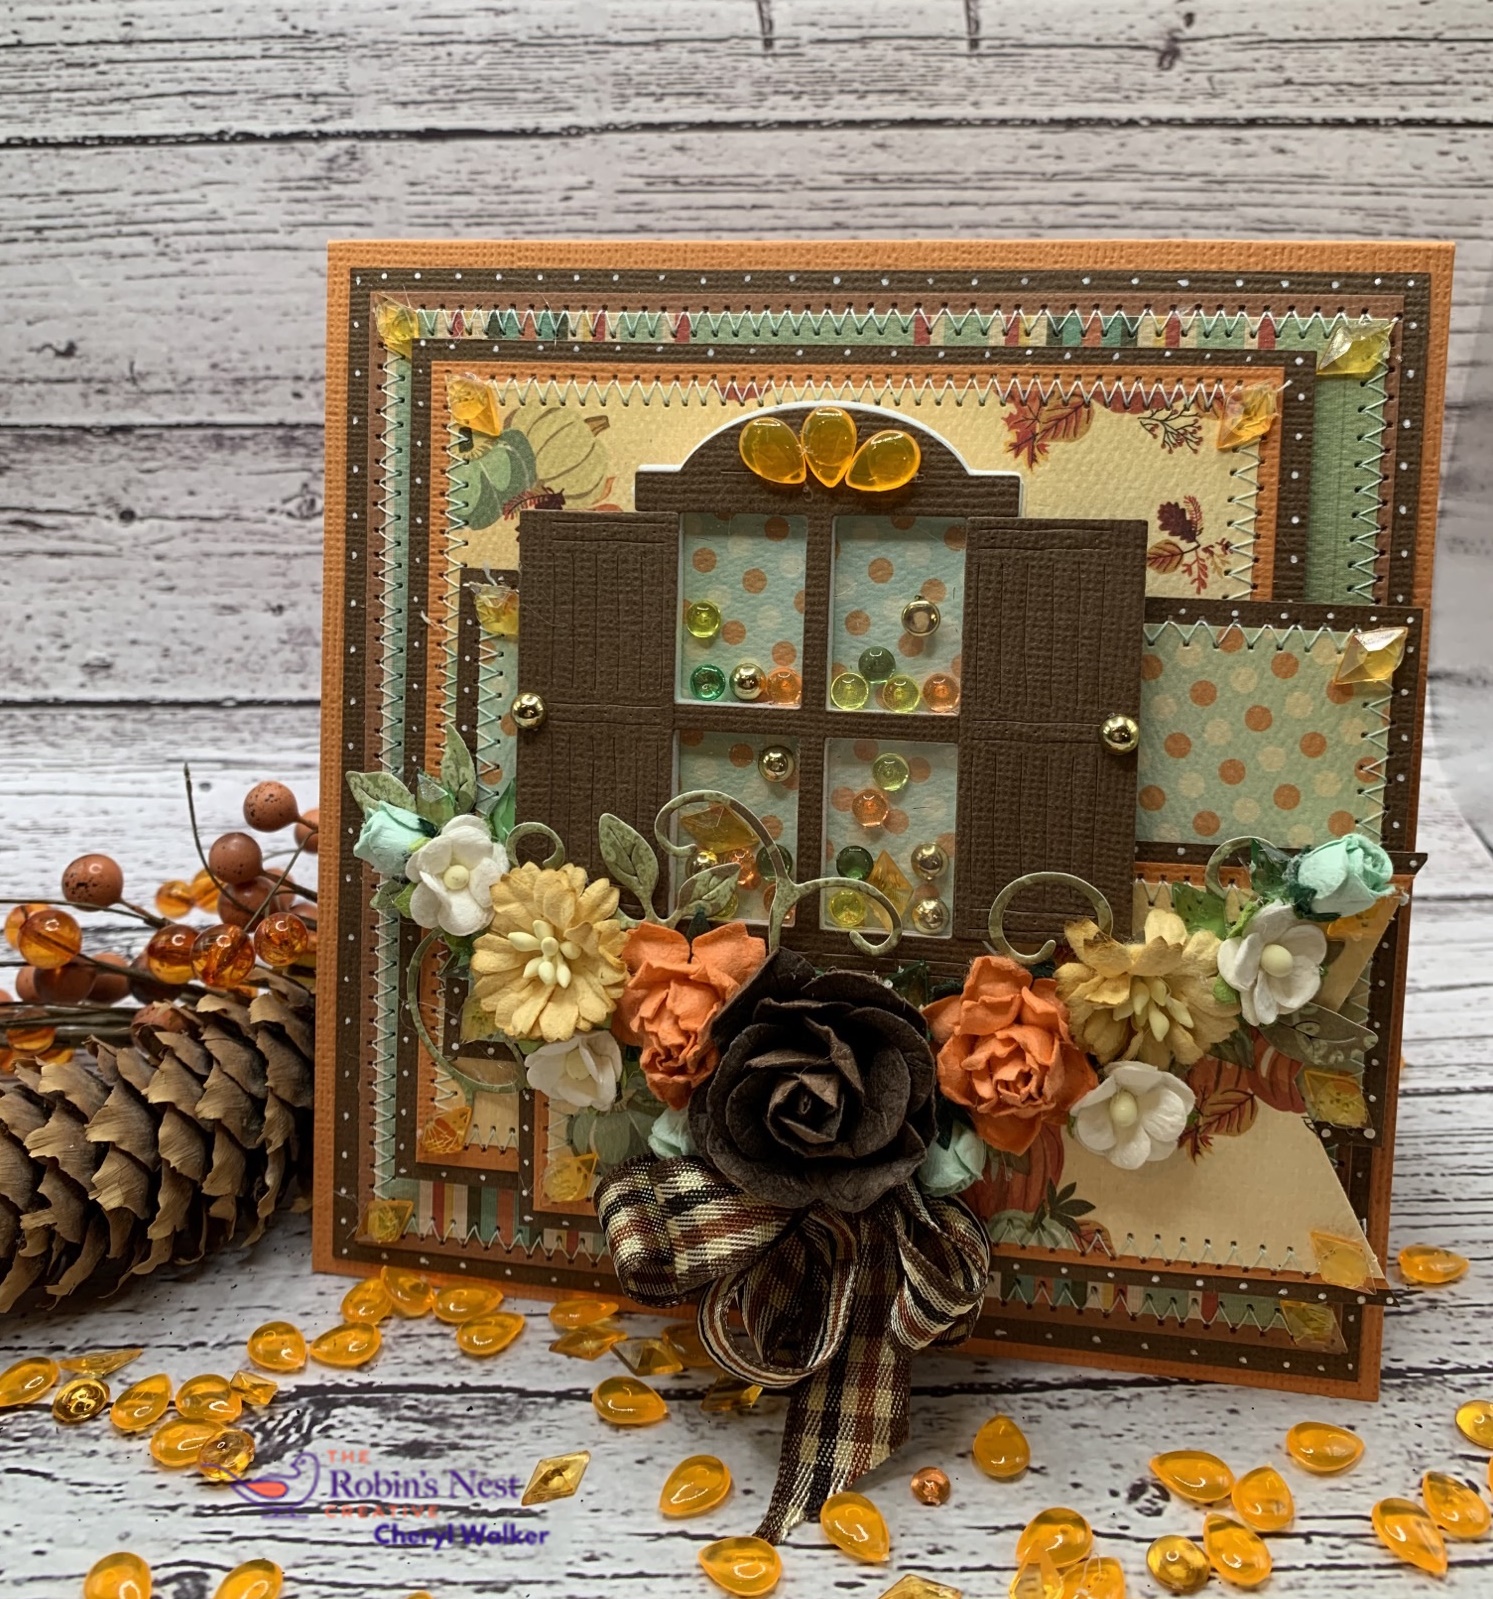
Hello everyone and Happy Wednesday to you all! Today's card was designed for Really Reasonable Ribbon and The Robins Nest Creative. Loving the fall colors and working with all fall related items. I will list below what I used and how.

Card base and layers-

  • card base is an orange card stock cut at 6" x 12" and scored in the middle to create 6" x 6" card.
  • Layer 1-cut my brown 5 3/4" x 5 3/4" , then the rust at 5 1/2" x 5 1/2", and DP is 5 1/4" x 5 1/4"
  • Layer 2- is 4 3/4" x 4 3/4" brown, orange is 4 1/2"x 4 1/2" , dp is 4 1/4"x 4 1/4" 
  • layer 3- 2 3/4"x 5" brown, then polka dot is 2 1/2" x 4 3/4"
  • Layer 4- 2 1/4" x 4 1/2" brown, orange is 2" x 4 1/4", dp is 1 3/4" x 4" then cut the end off
  • Layer 5- window shaker, I added lots of The Robins Nest Dew drops in the inside.'
  • Inside Layer is done using 3 layers, brown, rust and white. 5 3/4" x 5 3/4" , 5 1/2" x 5 1/2" , 5 1/4" x 5 1/4"
All layers have sewing, dots, and dew drops in the corners. I love how the diamond shaped dew drops look in all corners and give some embellishing to my card layers. I also used dew drops on the window shutters, and top of window. 

Flowers-

  • I chose all my flowers from Really Reasonable ribbon, and used several different types. I listed them all below for easy finding. I also added some branches, and dew drops to the floral cluster I made. The gorgeous ribbon is Plaid Ivory , Brown and copper. Love it!

Really Reasonable Ribbon Supplies:


Thank you for stopping by and have a lovely day!
Hugs to all,
Cheryl

Monday, March 28, 2022

You're Some Bunny Special Card

Hello crafty friends and Happy Monday to you all! Today I'm sharing a quick post as I made this darling card using the sweet some Bunny Special SVG file from KadoodleBug. I bought so many of these darling files and am hoping to use more before Easter, and share with you all.
Just love that darling bunny face, she is so cute! I had this sweet sentiment and not even sure where I bought this from, but it went perfectly with this sweet bunny. I did airbrush my heart using 3 colors to coordinate with the design paper. All the beautiful flowers can be found at Really Reasonable Ribbon, as well as the gorgeous Delicate stitched Satin ribbon. The heart die cuts are all old ones from CheeryLynn, and not sure if they are even available anymore. My design papers are the same ones I used on another Memorydex card I made a couple weeks back, and its from American Crafts Warehouse sale.

 Thank you for stopping by and have a wonderful day! Hugs!

Sunday, March 13, 2022

Really Reasonable Ribbon March Blog Hop


Welcome to "Really Reasonable Ribbon's  March ” Blog Hop if you arrived here from Kathy's Blog you are on the right track. If not , you will want to head back to the Really Reasonable Ribbon Blog that way you don't miss out on any of the FABULOUS Designs from the Design Team today! There is going to be lots of Beautiful projects to see today using the Spring Pastels Ribbon Assortment, so I hope you Enjoy


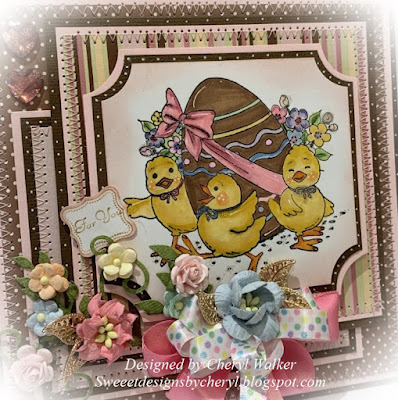
For my Easter card today I chose some design papers I had in my Easter stash and cut layers for my card, adding sewing to each one. Next my image is from Alota Rubber Stamps and is an oldie, but goodie. colored my image with copic markers and then added some bows, and flowers all from Really Reasonable Ribbon. The leaves are from my stash, trying to use them, as I forgot I had these. Lastly I added some white paint dots, and 2 RRR gem hearts. I had a lot of fun designing this card, hope you like it!
Really Reasonable Ribbon Supplies:


Thank you so much for stopping by, and hope you enjoyed my Easter card for today.

Your NEXT stop for today's hop is Bonnies Wonderful Blog!!!
Hugs to all,

Cheryl


Friday, March 4, 2022

Close your Little Peppers Memorydex card


 Hello crafty friends and Happy Friday to you all! Today I have a super fun Memorydex card I designed and let me tell ya, I'm now addicted to making these. I want to add photos to the back side, but havent yet. This is my 1st bigger card I've made, in the past I've made small ones for a small memorydex holder. Anyways I hope you enjoy my post today.
Love this little one, its called "Close your Little Peepers" SVG is from Kadoodlebug . My card was cut just using my cutter, and then I did the decorative edge using crafters edge dies. I used Heidi swapp punch for the bottom part, and then added some layers, and then my svg image, greenery, flower, and Really Reasonable ribbons. This is my first one for the Heidi swapp Memorydex spinner. Love making these!

Really Reasonable Ribbon Supplies:

Thank you for stopping by and have a wonderful weekend!
Hugs to all,
Cheryl

Monday, February 7, 2022

Yours Always Valentine Treat Pocket


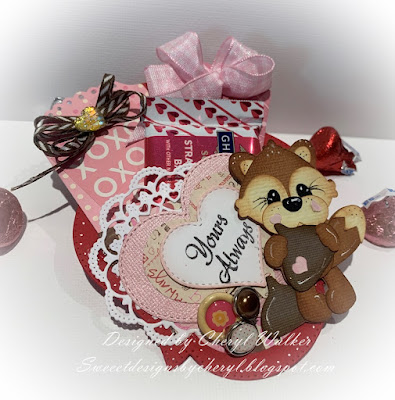
Hello crafty friends and Happy Monday to you all. Today I have another fun little valentines treat holder to share. this one is made using Really Reasonable Ribbons beautiful ribbons, & Cheery Lynns dies, you can use whatever dies you choose. This measuers 5" x 3 3/4". I added some tags, and a candy to it.
Love adding lots of layers, and I did that with this darling pocket. I added a small doily, and 3 hearts cut using dies. Next I chose Really Reasonable Ribbons, Embellishments and added the darling SVG fox he is from Kadoodle Bug Designs. So sweet!
Thank you for stopping by and have a lovely day!
hugs to all, Cheryl


Y

Tuesday, February 1, 2022

Valentines Matchbook Treat Holder

 Hello crafty friends and happy Tuesday to you all! Todays darling Valentines was designed for Really Reasonable Ribbon using the gorgeous heart ribbon and a few other items. Ive been having so much fun creating Valentines treats, so hope you enjoy!

Matchbook- was cut at 3" x 6 1/2" and then I scored 1/2" ,3 1/2" , 3 3/4" Next I stapled the bottom, closer to the bottom edge, then covered with really reasonable ribbon. for the inside I used scor-tape to hold the Ghiradelli chocolate down, then added a heart shaped sentiment inside as well( stamp used was from The Project Bin Stamps) using scor-tape.

for the front cover I chose to use some old Cheery Lynn dies, and the cute little SVG fox. I added one of RRR hearts to the front, and a little I love you tag. Super fun these are to make. I really had tons of fun making this, and I hope you enjoy! Thank you!


Really Reasonable Ribbon Supplies:

Thank you for stopping by and have a lovely day! Hugs to all, Cheryl


Thursday, January 13, 2022

Really Reasonable Ribbon January Hop


 Welcome to "Really Reasonable Ribbon's  January” Blog Hop if you arrived here from Kathy's Blog you are on the right track. If not , you will want to head back to the Really Reasonable Ribbon Blog that way you don't miss out on any of the FABULOUS Designs from the Design Team today! There is going to be lots of Beautiful projects to see today using the Sweetheart Ribbon Assortment, so I hope you Enjoy

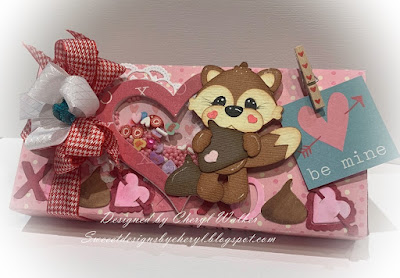
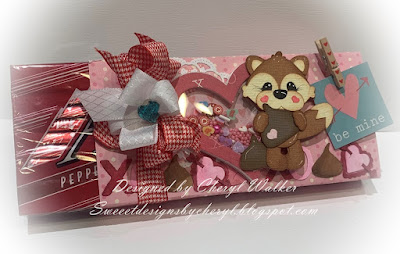
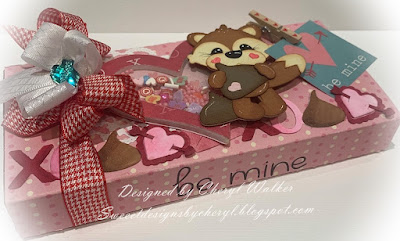
For My candy box cover I chose My design paper for my wrap first. Then did all the score marks and used the scor-tape to close it. Next I chose a doily die cut, my shaker heart, and my ribbons I wanted to use. I tied the red Ribbon around my box, and then tied my bow on. The white bow was hot glued, and then added a little blue heart. I put my little fox together using glue and distress inks. He is a SVG file from Kadoodle bug. My ribbons I chose are both from this months assortment and love them! Be Mine is a rub on, and the tag, be mine is from AC paper pad.  I enjoyed making this little cover for the Andes Mint box, super fun! Hope you enjoyed my post! thank you
Really Reasonable Ribbon: Heart embellishment, foam tabs, scor-tape, ribbon assortment, Ribbon Club, 
Thank you so much for stopping by, and hope you enjoyed my Decorated box for today.

Your NEXT stop for today's hop is Bonnies Wonderful Blog!!!
Hugs to all,

Cheryl


Wednesday, December 8, 2021

Christmas Tag

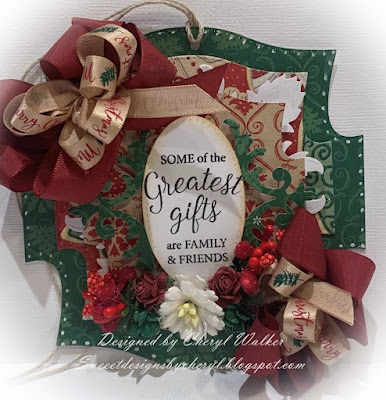
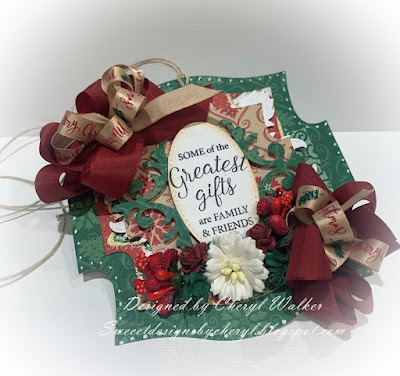
Hello everyone and Happy Wednesday to you all! Today I made a super fun Christmas tag using Really Reasonable Ribbon Club Assortment that was in November . I chose the Sherry Taffeta Ribbon & Merry Christmas on Tan satin . Love how this one turned out.

For my tag I chose some larger die cuts , and did different layers, using foam tabs to give it some dimension. Nest I stamped my sentiment on the oval frame using black ink, and then hot glued the flowers, and bead berry sprays. My bows were done using the Taffeta and Satin, tied together using the stem from the flowers. I love using those to tie my bows. Lastly I added some bakers twine to tie onto my package.

Supplies :

Thank you for stopping by and Hope you enjoyed my post for today!

Hugs to all, Cheryl
 

Friday, September 10, 2021

Blessing to have a Friend Like you

Hello everyone and Happy Friday to you all! Today's card was designed for Really Reasonable Ribbon using the beautiful Satin, Blue flowers, and embellishments they carry in the shop.
My card measures 6" x 6" and I used K & Company design paper. I did 3 layers of the design paper, and then added a doily, and shaped die cut, plus the circle with the sentiment. Love this design paper and love all the flowers, and Ribbon, they all just seem to go together perfectly.  I also added some of RRR flower embellishments, love adding these to the corners of the layers. I hope you like my card for today, as I loved designing it to share.

Really Reasonable Ribbon


 Thank you so much for stopping by and hope you have a wonderful weekend! Hugs to all, Cheryl

Friday, July 9, 2021

A friend Loves at all times

Hello everyone and Happy Friday to you all! Today I have a super sweet card I designed for Really Reasonable Ribbon using the gorgeous ribbons and flowers and supplies from the shop. I do hope you enjoy my post for today! Thank you.

On my card for today I chose some K&Company design papers I have in my stash and did three layers, adding sewing to each one. The layers were put together using the Scotch Advanced tape refill, and then I popped each layer using the foam squares. Next I chose to use this darling bird house die that is an old one from Cheery Lynn cut out in coordinating design papers.  I then added the Cherry Blossom, Open Rose, and Rose Buds to it, along with some swirl leaves. Lastly I stamped an ODBD stamp sentiment on the middle layer. I love how simple this card was to make. Hope you love it!


Supplies Used:
Thank you so much for stopping by and hope you have a lovely day! 
Hugs to all,
Cheryl


Monday, April 26, 2021

Happy Mothers Day

Hello crafty friends and Happy Monday to you all! Todays Mothers Day card was designed for Really Reasonable Ribbon using the Beautiful Seam bindings and Pearls that RRR carries in the shop. I absolutely LOVE the way this one turned out. 
the flowers were made using CheeryLynns flower dies, and then doing my Glass flower Technique, love this technique as it makes the flowers look like glass flowers. I layered them and hot glued each flower together and then added a pearl to the center. The seam bindings were ruched and made into smaller flowers to place in between mine. 

The design paper is old and is from HC , as Ive been trying to use up some of my older paper stacks that I forgot about. Each layer was put together using RRR Scotch advanced tape refill and then sewn together. Next I added dots to each layer. I had a lot of fun making this card and Hope you like it.

Really Reasonable Ribbon Supplies Used:


I hope you enjoyed my post for today! Thank you for stopping by and have a lovely day!

hugs to all, 

Cheryl