Hello crafty friends , today I'm sharing this darling Kadoodle Bug Designs Sitting Candy Corn Donut Ginger, isn't she the cutest? I wanted to make another fun Memorydex to enjoy and this one is the first fall one for this year.
to start with I cut out my memorydex card using a die, and then used the sweet Ginger girl that I had put together. She is cut out in different colored card stock and then distressed. I used inks and pens to do all that. Next her eyes, I love doing their eyes its so much fun. On her eyes I try to use a 005 pen for the lashes, then using another little thicker pen for the liner, and then chalk for the highlighting.Next for the blue eyes I did cut in a blue and then used 2 copics for highlighting the edges. The black I did using the glossy accents over the black, and I did have to add more paint pen in white on top, as it faded what was underneath. I chalked her cheeks and added some white paint pen. I do show the pen in my videos, and I think I bought a 2 pack of these on ebay. I love the paint pens so much better than gel as the gel pens dry up. Now for her bow, I used the gorgeous RRR Sherry & Ivory Plaid ribbon. My sentiment is from The Project bin stamps.
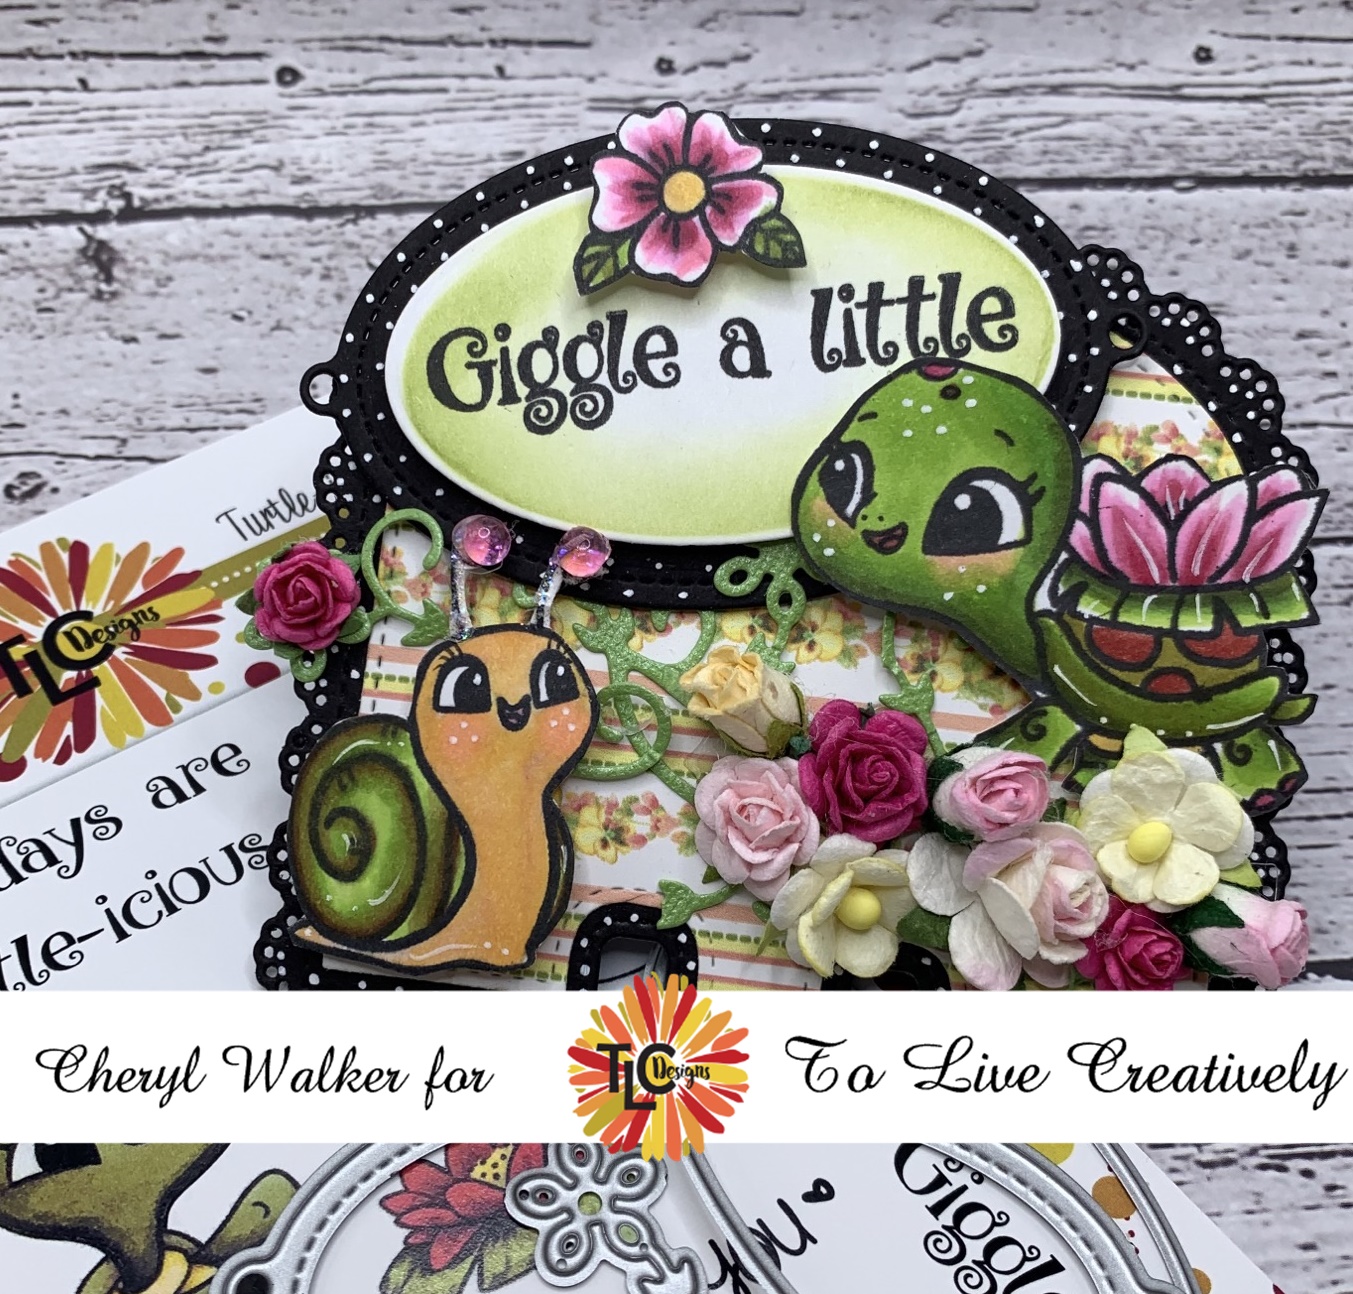
Hello everyone and Happy Tuesday to you all! Today's Memorydex card was designed for TLC Designs using the darling Turtle-icous stamp set, along with their gorgeous design paper and a few dies. I also have a fun video on how I colored this sweet turtle up. She is one of my many favorites from TLC Designs.
First I started with my memorydex card base in black, then cut the design paper from TLC Designs Something Bloomed Slimline design paper pack. I added my dots.
Next I cut out my ovals from the Loving Petals Square set, one in black, and then one in white. I did leave the die on the white one after cutting to use as a template to dust some green, it will leave a white edge when doing this, love that. I lastly stamped my sentiment using one from the stamp set. and then added dots to the black.
I now cut out my vine using the Tiny Vine oval die set, this is cut in green. I now placed my fussing cut images where I wanted them and then added my vine and flowers.
Hello everyone and Happy Tuesday to you all! Today's post was designed for TLC Designs and I will be sharing 2 video tutorials on how I made the Memorydex card and also coloring up TLC Designs Winking Wanda.
I made a video showing how I designed my memorydex card using a die from TLC Designs, and hope you enjoy it. I have a video on coloring up winking wanda as well and video links are below.
Hello crafty friends and happy Friday to you all! Today's Memorydex card set was designed for Really Reasonable Ribbon using the Gorgeous satins that are in the shop. I also used the beautiful flowers as well. Love making these and sure hope you enjoy my post for today.
I started out with cutting my card stock, I do use a heavy card stock from Papertemptress as it holds up strong. I then picked this darling design paper from Carte Bella, and layered it on the black. Next I punched out my borders and layered them. The dies are all from different companies, but I used the darling poodle, lamp post, shaker heart, swirl, rosette, and circles. I then layered them all, and added my black satin with dots ribbon, and the pretty pearl pink satin with silver metallic edge ribbon. The flowers are Open roses in pinks, and sweetheart blossoms, and rose buds. I will link below for easy finding.
Hello everyone and happy Wednesday to you all! Today I have this darling gnome SVG I put together, and used for my post today for Really Reasonable Ribbon. I absolutely love making these darling bee gnomes, and using them on my memorydex spinner, as I get to see them all daily. Love that! So for this one here, I did use RRR Flowers, ribbon, and foam squares along with some scor-tape all will be linked below for easy finding.
Recipe for my memorydex:
the Memorydex die cut is from Amazon, and I cut it using some black card stock from papertemptress, then added some white paint dots. Next I layered using the darling bee paper from Echo Park Oh Happy day design paper. Love how cute it is. I then decided to use a stamp (i love you)and die set from Mymakersmovement, and added some dots to it. The bee gnome was already put together and ready to go, so I grabbed him to use. I did however make his antennae's and added black dew drops from The Robins Nest. Next I added some greenery and that way I could layout all my flowers for placement. I used Rose buds, sweetheart blossoms, carnations, Mini sweetheart blossoms, Open rose, and then an old aster daisy that I had in my bag of random flowers.
All my layers are popped using the foam tabs from Really Reasonable Ribbon. Love these as you can do lots of layers and they are thinner tabs. Lastly I added my ribbon bow to his hat, yes a ribbon bow on my gnome...hehehehe and then added my dew drops using hot glue.
memorydex die for the base and layer/amazon, white gel pen, svg file, the robins nest dew drops, stamp and die my makers movement, hot glue, echo park design paper, papertemptress card stock, greenery, wire, cricut, bee gnome svg, stickles.
Thank you so much for stopping by and have a lovely day!
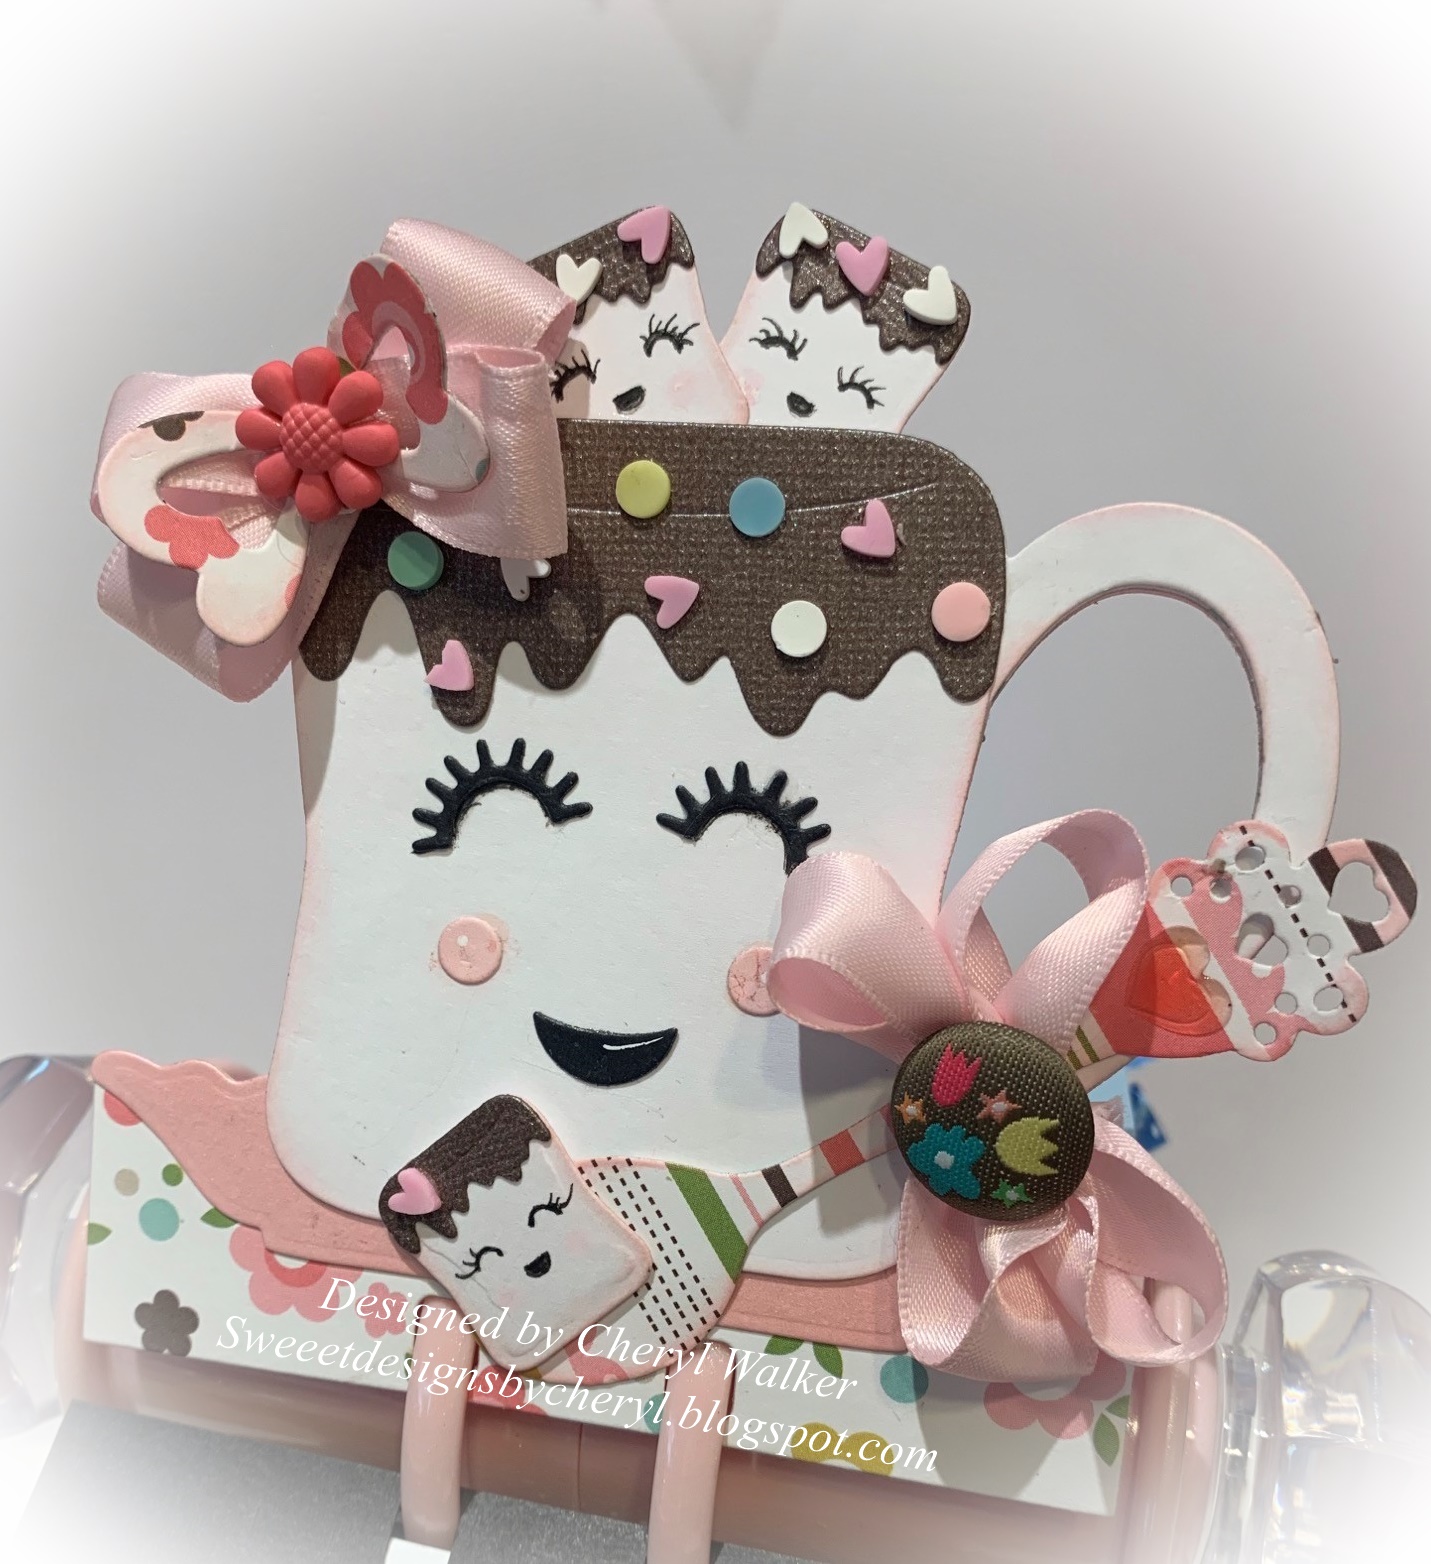
Hello everyone and Happy Friday to you all! Today I have another extra posting that I just had to share. It's a marshmallow girl memorydex card I made. Love this sweetie and cant wait to make some others of her. Isn't she just the cutest! May have to make her on a card as well.
I started by using the die kit that has all the pieces to create this darling. I then added some sprinkles to the top of each marshmallows, and then decorated the spoon and added bows and embellishments. super fun and east to make!
The satin ribbon is from Really Reasonable Ribbon and then embellishments are from my stash. The die cut is from Scrapdiva designs
thank you so much for stopping by and have a lovely day! Hugs to all, Cheryl
Hello crafty friends and Happy Thursday to you all! Today I made this darling memorydex card using Scrapdiva designs die I received yesterday. Love it! I bought several and will share them all in the next few weeks. this one is so darling I will be making plenty more. So cute!
On this little girl I grab all scrap papers to create it, as I have a drawer full and im trying to use them all up. I added Really Reasonable ribbon to the head, and the spoon, and then added some embellishments. The little marshmallows I drew their faces on each and added some sprinkles to their chocolate heads....hehehe so stink'n cute!
Hello crafty friends and happy Tuesday to you all! Today I'm sharing a second post, its a Memorydex that was designed for the Splitcoaststampers Color challenge CC897 we were to use 3 colors, and I chose to make a Memorydex card to add to my spinner.
So for my card base I cut a 4 1/4" x 4 1/4" black card stock piece and layered with 2 design paper pieces from my scrap drawer. Next I added my white paint dots, and then cut a frame and ovals out to layer on top. Next I just had to use this darling gnome from Jaded blossom, so stink'n cute right? I colored his beard in copics and added some lines for hair. Next I wanted a sentiment so I used stampinUP! Whimsical Words and then 2 stampinup punches. The flowers are all from Really Reasonable Ribbon and can be found here.
Hope you enjoyed another short post for this week! Hugs to all
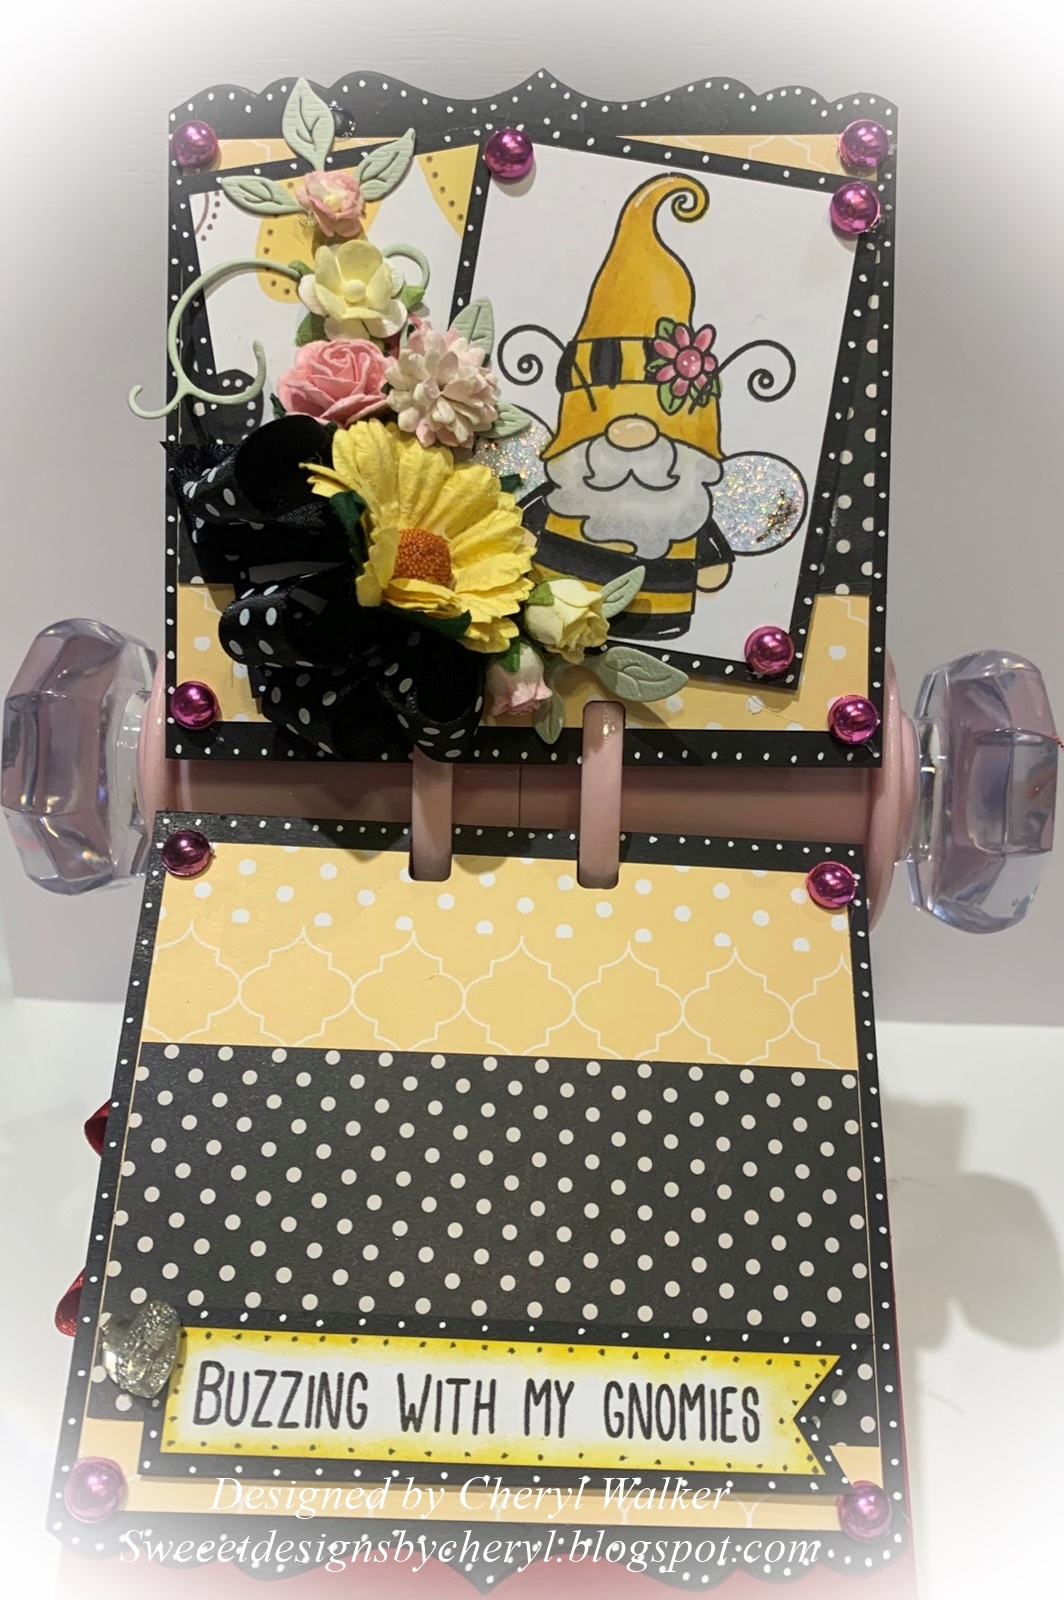
Hello everyone, and Happy Wednesday to you all! Today I have this darling Gnome stamp I just bought from Jaded Blossom, and absolutely LOVE him! So I just had to make an extra post for this week to share what Ive created. I colored him with copic markers, and then embellished him with Really Reasonable Ribbon flowers, and ribbons.
I always start with a 4 1/4" x 4 1/4" card stock for my base, then add my layers, and or cut the top using dies are punches, for this one I used a border die. Next I added some design paper layers, and I stamped my gnome bee in black ink, and then colored with copic markers. I did add some stickles in Unicorn color for his wings. I just had to add lots of flowers with him, as bee's love flowers....hehehehe
Welcome to "Really ReasonableRibbon's May” Blog Hop if you arrived here from Kathy's Blogyou are on the right track. If not , you will want to head back to the Really Reasonable Ribbon Blog that way you don't miss out on any of the FABULOUS Designs from the Design Team today! There is going to be lots of Beautiful projects to see today using the Patriotic Ribbon Assortment, so I hope you Enjoy
Today I have 2 projects to share using the darling Patriotic Ribbon Assortment. I just love all the ribbons in this months kit. So to start with I made a memorydex set, and used 3 of the ribbons from this month. I also used a little mouse SVG file I had cut and pieced together, and I added some stars and ribbon bow to her. On the bow I used the Mixed Blue Mini Sweetheart blossoms. All My layers were popped up using the Foam Tabs to give a 3-D effect. The Papers, Design Papers, and stickers, and chipboard is all from the warehouse sale. The Gorgeous Ribbons I used to make the tiny bow and the double bow, and also used on the bottom card. Lastly I added a rose, and sweetheart blossom.
For my card I took some of the leftover pieces and layered them on a 4 1/2" x 4 1/2" card base, then cut out my shapes, and layered them all. The Hey There is a chipboard piece and the ribbons I used the same as on the memorydex card.
Hello crafty friends and Happy Monday to you all! Today's project was designed for Really Reasonable Ribbon using the beautiful ribbons, embellishments and flowers all found at the RRR Store.
I started with my base for my Memorydex card set, then cut the top with a decorative edge die, then layered this darling design paper on top. I did add a sticker border in between the two designs. Next I cut out the flower shaker using the My Makers Movement dies, and added some shaker sprinkles to the inside. I decided to add a big bow treatment, and started with some tulle, then diagonal brown striped ribbon, and then the satin pearl pink ribbon, I also added some bead berry spray in white, and then the darling mini sweetheart blossoms, 2-tone chelsea rose. lastly I added some dots, Heart Gem and a sentiment chipboard piece
Thank you so much for looking and have a lovely day! Hugs to all,
Hello crafty friends and Happy Friday to you all! Todays Memorydex card is a flowerpot I made into a pocket for some journaling on this darling Gnome card. I figured it nice when your journaling is hidden sometimes. The flowerpot is an old cottagecutz die, and the gnome is a Christmas one i changed a bit.
for this memorydex card I added an envelope and then some shapes on top of it. Next layered the fence and then my flowerpot and gnome. Love all the fun colors for spring here. I just had to use some of my dew drops from The Robins Nest Creative, I need to purchase more of these soon. I used a mixture of design papers on this one from American crafts and Echo Park "Welcome Spring" collection. I used my copic markers for coloring the bunnies, flowers, window, door and stem on the flower top. White paint pen for dots, and different ink pads for distressing the edges of the pieces.
Hope you enjoyed another extra post for this week!
Welcome to "Really ReasonableRibbon's April ” Blog Hop if you arrived here from Kathy's Blogyou are on the right track. If not , you will want to head back to the Really Reasonable Ribbon Blog that way you don't miss out on any of the FABULOUS Designs from the Design Team today! There is going to be lots of Beautiful projects to see today using the Blue & Yellow Ribbon Assortment, so I hope you Enjoy
I've been so addicted to making these darling memorydex cards and love them. I made a set here so I can add a photo to the bottom one. I ended up using two of the darling blue ribbons from this months assortment and love them both! I also added a pink satin, of course that one is not in this months assortment, but just had to use it anyways. I wanted my ticket booth to have lots of flowers to go with the design papers, and I managed to add several die cut layers as well. I love having these on my desk where I craft as I get to see them everyday and just roll and see another. super fun! For the ticket booth I ended up adding some stickles that you paint on, as my ticket booth had glue on it, and it looked pretty dirty. anyways a quick fix.
Hello crafty friends and happy Monday to you all! Today I'm sharing a Memorydex card I made using this window I created years back and never put on anything. I figured I would enjoy it on the memorydex cards, and add photos soon. I love that I am able to do journaling on the tag that is hidden in the pocket behind the window. Hope you enjoy this extra post for this week.
All I did was cover my card with design paper, and a doily die cut. Next I placed the window and added a new tag as the one that was in there disappeared over the years. I did add a butterfly, and that is about it. I covered the bottom of the window using a floral border piece that came with the design paper pad, and added the rest of that border to the card below. super fun!
Hello everyone and Happy Monday to you all! Today I have another short extra post to share today as I just couldn't wait! Today's post is a memorydex card set for my spinner, I've been working on these weekly to share and to enjoy. I haven't added any photos yet to these, but will soon. Hope you enjoy this post!
I figured with this one, you could also take inspiration from this and use on a card base. I love the pinks, and the layering was super fun to do. This little cake is so sweet, Just love it. I used the design papers, and card stock to make it. all the flowers and ribbon are from Really Reasonable Ribbon and can be found here.
thank you so much for stopping by and have a lovely day!
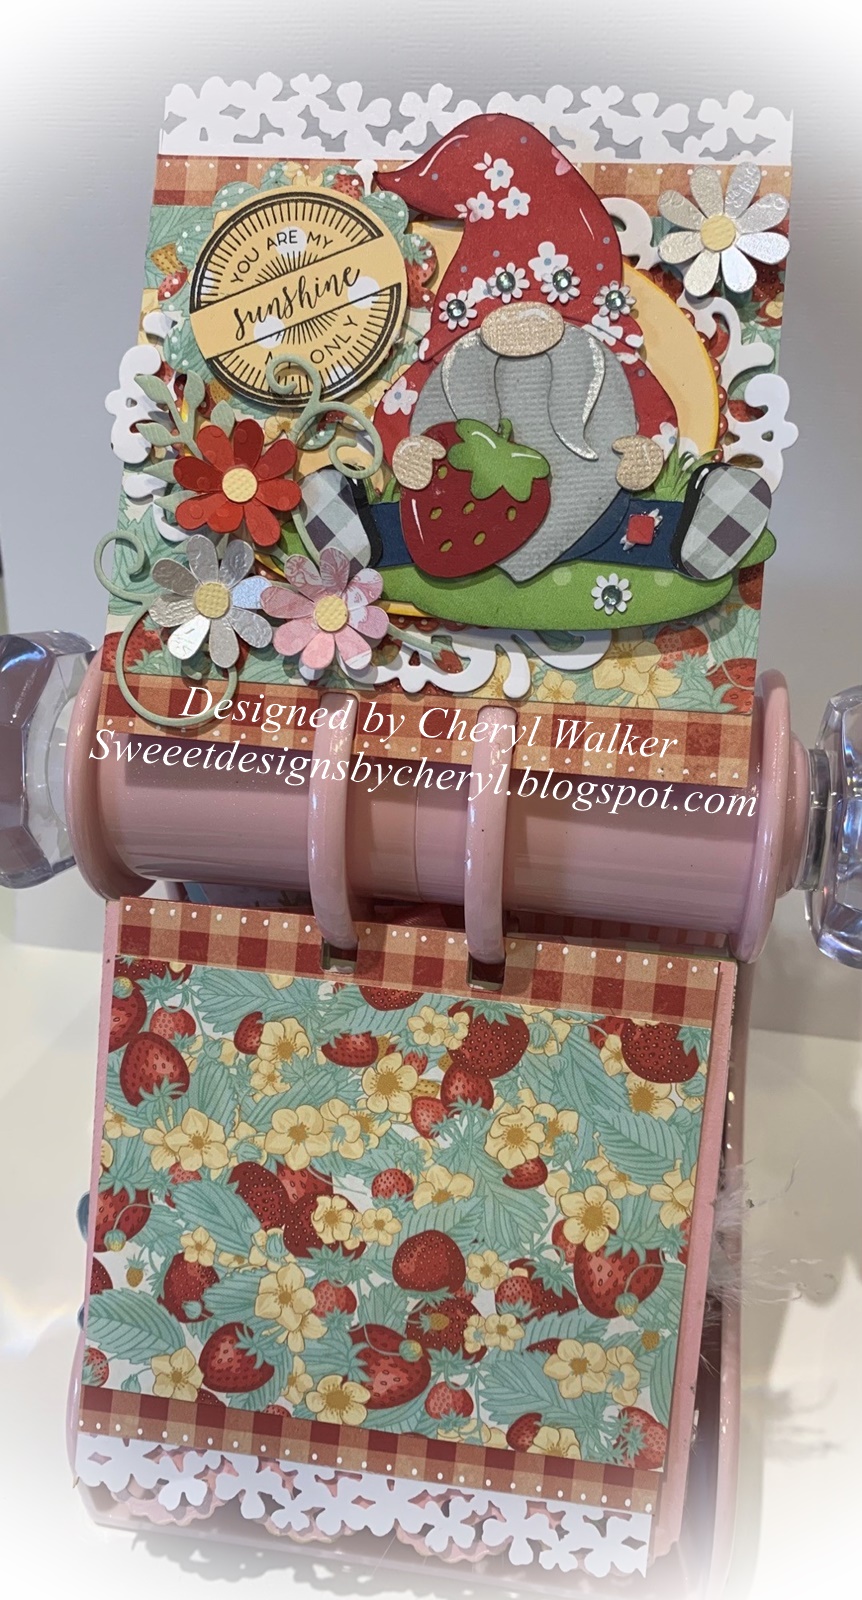
Crafty friends I have another post for today, as I just couldnt wait to share this darling gnome that I did using an SVG file I bought from Marjorie Ann. Isn't he just the cutest!? Remember any of the Memorydex layouts will also work on a card base as well. Anyways I will keep this post super short.
I had some leftover red card stock, it was kinda short and small, so I decided to add a border punch to the edges. Next I covered using the checked, and strawberry design papers, and then added a few frames to get my layers. I stamped the sentiment from StampinUp! and then used the flowers that came in the SVG file. Love this one, and cant wait to choose a photo to go on it.
Hello everyone and Happy Thursday to you all! Today I am sharing this darling Easter Memorydex card using Easter Squeak, isn't she darling? You could always use this layout on a card as well. I'm just loving these memorydex cards as I get to see them every time I'm crafting, and I change them up by just spinning it. Love that!
I start out with all my cards measuring about 4 1/4" x 5 3/4" , then covering with design paper choices,then cut down the top using different edge dies. Next I cut out my shaped layers so I have a starting point to work with. I will then cut some greenery and pick what I'm gonna use on the center(unless I've picked it already) , I also pick up some of the embellishments I think I may use. This one here I chose to use this darling Easter Squeak and love her!