Friday, August 25, 2023

Luna Halloween Page book box

Hello Crafty Friends, and Happy Friday to you all! Todays fun page was designed for Really Reasonable Ribbon using the gorgeous Ribbons and Flowers from the RRR Shop.


To start I used the Luna design paper on this page, and then used some dies that I cut out in black and some in white. I added those layers on my page, and then along the bottom of the page I added some old trim from RRR and the pink gems. Next I wanted some floral clusters.

Floral Clusters were done using some green flourishes, and then Really Reasonable Ribbon Bold Satin with Grosgrain Edge in Pearl Pink5/8" for 2 of the bows. Then the top bow was done in a Plaid Ribbon Black Bold Check 3/8". I made bows out of that too, and then hot glued them on. I did use some pink feathers too. Next I chose my flowers, and for the large flower I used a trellis rose, and then used some cherry blossom, apple blossoms, and sweetheart Blossoms. lastly I used some rose buds to finish this up. 

Tag is from the paper line, I just cut it out and put it on a black card stock and cut it to look like a tag. I added some white dots using a paint pen from postca.

Really Reasonable Ribbon Supplies:

Wednesday, August 23, 2023

Halloween Treats

Hello crafty friends, today fun Halloween treat box was designed for the Robins Nest Creative and KaDoodle Bug Designs. Its actually a card, but due to me adding straws and candy and paper confetti it wont flatten. hehehehe 

I absolutely had a lot of fun making this fun little box. I did up all the flowers using some design papers and card stock from american crafts. I also used the sweet little bear that I made up using the SVG file from KaDoodle Bug Designs. All my dew drops were from The Robins Nest Creative, and I really had a lot of fun using them on all the flowers. 

All info and photos can be found here at The Robins Nest Creative Blog
Things I used-

I do hope you enjoyed my post today! Thank you so much for stopping by and have a lovely day!
Hugs to all,
Cheryl


Monday, August 14, 2023

Birthday Wishes card

Hello everyone and Happy Monday to you all! Today I have this darling card I designed for KaDoodle Bug Designs using the super cute Bone Cake Scruffy, isn't he darling? I just love him!

my card measures 5 3/4 x 5 3/4" and then I used some darling design paper from echo park for the birthday girl. I did add sewing to each layer as well. Ive always love sewing on my cards. Its been awhile since I've made any.

Bone cake scruffy is an SVG from Kadoodle bug designs, and I did cut him out on the cricut and distressed the pieces and put them together. I have many videos on how I do this and they can be found here on my channel. I added a big bow using satin ribbon from Really Reasonable Ribbon, and then dew drops from The Robins Nest Creative.  Stamp and punch are from StampinUp!


YouTube Channel

Thank you so very much for stopping by and have a lovely day! Hugs to all, Cheryl
 

Sunday, August 13, 2023

Really Reasonable Ribbon August Blog Hop


Welcome to "Really Reasonable Ribbon's  August” Blog Hop if you arrived here from Kathy's Blog you are on the right track. If not , you will want to head back to the Really Reasonable Ribbon Blog that way you don't miss out on any of the FABULOUS Designs from the Design Team today! There is going to be lots of Beautiful projects to see using Fall theme, So each DT member will showcase something using Fall or Fall Colors.

Be sure to comment on the blog hop post on the RRR Blog for a chance to win a $10 gift certificate to Really Reasonable Ribbon  


Ribbons and flowers used:

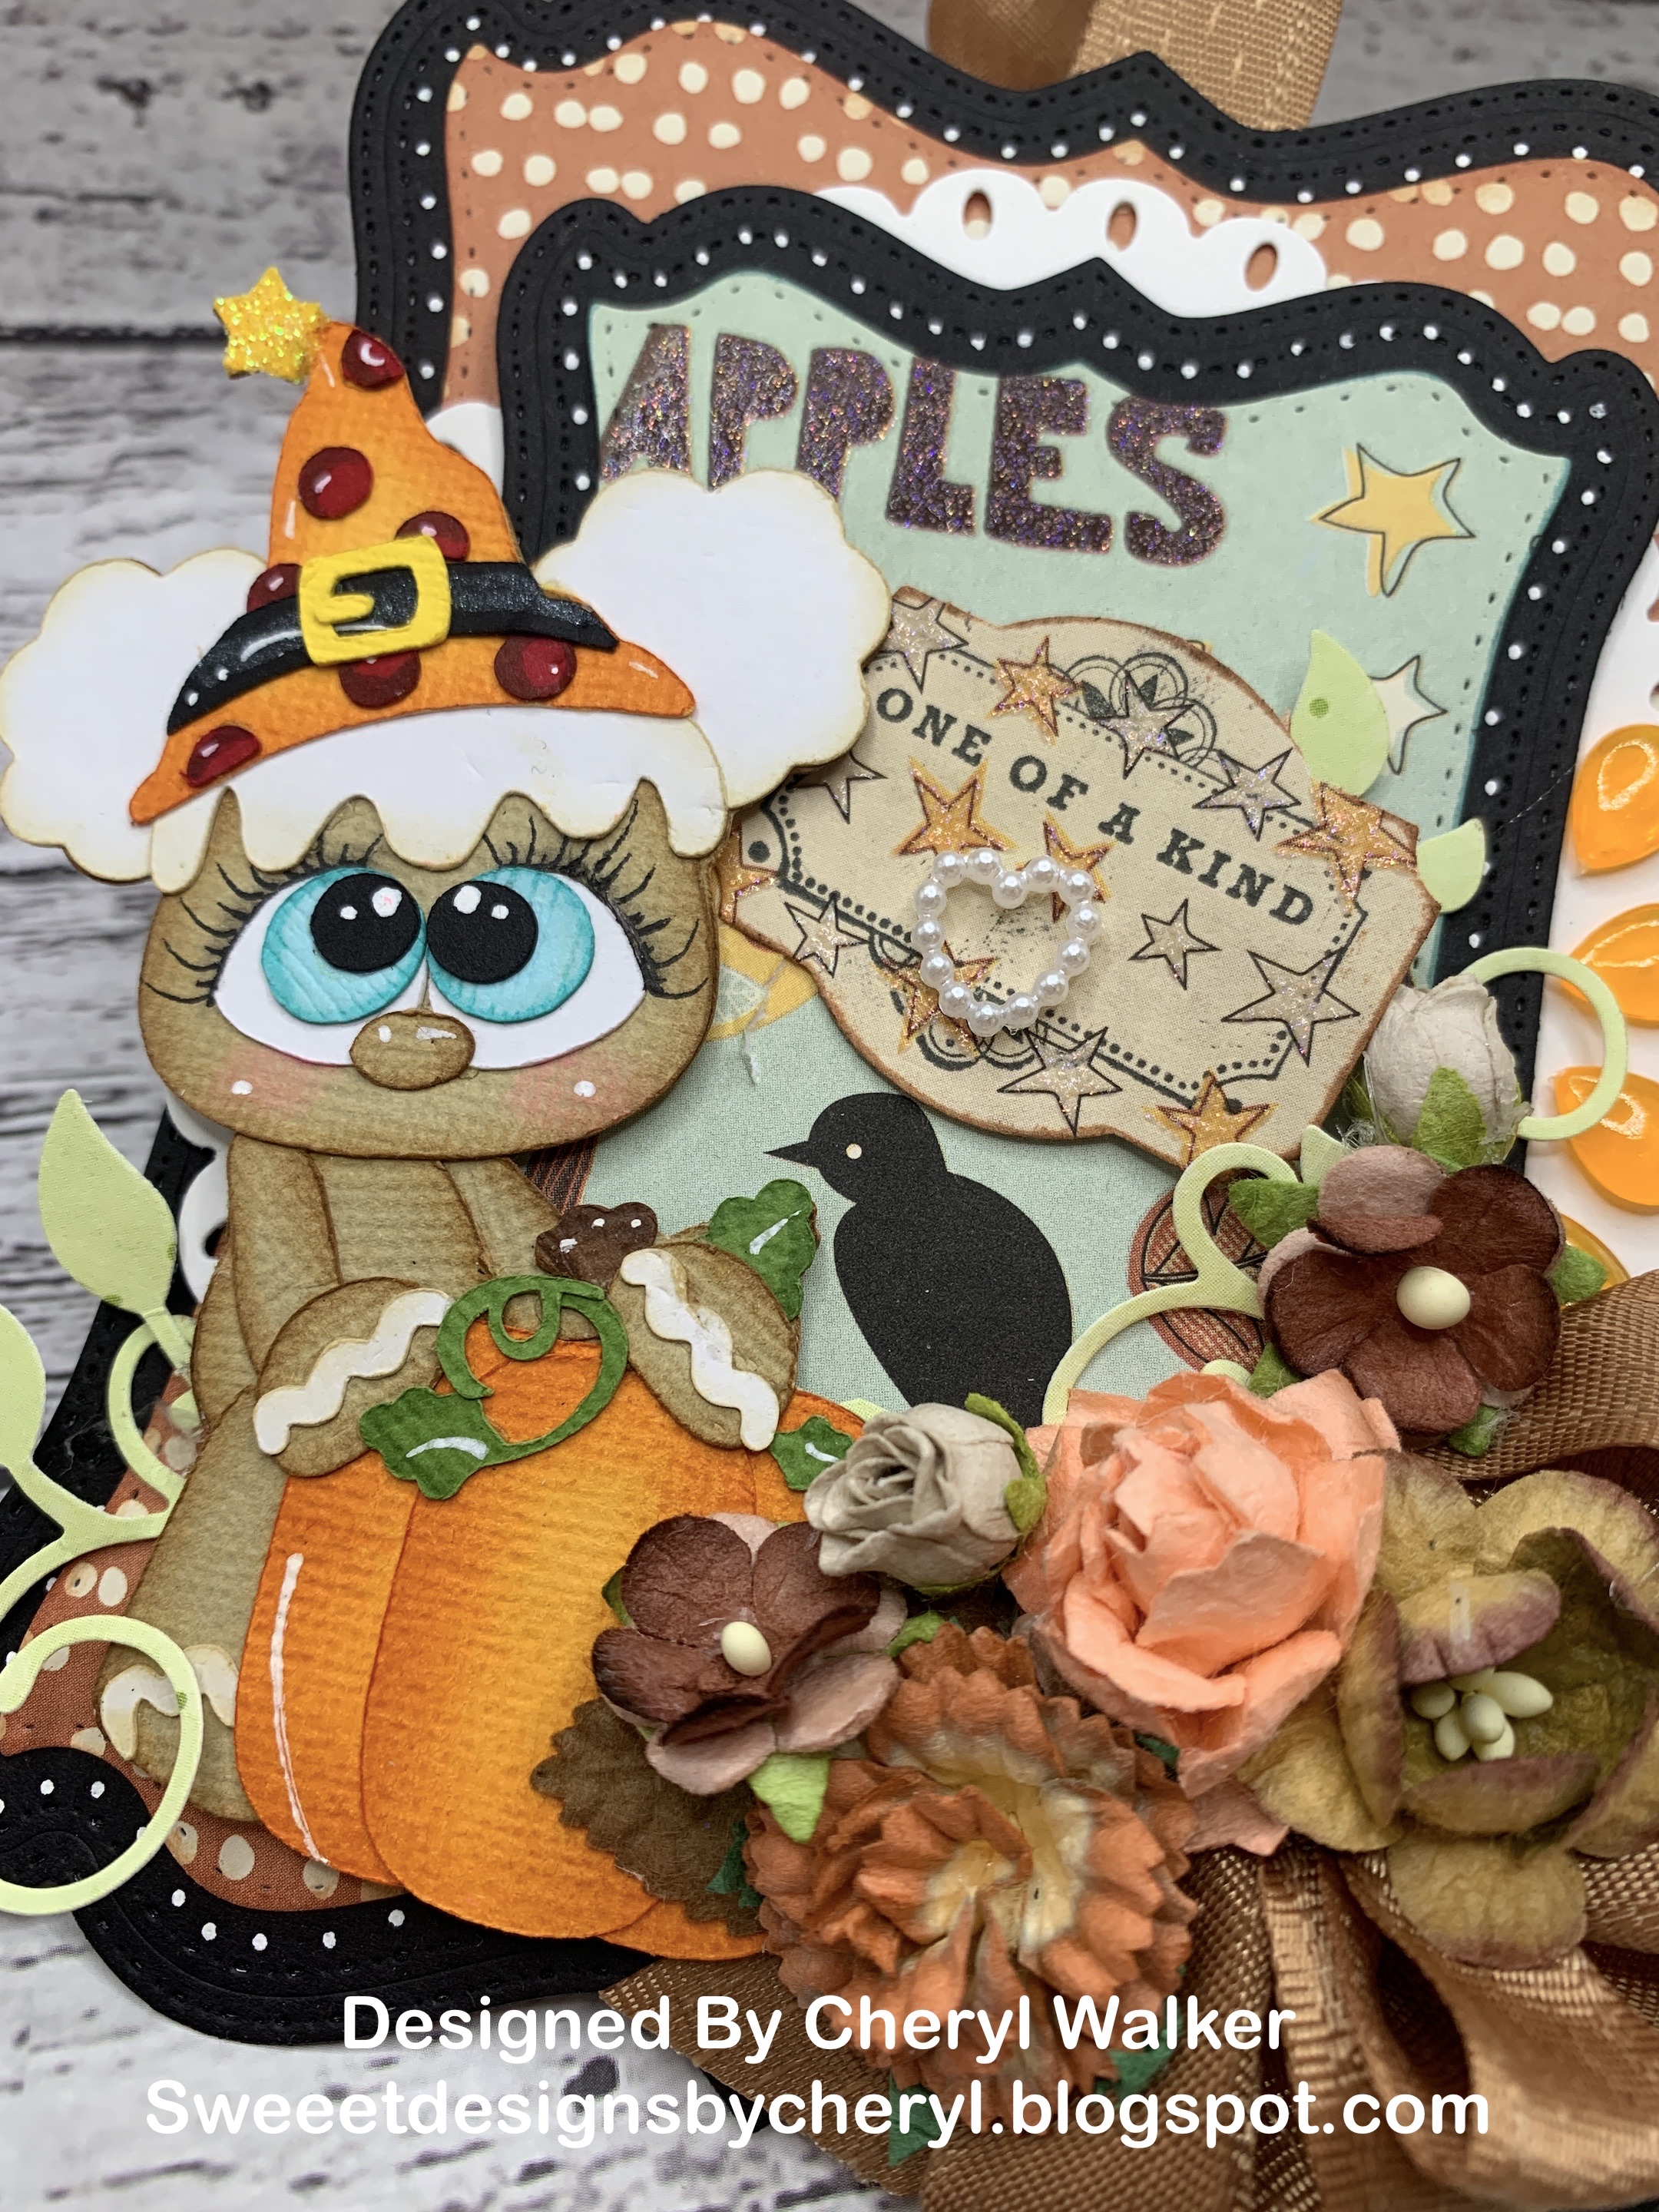
For my Tag today I chose to use the Dies from TLC Designs, and then I picked this darling old design paper called Night and Fall, its from Recollections. Next I picked out my little svg that I had already pieced and ready to go, I was lucky as this one matched my project perfectly and she is absolutely darling! I got all my flowers picked outs nd then my sentiment and punch to use. Its nice when we have some of the greenery extra as I keep it in a pouch with the die so I can grab it.

I did all my layering for the frames first and then picked where I wanted my SVG Ginger to go. Next I placed my greenery and flowers and hot glued them all down over the bow I had made, I did add in a brown leaf that was floating about....heheheheheI also placed some tear drops in orange, as I thought they would look so pretty on my tag. I think fall tags are fun to make and you can always add it to some goodies or what not.

Be sure to comment on the blog hop post on the RRR Blog for a chance to win a $10 gift certificate to Really Reasonable Ribbon


Your NEXT stop for today's hop is Bonnies Wonderful Blog!!!
Hugs to all,

Cheryl

Wednesday, August 9, 2023

Halloween Luna Page 3


 Hello crafty friends and happy Wednesday to you all. Today's notebook page was designed for The Robins Nest Creative using the beautiful dew drops. Ive been working on this book for some time now and finally sharing my pages. 

Todays page has a belly band that holds a notebook for me to use. I have more photos and info on the Robins Nest Creative page and it can be found here. 

Ribbons and flowers are from Really Reasonable Ribbon. Dies are old ones from Cheery Lynn designs.

Hope you enjoy!

Hugs to all,

Cheryl

Monday, August 7, 2023

RRR Embellishment Book Box page 1

Hello everyone and happy Monday to you all! Todays project share is a page from my Embellishment Box /Notepad Book Box Im currently working on for Really Reasonable Ribbon. This is page 1 and its a pocket page to hold a little notebook that I decorated.

I love this design paper its prima Luna Collection, and I thought the darling Really Reasonable Ribbon would look so pretty with this collection. I used the Black Bold Check in 3/8" ribbon for my bows on the page, along with the pink plaid 3/16" Ribbon. Now for my little book I did use Really Reasonable Ribbon Open roses , Rose buds, Sweetheart Blossoms, and Mini Sweetheart Blossoms.


Really Reasonable Ribbon-

Wednesday, July 26, 2023

Shabby Chic Embellishment Box


 Hello everyone and Happy Wednesday to you all! Today I have a fun project I designed for Really Reasonable Ribbon and The Robins Nest Creative using the gorgeous ribbons, laces, and then dew drops. Love how fun and easy this was to create.
So I had this little bead box that I got for free a long time ago, and thought it would be super cute decorated using some design paper, flowers I made, and ribbons and laces. I think the thing that took me the longest was the flowers as I had to fussy cut them out an then do my faux glass technique on them. 

I started by using some of Heartfelt creations design paper and the flowers were part of this collection. I did fussy cut them out and then did my faux glass technique on them you can see one of my videos here under tutorials as I have many. I love doing this on the flowers once in awhile and have done this for many many years. Now I did measure the box and cut out some card stock in white, and design paper to fit this box, and used Scor-tape to attach them to the box on the inside and outside. Next I added the beautiful dew drops in yellow to the centers of the flowers. I also did the leaves as well. Lastly for the flowers I added some of RRR Rose buds in white and pink. love the look! Ooo I did also use some flourishes for the greenery. 

Window - Its a shaker window die I used from Cheery Lynn, its an old one and not sure if they are even sold anymore, but love it. I added inside of it some of the Robins Nest Dew Drops and some little shaker balls and then some beads. I did add a butterfly dew drop and some pink dew drops to the shutters.

Cluster of flowers- So first I added my Ribbon and I chose the pink Shimmer Satin as it matched this paper perfectly, then I added some Gabrielle Lace as I made both into bows and hot glue them onto the box. Next I added my large flower, some leaves, an then the medium size flowers, and then the small. After adding all my flowers I chose to use some green tear drops (dew drops) from the Robins Nest Creative to the greenery on this. Love how it looks. Lastly I added a tag.

inside of my box.
Really Reasonable Ribbon supplies used:

The Robins Nest Creative-
Pink dew drops for the diamond shaped ones


Thank you so very much for stopping by and have a lovely day!
Hugs to all, Cheryl


Thursday, July 13, 2023

Really Reasonable Ribbon July Blog Hop


Welcome to "Really Reasonable Ribbon's  July” Blog Hop if you arrived here from Kathy's Blog you are on the right track. If not , you will want to head back to the Really Reasonable Ribbon Blog that way you don't miss out on any of the FABULOUS Designs from the Design Team today! There is going to be lots of Beautiful projects to see using Summer theme, So each DT member will showcase something using Beach or Beach colors.

Be sure to comment on the blog hop post on the RRR Blog for a chance to win a $10 gift certificate to Really Reasonable Ribbon  


So for my project today I made a Nautical Theme Carry Caddy with side compartments . I absolutely had so much fun making this sweet caddy. I used some dies, and made up a box as I figured out how large I wanted it to be. The measurements on this caddy are 4 5/8"w x 5 1/4" H x 3 1/4" D. The sides can hold any crafting goodies, gift cards, candy, or office supplies. The inside can hold a little gift or whatever you choose. These would be fun to make for co-workers, crafting swaps, or whatever you choose. I will be making more of these and may do a video tutorial on this as well.

I used lots of Really Reasonable Ribbon for my Caddy today, and also lots of flowers. The paper collection I chose to use is By the Sea by Carta Bella . The little Sailor dog is by KaDoodle Bug Designs.
Ribbons and flowers used:


Be sure to comment on the blog hop post on the RRR Blog for a chance to win a $10 gift certificate to Really Reasonable Ribbon


Your NEXT stop for today's hop is Bonnies Wonderful Blog!!!
Hugs to all,

Cheryl

Wednesday, July 12, 2023

Shabby Chic Purse

Hello crafty friends and Happy Wednesday to you all! Todays project is a darling purse I did for the Robins Nest Creative using a darling die and the beautiful dew drops. I will list everything below on what I used. Loved making this darling and can't wait to make more.


To Start

To start I picked my design papers and shabby chic Purse Box die I wanted to work with, this die is from Scrap Diva Designs and you can SAVE 10% on the dies there using Coupon Code CHERYLWALKER at checkout. I then picked my flowers and trim. Next I chose my dew drop colors I wanted. I ended up choosing the Beautiful Hyacinth, and hearts dew drops, love these!

I cut out my cream card stock for the purse, and then the layering pieces are Graphic45, I then cut out the heart window using a heart die. Next I glued the pieces together and added some lace using hot glue. I also glued the box together using hot glue and liquid glue. Now my Purse box is ready for dew drops

I do have tons of photos on the Robins Nest Blog here.


All things used


Thank you so very much for stopping by and have a lovely day! Hugs to all, Cheryl

Monday, July 10, 2023

Paris Girl Shaker Topper

 
Hello crafty friends and happy Monday to you all. Today's Paris girl bag topper was designed for Really Reasonable Ribbon and for a swap my dear friend and I did , it was to be Paris themed and this was one of the projects I made for her. I used lots of Really Reasonable Ribbon, and flowers on this beauty. This was my 1st bag topper ever, and love it! 

For my bag topper, I used a die that I bought a couple years back and cut some of the Paris girl design paper, and Becky Higgins design paper with it. I used some acetate for the window and the shaker sprinkles are a mix of sprinkles added to the inside. I absolutely had a blast decorating this using the beautiful ribbons from really reasonable ribbon. I used the bold check and 5/8 inch and then used the pearl pink sateen with metallic edge in 3/8" to create my bows. Next are used Open roses indifferent pinks and sizes, I also used the sweetheart blossoms and Minnie sweetheart blossoms. I wanted to add some greenery so I added some of the dewdrops in greens throughout the flowers. I then added a heart dew drop, and a butterfly dew drop. I love the way this bag topper turned out and definitely will be making more of them. I gifted this to her last week along with all the other goodies I made and she loved it all! I sure did have fun doing this and the little embellishments for her. I hope she enjoys everything! 


Thank you so much for stopping by and have a lovely day! Hugs to all , Cheryl