Showing posts with label TLC DT Post. Show all posts

Tuesday, December 27, 2022

TLC You make my heart dance


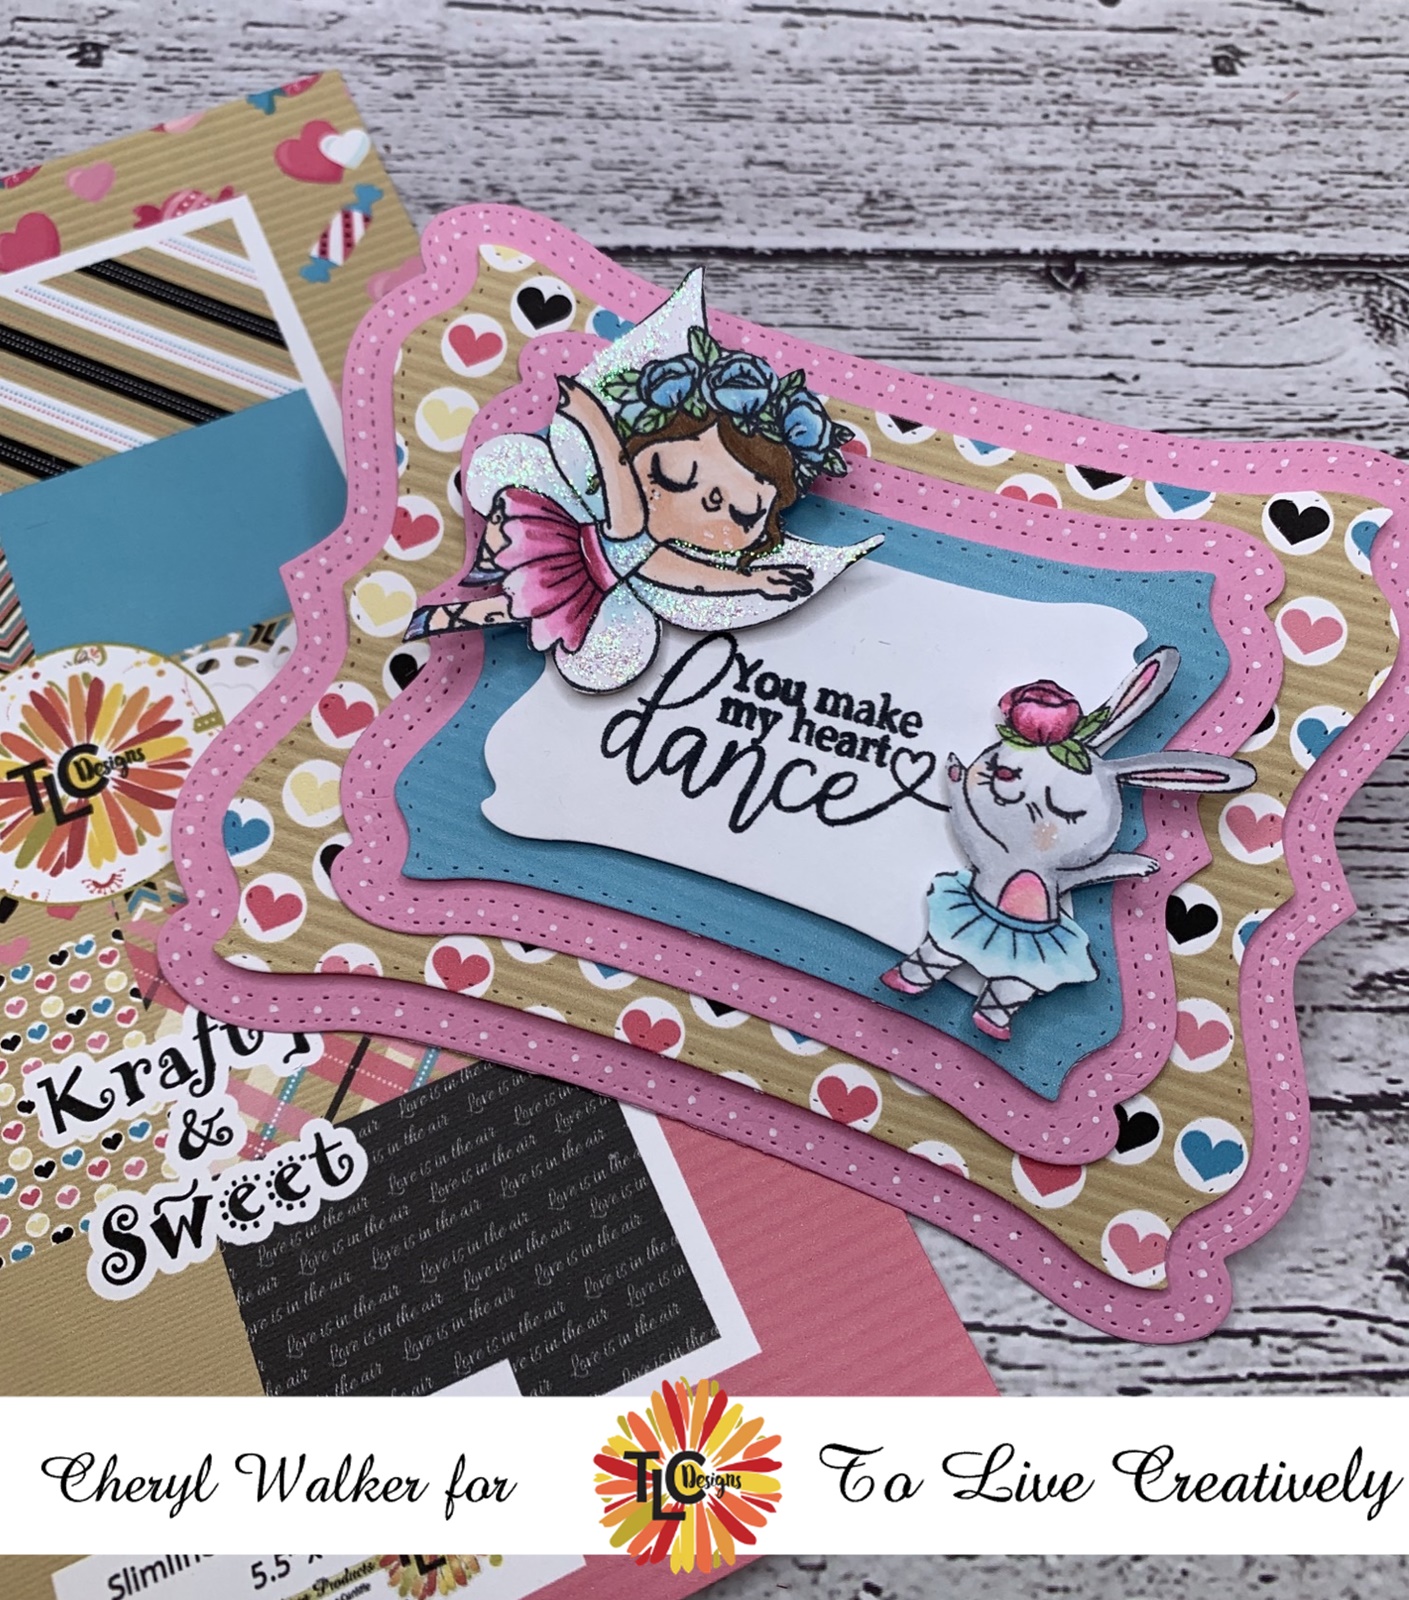
Hello crafty friends and Happy Tuesday to you all! I do hope you all had a very Merry Christmas! Today's card I'm sharing with you was designed using the darling Tiptoe Fairy Dance Stamp set. Just love this darling set, so many cute images in it. So for todays card I chose to use 2 of them.

To start with I chose the die set called Daisy Frame Die, and cut out all my layers using pink card stock and the beautiful Krafty & Sweet Design paper. Next I stampe my sentiment on the white card stock. My images were stamped and colored using copic markers and then I fussy cut them out to pop them off the front of my card. I wanted a clean and simple card as it always nice to be able to put some together quickly. As after the holidays I'm always pooped , hehehe anyways I did have fun putting this one together and hope you enjoyed my post for today. 


 Thank you so much for stopping by and have a lovely day!

Hugs to all, Cheryl

Tuesday, December 13, 2022

Christmas Poinsettia Treat Holder


 Hello crafty friends and Happy Tuesday to you all! Today I'm sharing this Andes Treat holder I designed using the TLC Butterfly Rectangle Die set, Peppermint Design paper and Delicate Poinsettia Stamp set. 

To start with I took the largest die out of the Butterfly Rectangle Dies and cut it in a green card stock. Next I scored it at 3" and then 3 1/4" press your folds so the small part comes up like in photo above. Next I just used the second largest die and cut a piece or portion of that using the die, so I did not cut out the entire die. I then glued my design paper to the front, easy peasy!  

Next I wanted to cut out the oval from the Loving petals square, this is what helps hold the bottom in place once treats are inside. So I cut out a pink card stock and then used the smaller oval for a white. I stamped my sentiment on the white and then distressed using green ink. I did put these ovals together and then used a punch with 2 holes to tie my ribbon through to hold in place at the top. Now is time to add poinsettia and bow. super fun and easy treat holder for the holidays!

supplies used:


Thank you so much for stopping by and have a lovely day! Hugs to all, Cheryl

Thursday, December 1, 2022

A Little Love Pocket tag & Video

Hello crafty friends, today I have a fun little pocket tag & video I did for TLC Designs Instagram Hop, you can find the hop here. I love when you can use dies in different ways, and in my video I will show you how to take one of your large dies or the See you in the Center die and make this tag. super fun and super easy to make!

I did use several dies from TLC Designs, the main one was the See You in the Center Die, then Tiny Vine oval, and the last being Butterfly Rectangle Die Also used their darling design paper from Classic Santa Collection. Stamps used are TLC Designs Warm & Fuzzy Unicorn set. Now the only thing I added after my video was the Ric Rac. I decided once I finished on adding it. You can add any trim or ric rac, or even a border punch. Ribbon is from Really Reasonble Ribbon! Have fun and hope you enjoy! 


Hugs to all,
Cheryl 


Tuesday, November 29, 2022

TLC Designs Unicorn Tag

 
Hello crafty friends and Happy Tuesday to you all! This week I'm sharing more tags, as Ive been busy creating these for Christmas. This one here was designed for TLC Designs using the darling Warm & Fuzzy Unicorn stamp set. Just love this stamp!

For my tag here I chose to use the beautiful Aviary Oval die set for the red tag part. Next I used Tiny Vine Oval die for the Peppermint design paper part. I stamped my sweet unicorn image from the Warm & Fuzzy unicorn stamp set in black memento ink, then colored with copics, and used a shimmer paint on the unicorn body. I then cut it into a square and layered on the same red card stock. My sentiments were stamped also in memento black ink and then cut out. I added some ribbons, brads, and a button to my tag. Love making these as they are super fun and perfect for gifts at Christmas time. 

supplies used:

Warm & Fuzzy Stamp set

Peppermint Slimline Stock Paper pack

Tiny Vine Oval 

Aviary Oval die

Really Reasonable Ribbon

Thank you so much for stopping by and have a lovely day!

Hugs, cheryl

Tuesday, November 22, 2022

TLC Warm & Fuzzy Unicorn tag

Hello crafty friends and Happy Tuesday to you all! Today's tag was designed for TLC Designs using the darling Warm & fuzzy Unicorn Stamp set. Just love this new stamp set, as the darling unicorn is just the cutest.

So for my tag today I used the beautiful Rosie die set to cut out my papers. I used the largest one to cut out my wine colored card stock, then the second largest die to cut out white, and then the square smaller one to cut the design paper. I glued all pieces down and then added some white paint dots. Next I stamped my sweet unicorn image, and colored her up using copic markers. Isn't she the cutest??? I just love her! I also added some stickles to the snow, and falling snow. Next I added some snowflakes from some of my stash shaker pieces. The sentiment was stamped in black in, and I cut it into a tag shape. I distress all edges using pink ink. lastly i added some bows, and then a pearl from the celebrate sprinkls assortment. Super fun tag to make and super easy! I will use this for my granddaughter who loves unicorns.


I hope you enjoyed my post, and thank you for stopping by! Hope you all have a Happy Thanksgiving!

Hugs to all, Cheryl

Tuesday, October 18, 2022

Jack O' Gnome card & treat holder

Hello crafty friends and Happy Tuesday to you all! Today's projects were designed for TLC Designs using the darling jack O' Gnome digi set, and Creeping it Real design papers. 

I decided to do 2 projects, one being a card and the other is a matchbook type treat holder. Its super easy to make and holds 3 candies perfect. I decorated it up using the darling gnome, stickers, ribbons, and a button. he sure is a cutie, and I had a lot of fun working with him.


Next I have the card I made, and this one was pretty simple

  • My card measures 5 3/4" x 5 3/4" the orange base
  • Next I cut my black card stock 5 1/2" x 5 1/2", then the polka dots 5 1/4" x 5 1/4". the next layer was cut at 4 1/2" x 4 3/4" black, then the creeping it real was cut 4 1/4" x 4 1/2", i then added sewing.
  • for the frame I chose the Tiny vine oval frame, and then distressed the white with purple. I did print out my sentiment from the Jack O' Gnome set and distressed it as well. Love this little guy he is absolutely too cute.
  • Jack O' Gnome was colored with copics and then I added some fun glitters to his beard. 
  • Lastly I added some white dots, and double bow.
  • Creeping It Real Digital Design papers 
  • Jack O' Gnome digital stamp set
  • Tiny Vine Oval die set


Thank you so much for stopping by and have a lovely week!
Hugs to all,
Cheryl


Tuesday, September 6, 2022

Trolling by to say hi!

Hello crafty friends and happy Tuesday to you all! Today's card was designed for TLC Designs using the darling Troll Cricket Fun stamp set. Love this sweetie.

  • For my card I stamp the sweet Troll in black memento ink and then colored her with copic markers and then fussy cut her out. 
  • Next I cut out my sentiment frames from the Loving petals square die and then airbrushed around the frame using the die. I stamped my sentiment also using the Memento ink, and then layered it on the black frame, and lastly added some white dots.
  • For the large oval I used the Tiny Vine Oval dies to cut those out, I did the same thing using the die as a template to dust around the edges of the white. These were cut to use for my main image and sentiment.
  • I love the Celebrated Times slimline paper collection and chose to use that for one of my layers. I also used a bubblegum pink, and some black cardstock for layering.
  • Inside I chose to stamp up the little sweet mushroom that is also in this stamp collection, isn't it just darling!?


TLC Designs supplies used:

other supplies:
RRR for ribbons, white paint pen for dots, copics for coloring, black ink pen, stickles, card stock.

Thank you so much for stopping by and hope you have a lovely day!
Hugs,
Cheryl


Tuesday, August 23, 2022

TLC Turtle-icous Memorydex and video on coloring

Hello everyone and Happy Tuesday to you all! Today's Memorydex card was designed for TLC Designs using the darling Turtle-icous stamp set, along with their gorgeous design paper and a few dies. I also have a fun video on how I colored this sweet turtle up. She is one of my many favorites from TLC Designs.

  • First I started with my memorydex card base in black, then cut the design paper from TLC Designs Something Bloomed Slimline design paper pack. I added my dots.
  • Next I cut out my ovals from the Loving Petals Square set, one in black, and then one in white. I did leave the die on the white one after cutting to use as a template to dust some green, it will leave a white edge when doing this, love that. I lastly stamped my sentiment using one from the stamp set. and then added dots to the black.
  • Now I stamped my turtle , snail and flower using black ink, and then colored them all up using copics. I do have a video on the turtle and coloring her.
  • I now cut out my vine using the Tiny Vine oval die set, this is cut in green. I now placed my fussing cut images where I wanted them and then added my vine and flowers.

TLC Designs Supplies Used:


 Video on coloring turtle


Thank you for stopping by today and have a lovely day!

Hugs to all, Cheryl

Tuesday, July 5, 2022

Winking Wanda TLC Designs

Hello crafty friends and happy Tuesday to you all! Super excited to share that I am now part of the TLC Designs DT. This is my very first post and I'm so excited to share with you all this sweet Winking Wanda Digi that I colored up with copics. I absolutely love her and had so much fun coloring her.  


I Started out by printing Winking Wanda digi , and then coloring with lots of copic colors. I used E02 , E55, E43, E31, E11, E04, RV11, RV02, RV21, RV23, RV34, and B34. I then added some white paint pen, and some stickles to highlight her. Next I just had to use the beautiful Ink Me In Pink Digital Paper, which I used on my first layer, next I chose the butterfly design paper from the Soft Blush Digital paper pack and used it for my second layer. I added the next layer using again the Ink Me in Pink digital paper pack. On every layer I did add sewing to, and even inside my card. Lastly I added a pink satin bow.

Thank you so much for stopping by today! If you want to see even more inspiration and Live Creatively alongside us, please join us over on Facebook at TLC Designs Creative Sharing and over on our YouTube channel for even more fun! We hope you have a wonderful day, thank you for supporting TLC Designs!

Hugs to all, Cheryl (Sweeetdesignsbycheryl.blogspot.com)