Showing posts with label dew drops. Show all posts

Wednesday, June 26, 2024

Decorated Dew Drop jar


Hello crafty friends and Happy Wednesday to you all! Cheryl here with a decorated Dew Drop Jar I designed for theRobins Nest Creative.I then painted and decorated with dew drops , tear drops, and flowers.  This was designed for The Robins Nest: Todays Decorated Dew Drop Glass jar was super fun to decorate and I love decorating using the different dew drops on all my projects. I used Dew Drops from the Robins Nest to decorate the front of the jar, and added some flowers too.

So I started by painting the jar with craft paint, then I drew a green line on the front to follow with flowers and River Bed tear drops, and some round pink dew drops. I love how it turned out and will keep this on my embellishment station.  All the dew drops and flowers were hot glued on the front. and I then added a flower to the llid. 

the flowers came from Really Reasonable Ribbon, and are the open roses and sweetheart blossoms.So cute! I really had a lot of fun and thank you so much The Robins Nest Creative for the inspiration to do this. Hugs to all, Cheryl


Saturday, April 13, 2024

Really Reasonable Ribbon April Blog Hop

Welcome to "Really Reasonable Ribbon's April” Blog Hop if you arrived here from Kathy's Blog you are on the right track. If not , you will want to head back to the Really Reasonable Ribbon Blog that way you don't miss out on any of the FABULOUS Designs from the Design Team today! There is going to be lots of Beautiful projects to see usingMothers Day and or Flowers Theme this month, So each DT member will showcase something using flowers or for Mothers Day.

Be sure to comment on the blog hop post on the RRR Blog for a chance to win a $10 gift certificate to Really Reasonable Ribbon 

For my sweet card today I chose to use the design papers from HC and the fussy cut flowers are from there too. I picked the beautiful flowers from Really Reasonable Ribbon and some of her gorgeous satin ribbon too. I used scor-tape and foam tabs to put all my layers together. I also used some hot glue to glue on the dew drops ,and the flowers are from RRR

When I use scor-tape I pretty much just pick either a 1/4" or 3/8" to use on the back of my card layer(the one attached to the card base outside and inside.

Be sure to comment on the blog hop post on the RRR Blog for a chance to win a $10 gift certificate to Really Reasonable Ribbon
Your NEXT stop for today's hop is Bonnies Wonderful Blog!!!
Hugs to all,

Cheryl


Sunday, December 31, 2023

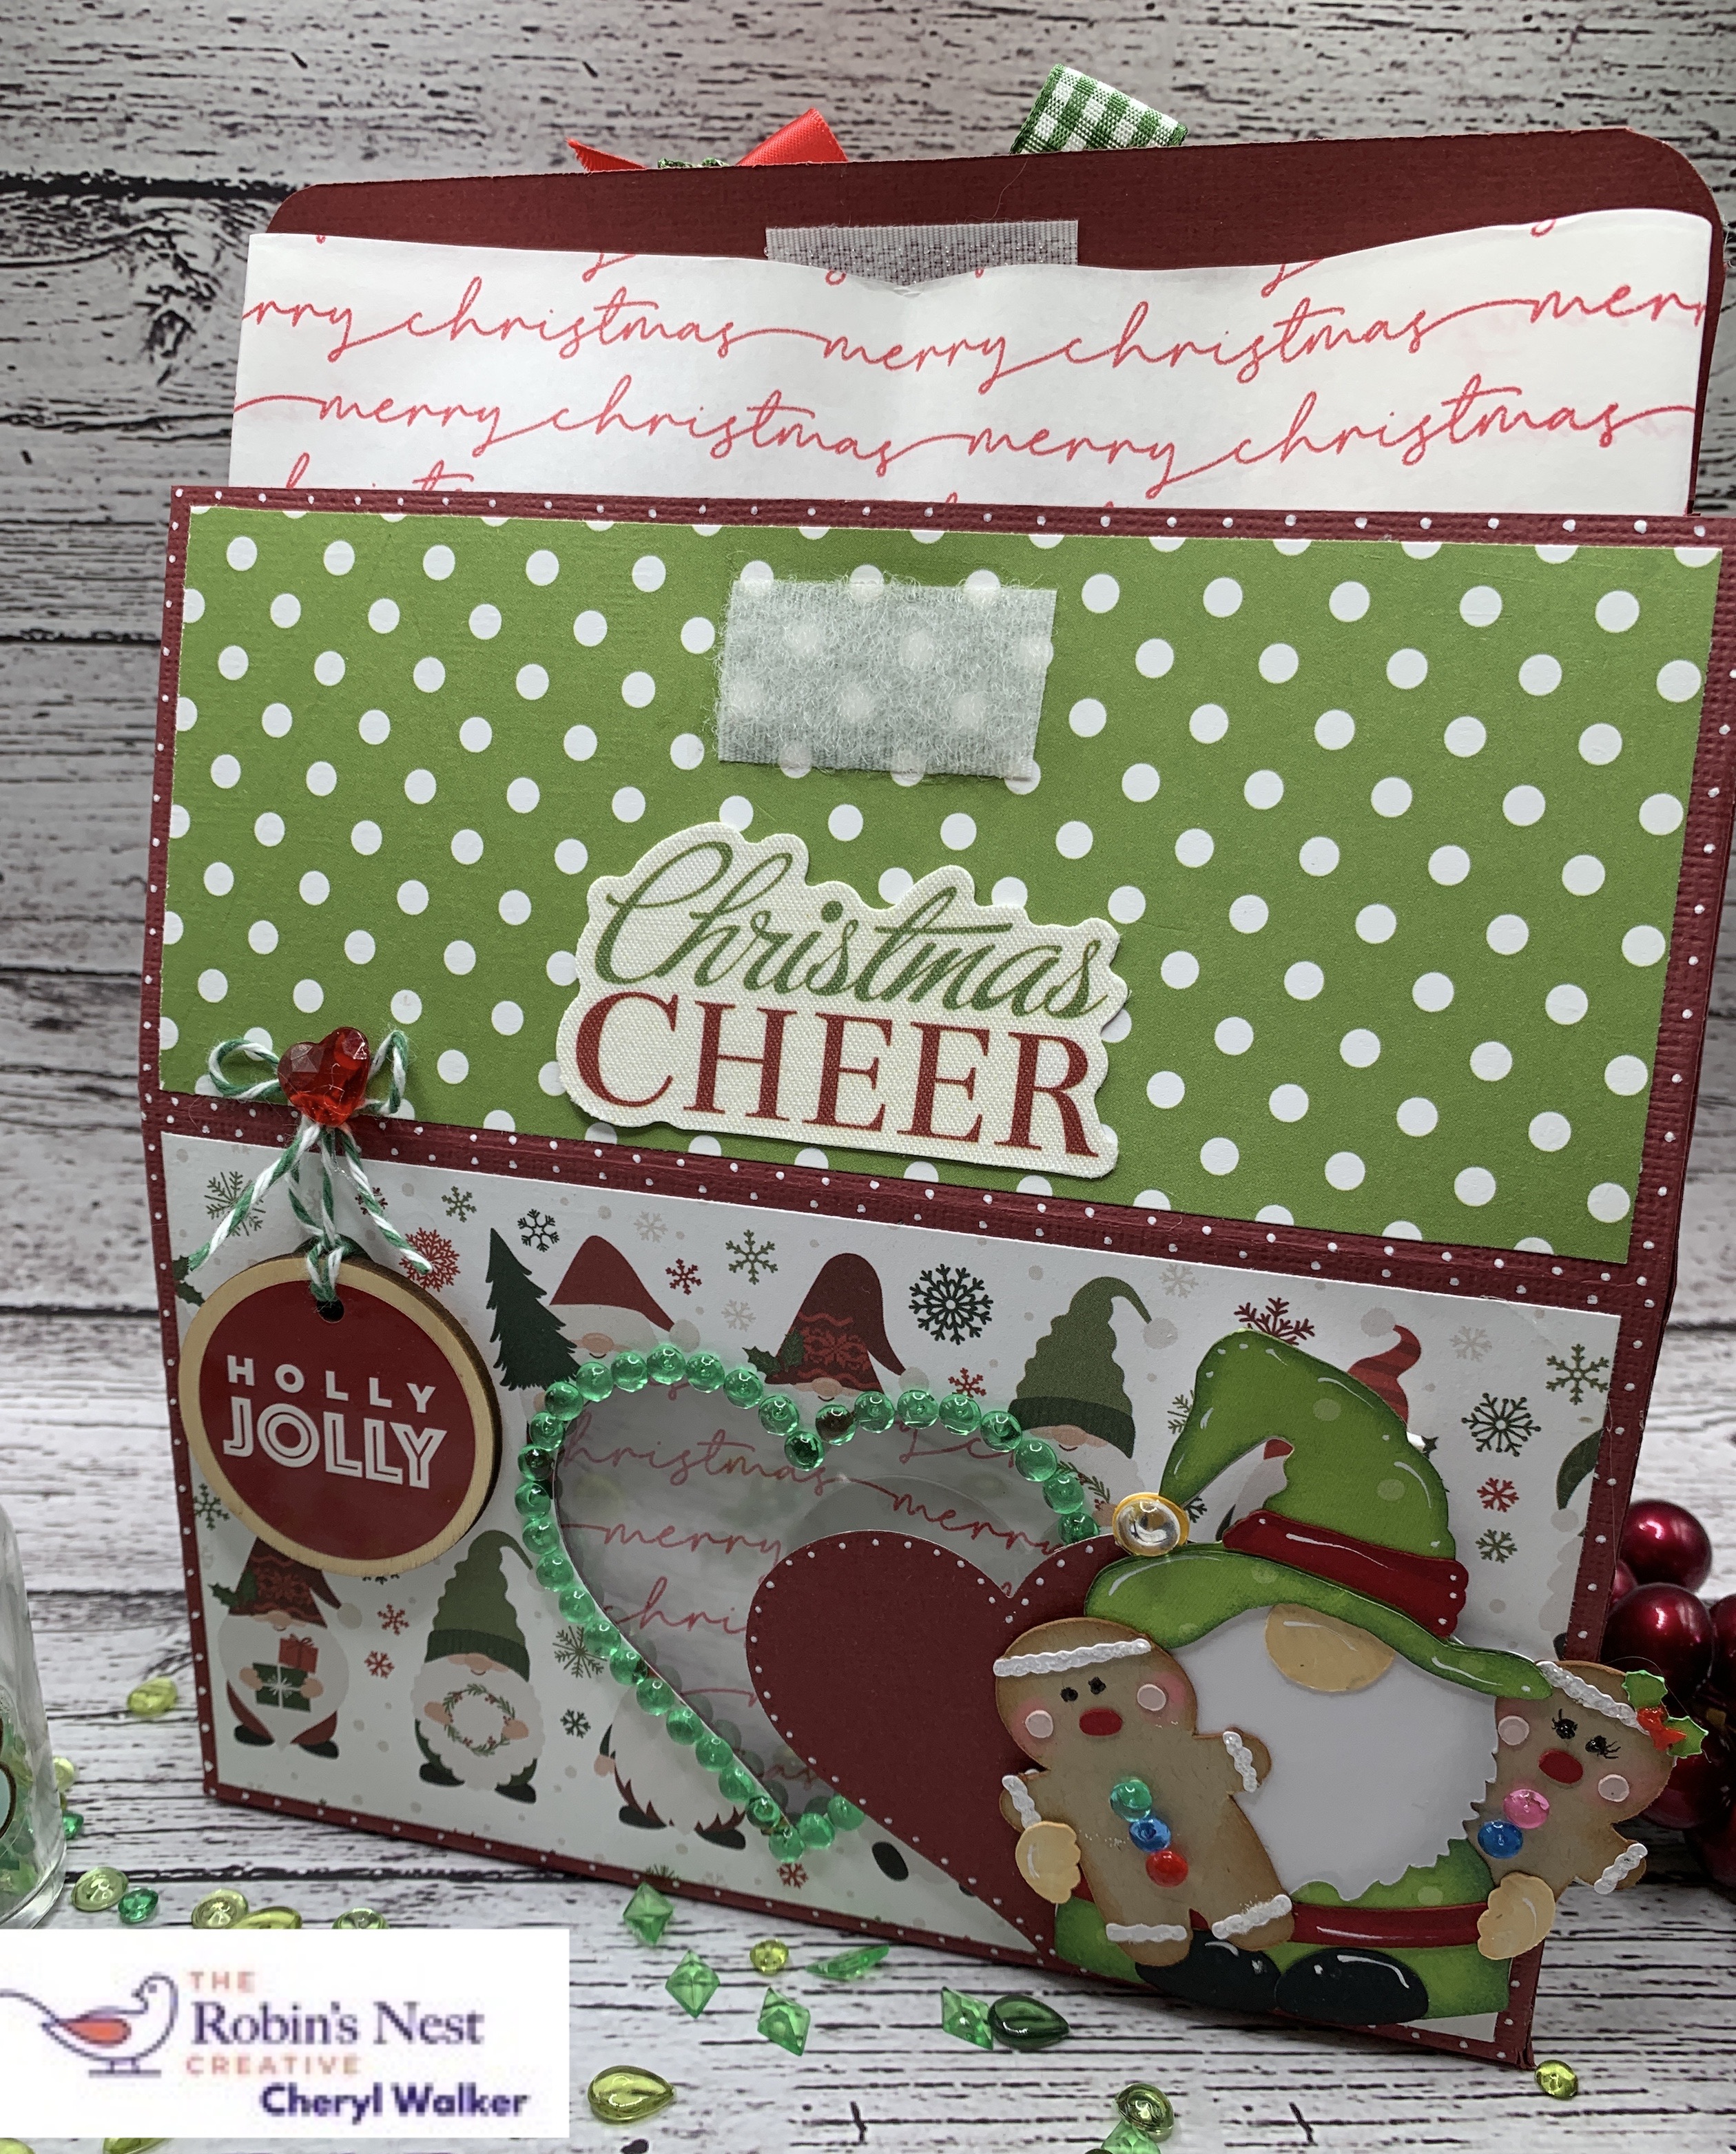
Gnome Large Milk Carton box

Hello everyone, just a quick post today sharing my project for The Robins Nest Creative, Really Reasonable Ribbon, and Kadoodle Bug Designs, also I wanted to wish you all a Happy New Year! 

Todays Milk Carton Gift box was done up to hold cookies for my daughter, and so she could use this for a decoration as well. I have a video on the box part of this, and for the decorating part you can see my post on The Robins Nest Blog here.

Design papers are from Echo Park

Thank you for stopping by and have a lovely day!
Hugs to all, Cheryl


Thursday, September 14, 2023

Happy 100th Birthday


Hello everyone, Todays card was designed for The Robins Nest Creative and for my Great Uncle Ken who just turned 100, wow! How exciting that is. I hope that one day I too can celebrate 100. So again Happy 100th Birthday Uncle Ken, and hope it was an amazing day!

For my card I wanted to keep it as manly as possible , but also wanted to do something extra special, so I chose to do my faux glass flowers. I do have many videos on doing these. Now for these here, I did use inks and water to blend them, and love the way they turned out. I always love doing the glass flowers as I feel they look so much prettier and just have a look of their own verses just doing the paper ones. 

Next I decorated using the dew drops throughout the flowers as the leaves. Love this as I do this on lots of my projects. 

My original post of this card can be found here on the Robins Nest Creative blog.

Happy Crafting!
Hugs to all,
Cheryl

Sunday, August 13, 2023

Really Reasonable Ribbon August Blog Hop


Welcome to "Really Reasonable Ribbon's  August” Blog Hop if you arrived here from Kathy's Blog you are on the right track. If not , you will want to head back to the Really Reasonable Ribbon Blog that way you don't miss out on any of the FABULOUS Designs from the Design Team today! There is going to be lots of Beautiful projects to see using Fall theme, So each DT member will showcase something using Fall or Fall Colors.

Be sure to comment on the blog hop post on the RRR Blog for a chance to win a $10 gift certificate to Really Reasonable Ribbon  


Ribbons and flowers used:

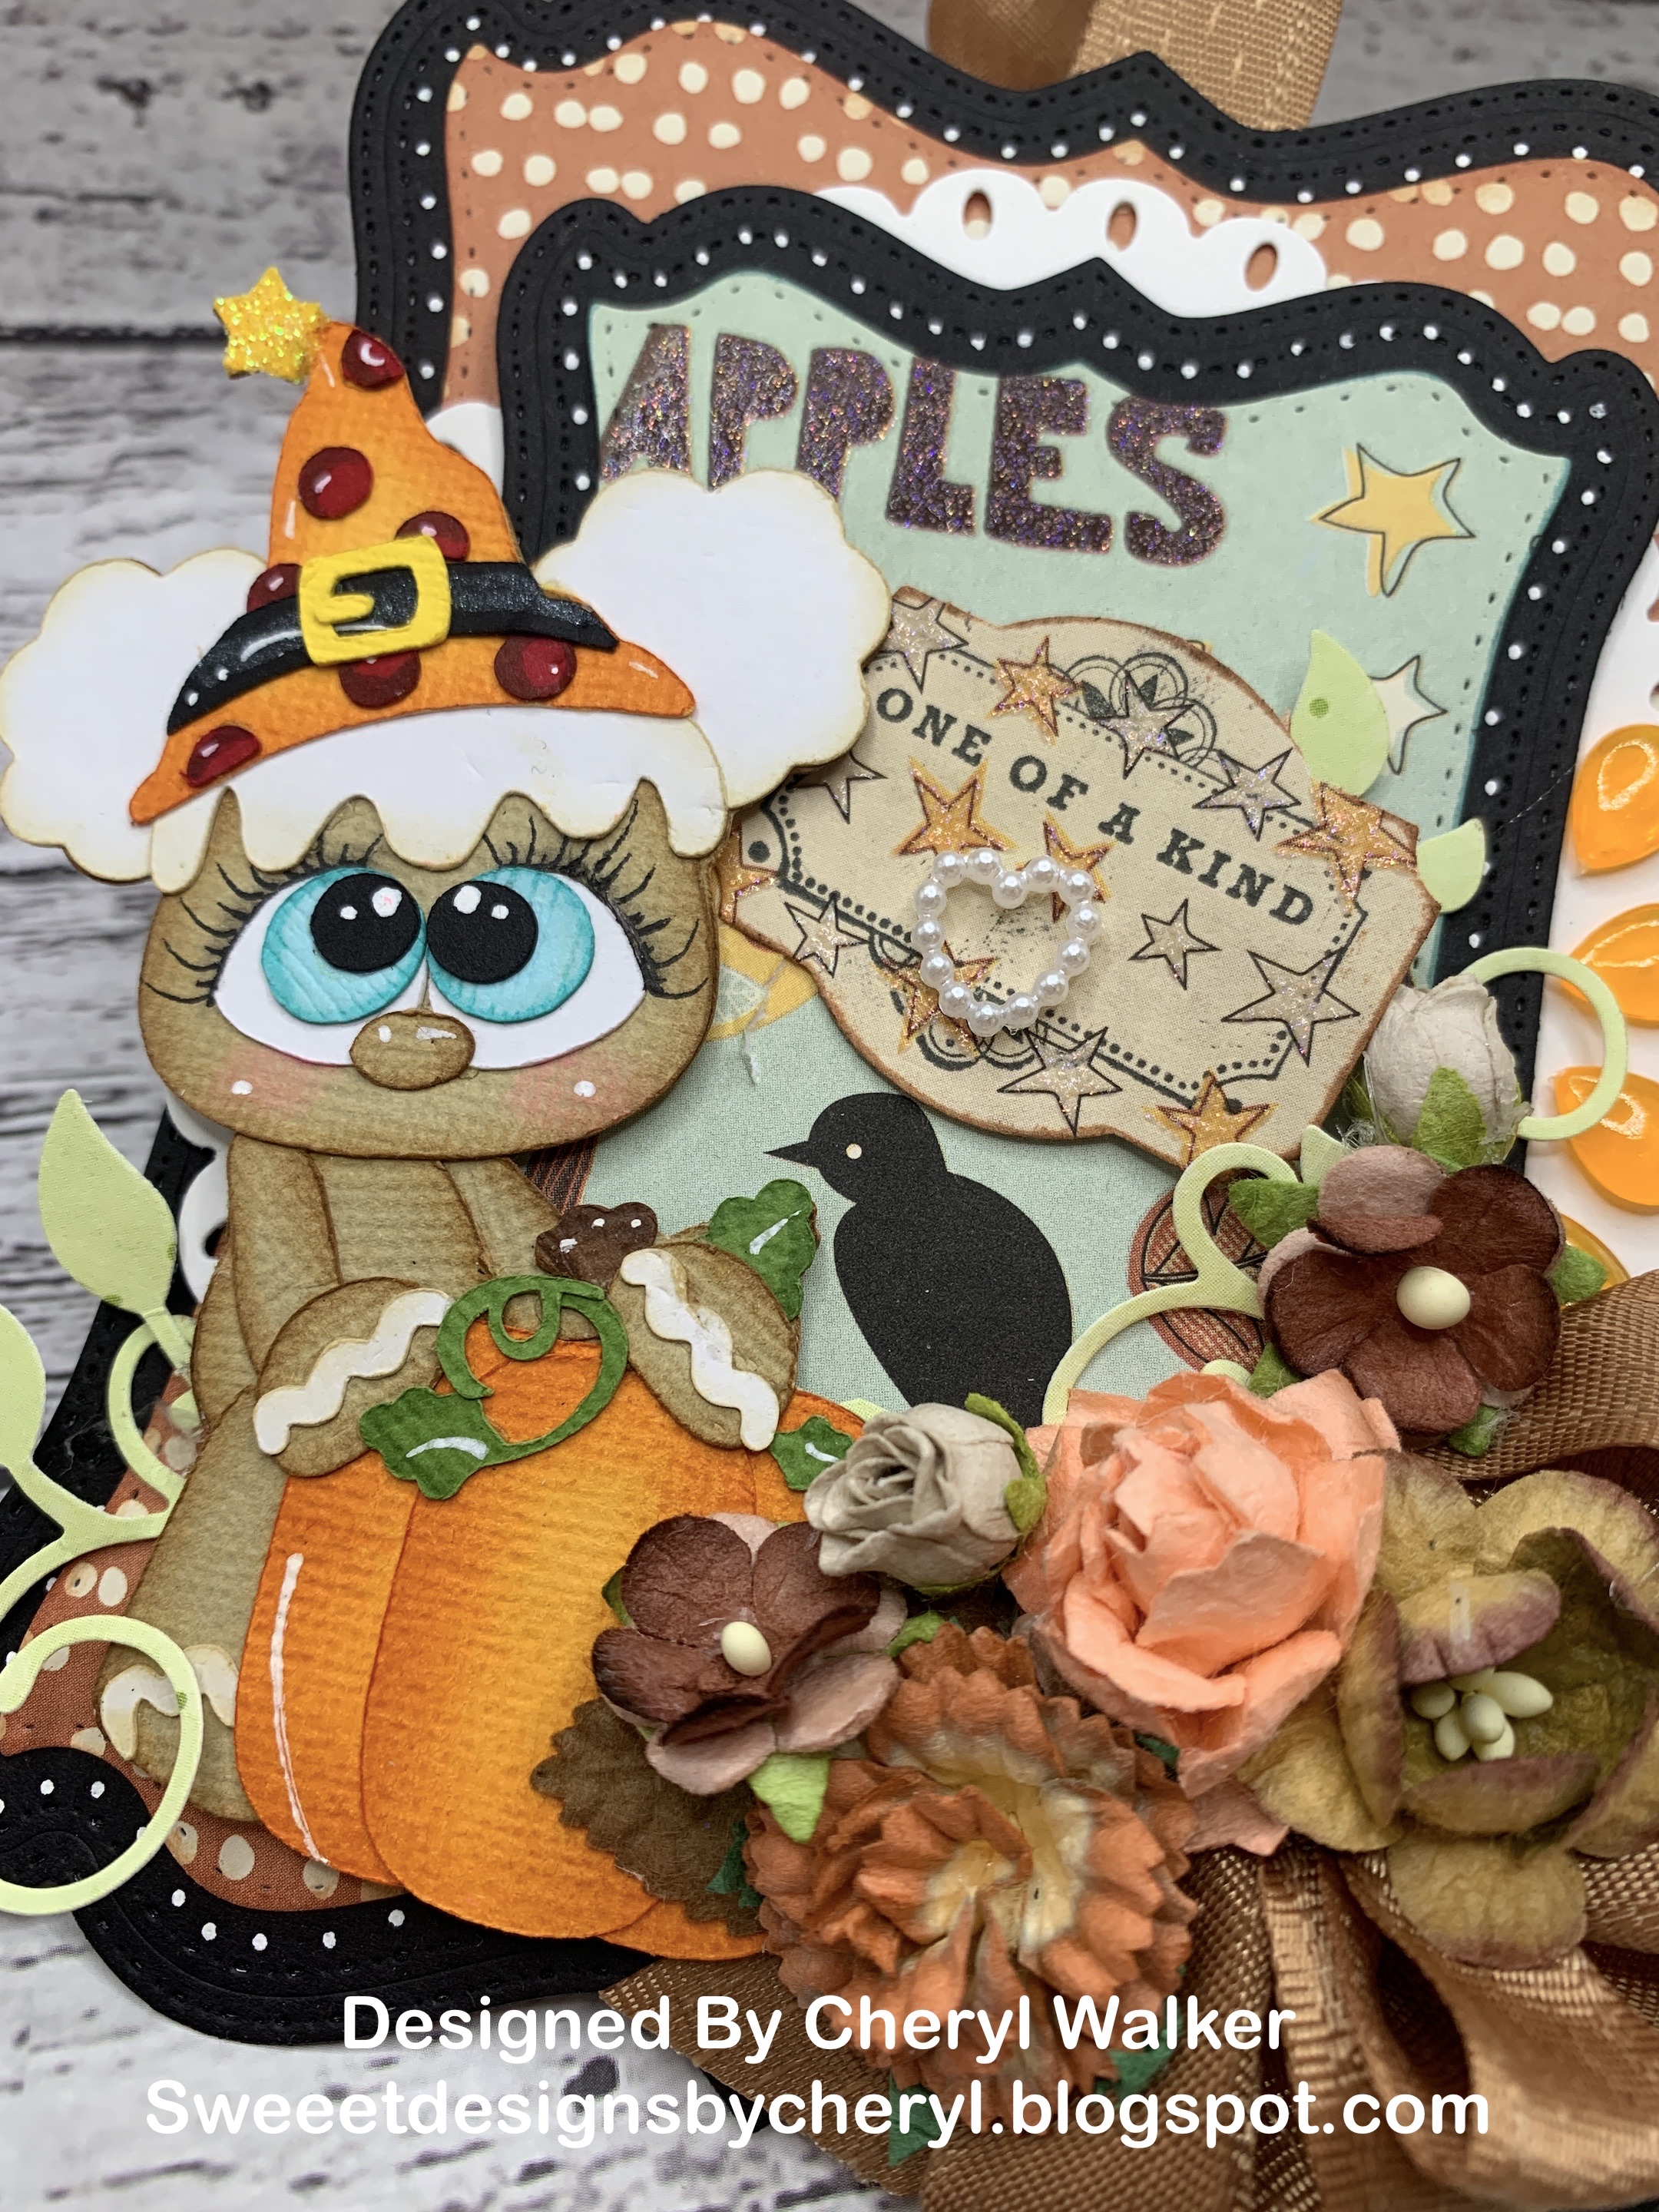
For my Tag today I chose to use the Dies from TLC Designs, and then I picked this darling old design paper called Night and Fall, its from Recollections. Next I picked out my little svg that I had already pieced and ready to go, I was lucky as this one matched my project perfectly and she is absolutely darling! I got all my flowers picked outs nd then my sentiment and punch to use. Its nice when we have some of the greenery extra as I keep it in a pouch with the die so I can grab it.

I did all my layering for the frames first and then picked where I wanted my SVG Ginger to go. Next I placed my greenery and flowers and hot glued them all down over the bow I had made, I did add in a brown leaf that was floating about....heheheheheI also placed some tear drops in orange, as I thought they would look so pretty on my tag. I think fall tags are fun to make and you can always add it to some goodies or what not.

Be sure to comment on the blog hop post on the RRR Blog for a chance to win a $10 gift certificate to Really Reasonable Ribbon


Your NEXT stop for today's hop is Bonnies Wonderful Blog!!!
Hugs to all,

Cheryl

Wednesday, August 9, 2023

Halloween Luna Page 3


 Hello crafty friends and happy Wednesday to you all. Today's notebook page was designed for The Robins Nest Creative using the beautiful dew drops. Ive been working on this book for some time now and finally sharing my pages. 

Todays page has a belly band that holds a notebook for me to use. I have more photos and info on the Robins Nest Creative page and it can be found here. 

Ribbons and flowers are from Really Reasonable Ribbon. Dies are old ones from Cheery Lynn designs.

Hope you enjoy!

Hugs to all,

Cheryl

Monday, June 26, 2023

Shabby Chic Dress shaped Mini Album page


Hello crafty friends and Happy Monday to you all! Today I wanted to share a darling dress mini album page I designed for Really Reasonable Ribbon using the gorgeous flowers, lace, and embellishments from the RRR Store. I have been having so much fun working with this dress die, its absolutely darling and can't wait to share other projects Ive created with it.

I started by using the darling design paper from the Little Bo Peep collection from crate paper on the front of the dress and for the bow. Next I ended up using Really Reasonable Ribbon Ric Rac along the bottom of the dress, and then used the Gabriella Lace to create my bow, then added some greenery and then all my flowers. Some of the flowers are older ones, and some are open roses, sweetheart blossoms, rose buds, love all the flowers. Next I used the little Robins Nest dew drops for the sleeves, and bottom of the dress. I love  adding the darling heart embellishment to a lot of my projects as a lot of love went into creating it. Also they are so sweet looking. 

Tag- for the tag I just cut out the pink card stock using a die, and then used the bow pieces we're cut using the beau die from the dress collection. I then added a little feather and the really reasonable ribbon Pearl Daisy flower embellishment. Now all I need to do is punch the holes at the top for my rings, and create a few more pages. 

I wanted to add a photo of it on the stand I will display it on. My husband made these for me years ago to hang some recipe cards and other calendar cards and such.


I do hope you enjoyed my post for today, please let me know what you think! Happy Crafting!

Hugs, DT Member Cheryl

Wednesday, June 14, 2023

Robins Nest/ fun with canvas & Dew Drops


Hello crafty friends and Happy Wednesday to you all! Todays fun project is a canvas from The Robins Nest Creative, using dew drops and alcohol inks to create this one. I have all details and lots of photos up on the Robins Nest Creative Blog that you can see here. So head on over and take a peek, and while there please leave some luv! 

Dew drops used pink, and greens 

Thank you so much for stopping by and have a lovely day! Hugs to all, Cheryl
 

Monday, January 9, 2023

Salon "Thank you"


Hello crafty friends and Happy Monday to you all! Today's card was designed for Really Reasonable Ribbon using the gorgeous 3/8" Plaid Ribbon Black Bold Check. Just love this ribbon with my card I made. 

For my card I chose to use the Salon Design paper pack called Salon from Echo Park. I figued it would be cute to use several of the patterns from this collection, super cute paper. I instantly thought of this beautiful bold black plaid I had, and thought it would look perfect with my card. Next I chose to add some flowers, and then I added my sentiment, and the scissors to the frame. On the corners I chose to use the dew drops, and lastly I added sewing to each layer. This card has lots of layers, oooo and I also did the inside as well. When adding the inside layer I did use scor-tape and also for the top main layer as well. I find that using the scor-tape I dont have any issues with them coming loose.

Really Reasonable Ribbon Supplies:


Thank you so much for stopping by and I hope you have a wonderful day!
Happy New Year too!
Hugs to all,
Cheryl


Wednesday, December 14, 2022

Frosty the Snowman Candy Cane


Hello crafty friends and Happy Wednesday to you all! Today's fun project was designed for The Robins Nest Creative using the super fun dew drops to decorate this darling snowman I made.

To start with I did punch out 3 black scalloped circles, and 3 white circles using stampinup punches. nest I made his hat by just cutting some black card stock. Now glue all the pieces together to create this darling snowman. I chose to add some ribbon to his hat, and then created a snowflake using white dew drops. Next I chose some black dew drops for his eyes and buttons and glued them on. I did add some ribbon to create his scarf and then made some holly and berries using dew drops as well. Love how he turned out. I added him to a candy cane to put on a gift for christmas. also would be perfect for neighbor gifts. Lastly I added a Christmas tag. Super fun and easy to make!
 Hope you enjoyed my treat for today and thank you for stopping by!
Hugs to all,
Cheryl


Tuesday, December 13, 2022

Christmas Poinsettia Treat Holder


 Hello crafty friends and Happy Tuesday to you all! Today I'm sharing this Andes Treat holder I designed using the TLC Butterfly Rectangle Die set, Peppermint Design paper and Delicate Poinsettia Stamp set. 

To start with I took the largest die out of the Butterfly Rectangle Dies and cut it in a green card stock. Next I scored it at 3" and then 3 1/4" press your folds so the small part comes up like in photo above. Next I just used the second largest die and cut a piece or portion of that using the die, so I did not cut out the entire die. I then glued my design paper to the front, easy peasy!  

Next I wanted to cut out the oval from the Loving petals square, this is what helps hold the bottom in place once treats are inside. So I cut out a pink card stock and then used the smaller oval for a white. I stamped my sentiment on the white and then distressed using green ink. I did put these ovals together and then used a punch with 2 holes to tie my ribbon through to hold in place at the top. Now is time to add poinsettia and bow. super fun and easy treat holder for the holidays!

supplies used:


Thank you so much for stopping by and have a lovely day! Hugs to all, Cheryl

Friday, November 25, 2022

Elegant Holly

Hello everyone and Happy Friday to you all! Hope everyone had a Happy Thanksgiving yesterday! Today's project is a canvas I stamped on and decorated for The Robins Nest Creative, and give all details and photos on their blog here. So Hop on over and take a peek, and please let me know what you think! 

Hugs to all,

Cheryl


Wednesday, September 14, 2022

Beautiful Autumn


Hello crafty friends and happy Wednesday to you all. today's card was designed for The Robins Nest using their beautiful dew drops. 


Making the card

  • First I picked the orange card stock 5" x 12" and score in half to make 6" x 6" this is the card base
  • First Layer- I picked my yellow card stock, cut that to 5 5/8" x 5 5/8" , black is cut to 5 1/2" x 5 1/2" , green design paper is 5 1/4" x 5 1/4"
  • Second Layer- 4 5/8" x 4 5/8" yellow, black is 4 1/2" x 4 1/2" , design paper is 4 1/4" x 4 1/4"
  • Third layer - 4 1/4" x 2 5/8" yellow, black is 4 1/4" x 2 1/2" , 4 1/4" x 2 1/4" then cut the one end on each side to the center.
  • Fourth layer - spellbinders dies and then stamped my sentiment, and distressed edges using the die on top to keep the white edge.
  • Fifth Layer- cardinal stamped , colored and fussy cut out.
  • Lastly I decided the darling yellow dew drops would be perfect for the flower centers, so I glued those on using liquid glue.
  • I also used some Really Reasonable Ribbon to make my bows.
Thank you so much for looking and have a wonderful day!
Hugs to all,
Cheryl


Friday, September 9, 2022

Sweet Happy Birthday card

 
Hello crafty friends and Happy Friday to you all! Today's happy birthday card was designed for Really Reasonable Ribbon and for a friend who needed a birthday card so I made 2 for her to choose from. I'm loving these colors together and have used this design paper and flowers on other items as well. 
so for my card I chose to use 3 different design papers for the front, and then the chevron for the inside. I added 5 layers to the front, and then decorated using the gorgeous flowers from Really Reasonable Ribbon. I love the large chrysanthemums that RRR has to offer, and there are so many colors and assortments to choose from. Next I chose to use the Red Open roses, and then the yellow cherry blossoms, white sweetheart blossoms, and rose buds. I hot glued all my flowers on top of my two bows made with the Chevron twill and swiss dots ribbons. For the 2 corners I used dew drops from The Robins Nest to create some flowers. Love making these for my cards. Lastly I added dots and sewing to all layers.
Really Reasonable Ribbon supplies used:
Open Roses Mixed Color 20mm for the greenish blue color
other items used, hot glue, sewing machine, The Robins Nest dew drops, stamps from stampinup!, dies, ink, white paint pen

Thank you so much for stopping by and have a lovely day!
hugs to all,
Cheryl


Wednesday, August 10, 2022

Sweet Strawberry Post it Notebook & Video Tutorial


Hello everyone and happy Wednesday to you all! Today's Project is a post it notebook that I designed for The Robins Nest Creative. I have been having so much fun creating videos to share with you all, I do hope you enjoy them. Today's video will show how I made the book and decorated it.

Here is the inside of my post it. I made one of these years ago and thought I should do a video on this one. I ended up making 3 and will make more. These make perfect gifts to give to co workers, neighbors, friends and family. I ended up decorating the corners and leaves using the dew drops. So much fun! I also used Really Reasonable Ribbons flowers and ribbon.


Thank you for stopping by! Hugs to all, Cheryl 

Friday, July 29, 2022

Panda Birthday wishes / Sewing Video tutorial

Hello crafty friends and Happy Friday to you all! Todays super fun Birthday card was designed for my granddaughter for her birthday this weekend. I also I have a video on Sewing and will have one up shortly on how I decorated this beauty. Hope you enjoy! Hugs to all!


Video showing how I sew on my card layers.
Video on putting my card together and decorating 


Have a lovely weekend!
hugs