Hello crafty friends and Happy Wednesday to you all! Todays project was designed for
The Robins Nest Creative using dew drops to decorate my Gift box.
To Start
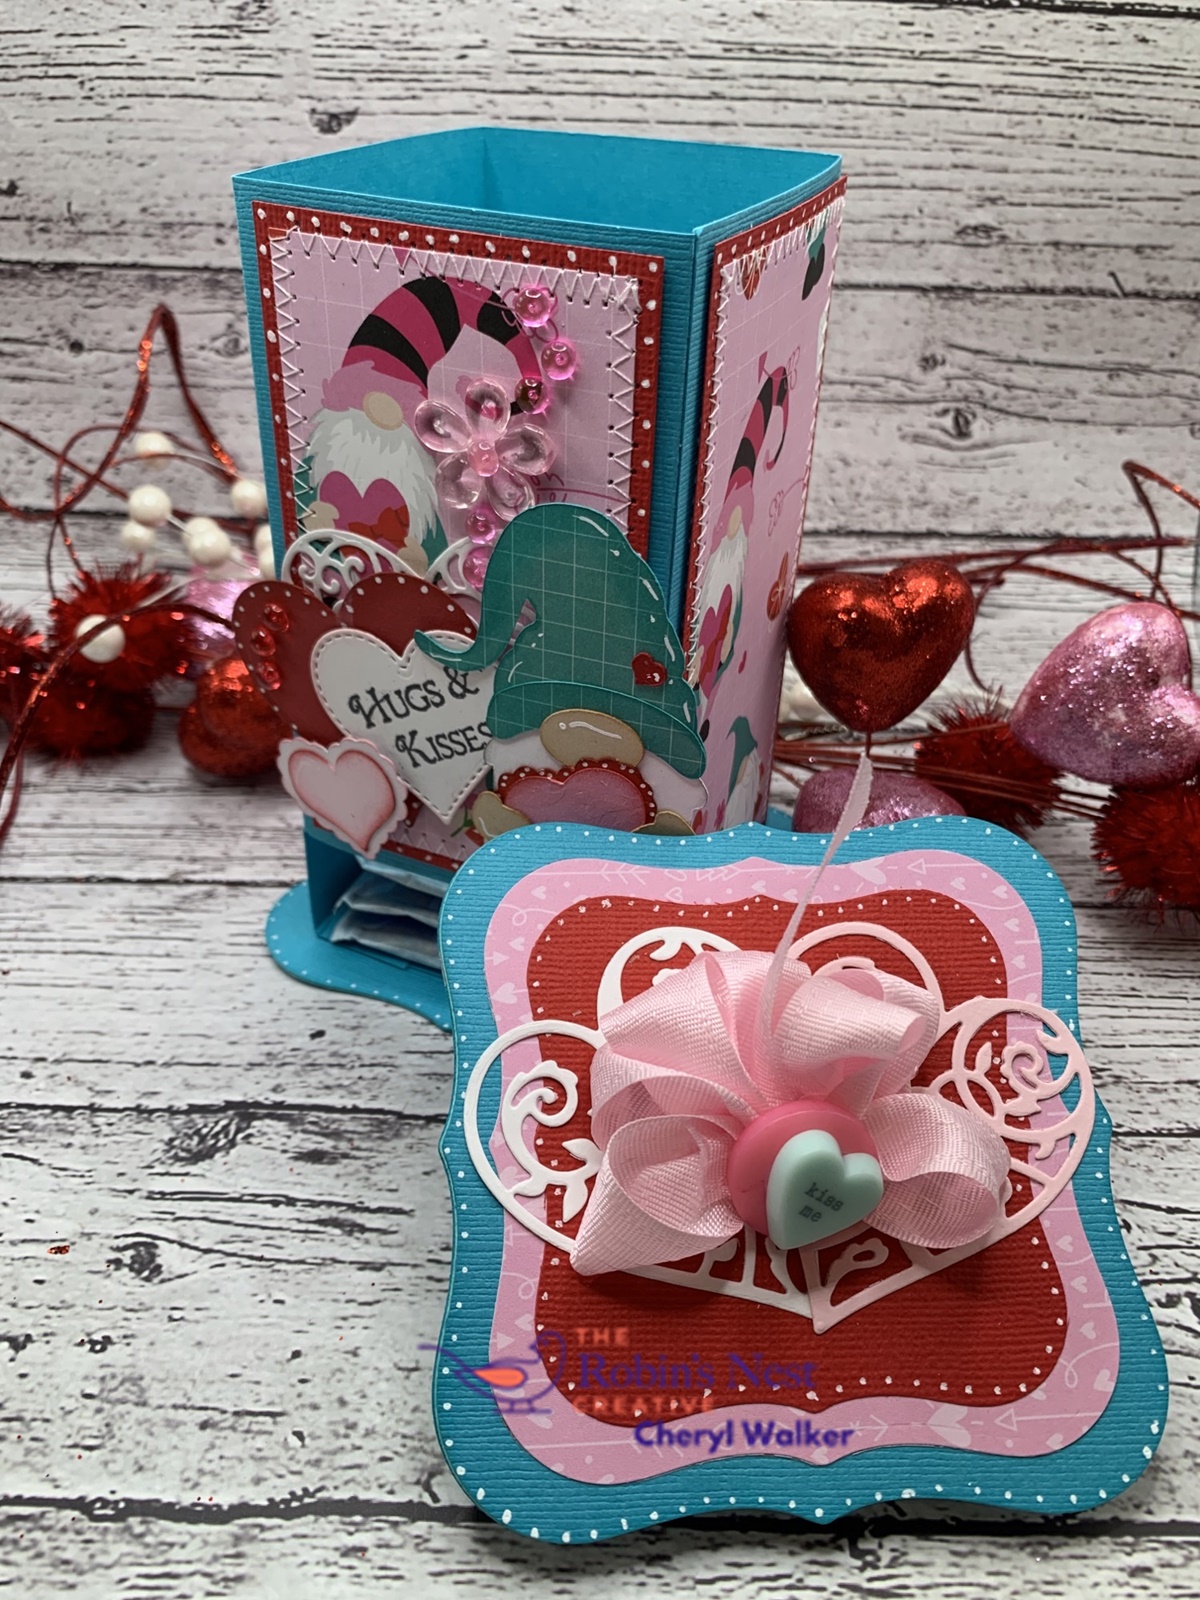
To start I made this box small so it could hold some goodies for my table setting I'm doing for Mother's Day. I picked some pretty Design paper that I bought years ago its K &Company. Next I picked my die cuts, and it was a flourish that I have and some ready to go, and then picked my flowers they are from RRR and are absolutely beautiful.
Decorating My Shabby Chic Box using dew drops
I started with adding My design paper to my Box before putting together, that made it easy. Then once together I added my flourish and Hot glued my flowers on, that helped hold the flourish in place. For the dew drops I used the light pink dew drops in the tear drop shape, and then green dew drops in different sizes. I also added the diamond shaped ones to the lid, as I thought they added that little extra to my box. Then I added lots of Really Reasonable Ribbon to close the top, and for my double bow. I love how the dew drops add that extra embellishing that my box here needed.
think later on I will add a tag to the top that says Happy Mothers Day, and distress it so it will coordinate with this box, as these will be part of the gifts on my table. I cant wait to do my Mother's Day Table setting, will be fun!. I do hope you enjoyed my post today and please let me know what you think in the comments below.
Items used:
The Robins Nest Dew drops in pinks and greens
K&Company old design paper pack
Card Stock AC, and StampinUp!
Really Reasonable Ribbon (Peony Delicate Stitched)
Really Reasonable Ribbon flowers (Open Roses, and Sweetheart Blossoms)
Hot Glue
Art Glitter Glue
Scor-Tape (Really Reasonable Ribbon)

Thank you so much for stopping by and hope you enjoyed my post for today. happy crafting to all
Hugs ,Cheryl