Showing posts with label Treat Holders. Show all posts

Monday, January 13, 2025

Really Reasonable Ribbon January Blog Hop


Welcome to "Really Reasonable Ribbon's January” Blog Hop if you arrived here from Gloria's Blog you are on the right track. If not , you will want to head back to the Really Reasonable Ribbon Blog that way you don't miss out on any of the FABULOUS Designs from the Design Team today! There is going to be lots of Beautiful projects to see using Christmas Theme or colors for this month, So each DT member will showcase something using Christmas this month.

Be sure to comment on the blog hop post on the RRR Blog for a chance to win a $10 gift certificate to Really Reasonable Ribbon 


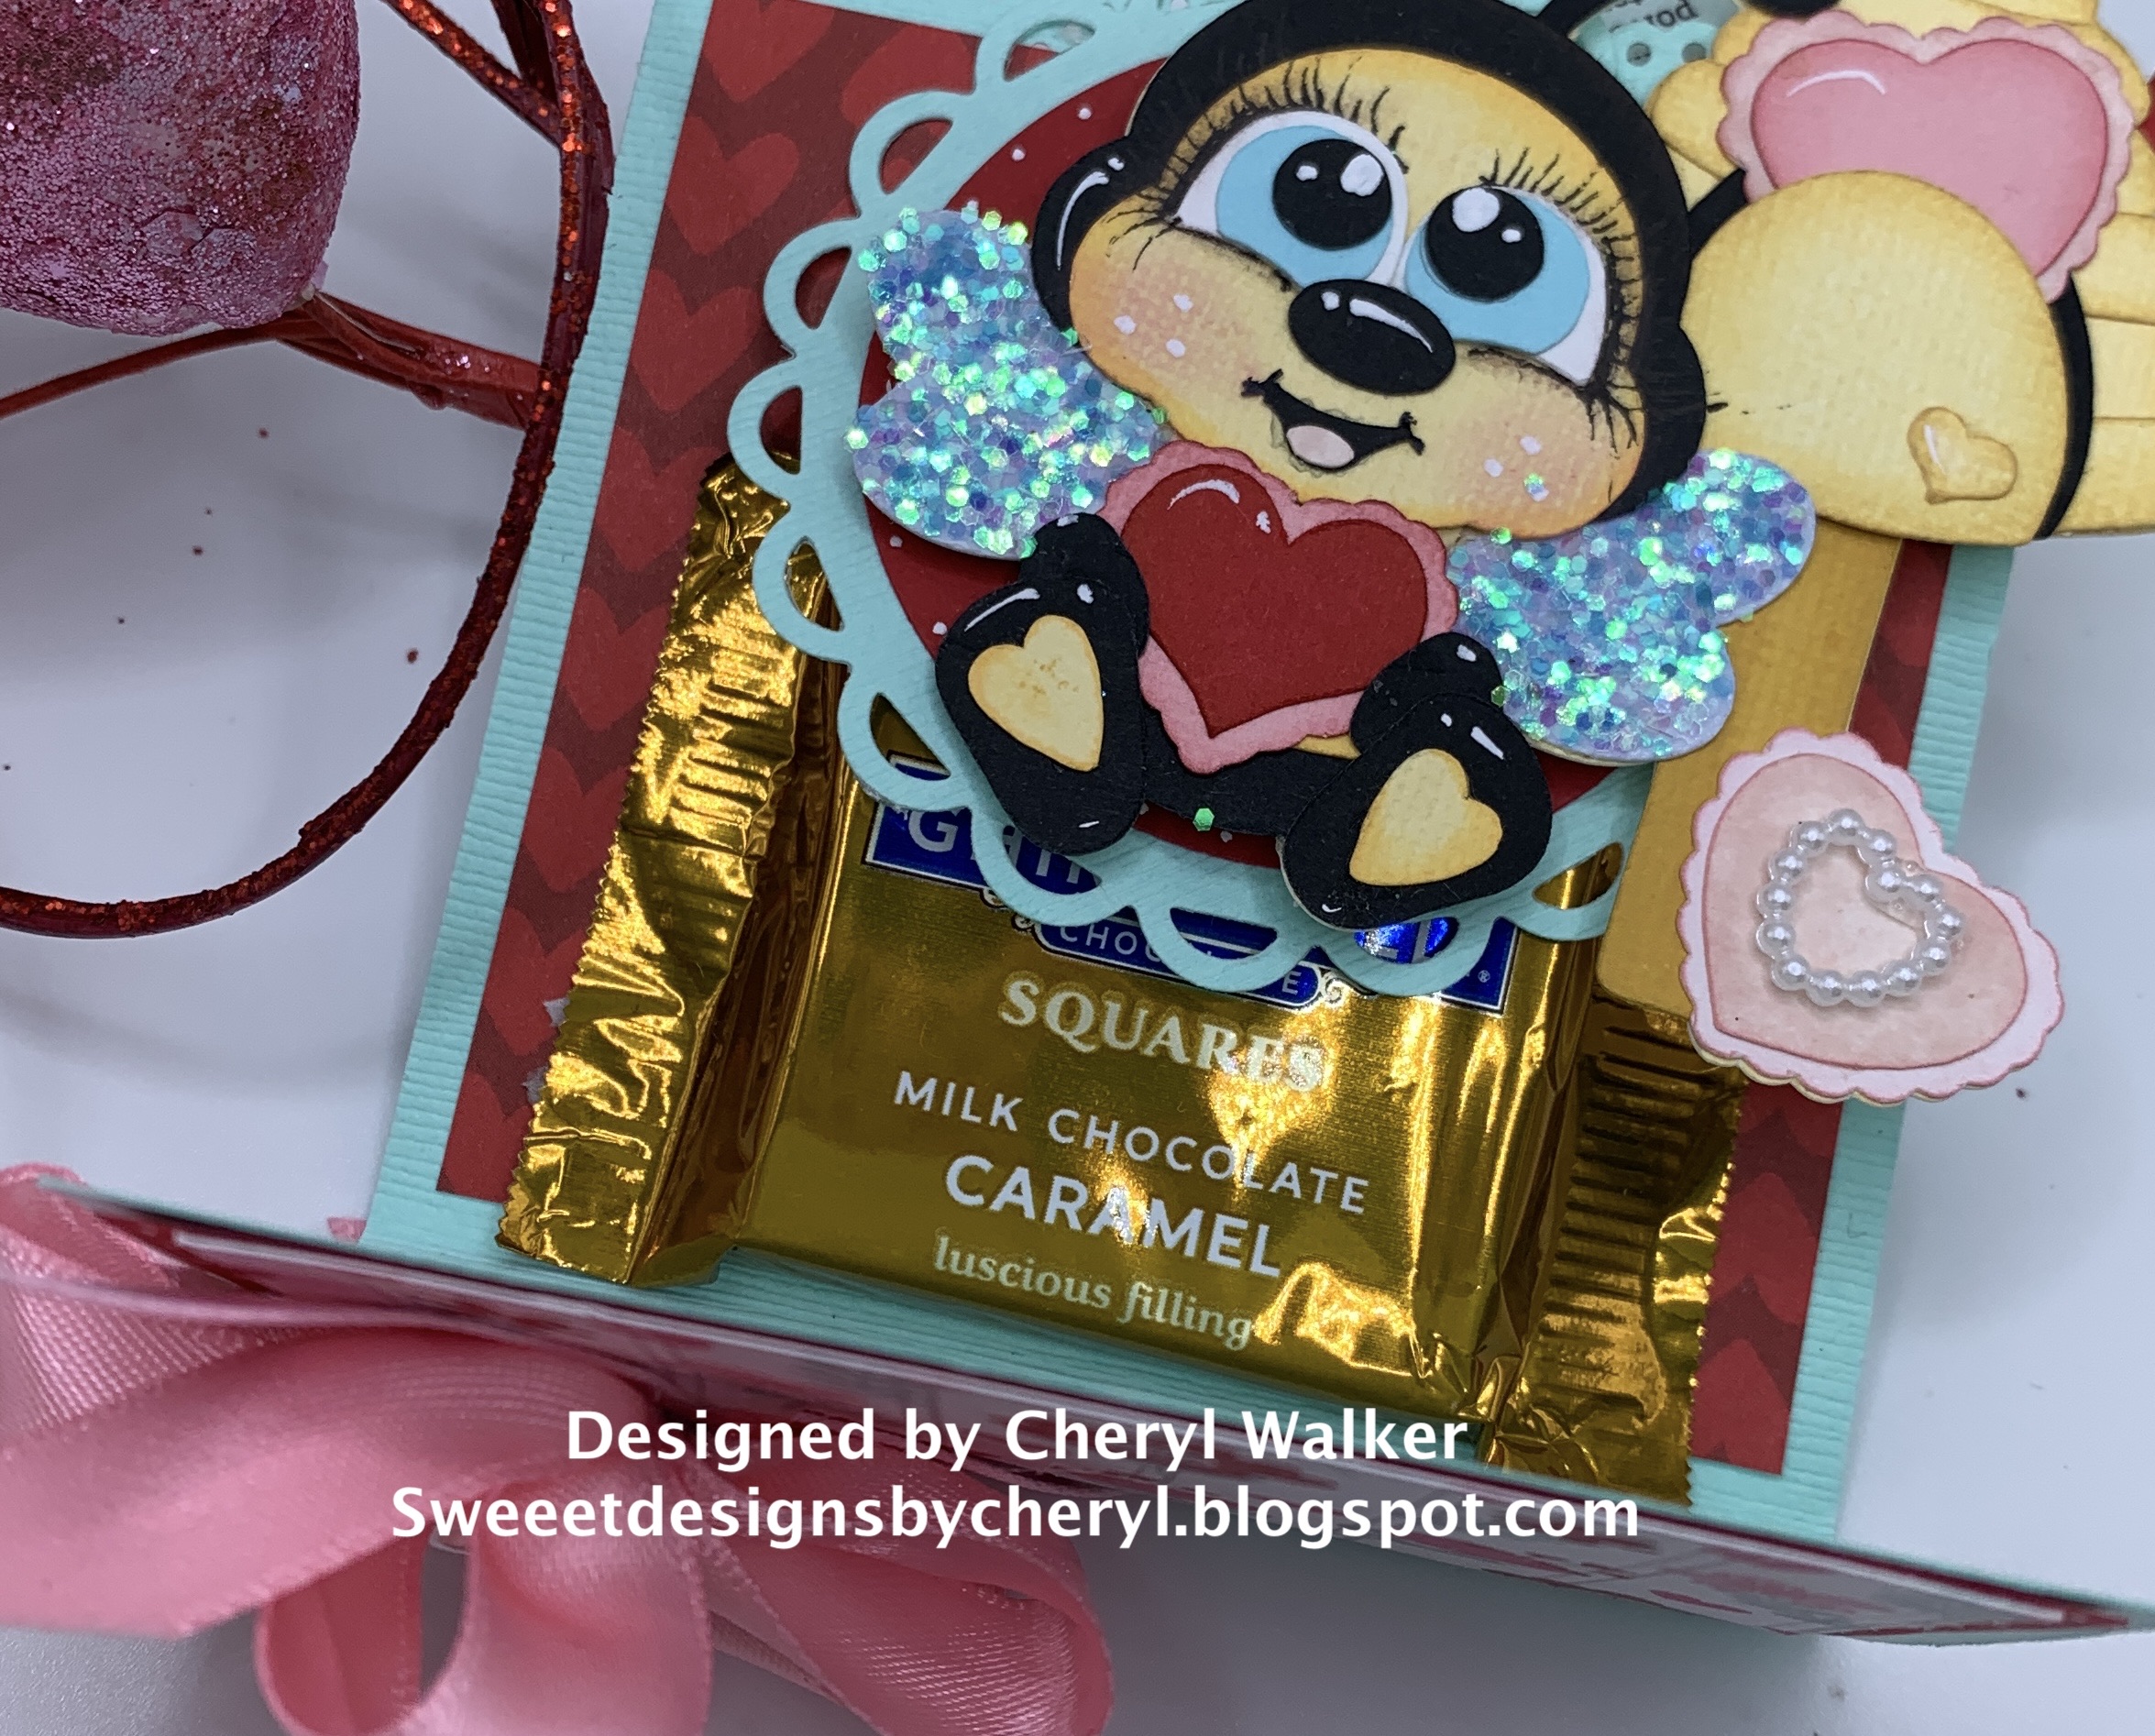
My Project today is a treat holder I made

Today's treat holder was designed using card stock, and some die cuts, and the darling little SVG Bee that I made using the cricut. I also used the beautiful ribbons from RRR and then the embellishments as well. The treat holder I just cut card stock, and then used a border punch along the top. Did some score lines for the folds and so it can hold a chocolate. I then used some spellbinders dies for the circles and glued them on. I will show a photo below. Ribbons I used are Pink Hearts Grosgrain Ribbon and then the beautiful Satin Ribbon. The little heart and flower are also from Really Reasonable Ribbon and can be found here


Be sure to comment on the blog hop post on the RRR Blog for a chance to win a $10 gift certificate to Really Reasonable Ribbon

Your NEXT stop for today's hop is Bonnies Wonderful Blog!!!
Hugs to all,

Cheryl


Monday, February 6, 2023

Valentines LOVE Door Hanger

 
Hello crafty friends and Happy Monday to you all! This past week I've been super busy trying to do lots of different Valentine's treat holders, as I love making different things. This is another fun treat holder and I love the way it turned out. Today's project was designed for Really Reasonable Ribbon using the gorgeous ribbons and some adhesvies and for Kadoodle Bug Designs using the Jar of Hearts SVG file.

So to begin with I used a red card stock on the hanging part, and then covered the front of the box part with some old design paper I had a scrap piece of using scor tape for the front.. Next I added a border punch border to the top, and then some Satin Swiss Dots Ribbon in Red. I then used some die cuts, and some SVG heart cuts for decorating the door hanger, and the darling bunny is Jar of Hearts from Kadoodle Bug Designs. My big pretty bow at the top is Satin Pink Delicate Stitched ribbon, its one of my Favorites. I filled the inside with some suckers and a few different candies. I've been having so much fun creating treat holders for Valentines day. 

Really Reasonable Ribbon:


I hope you enjoyed my Valentines post for today and have a lovely day!
hugs to all,
Cheryl

Tuesday, January 31, 2023

Valentines Chocolate Bunny Candy Holder & Video


Hello crafty friends and Happy Tuesday to you all! Today's cute little pouch was designed for Kadoodle Bug Designs using the darling Chocolate Bunny SVG file, just love this little bunny. I also decorated some suckers to go inside this pouch. 


So for the pouch I just cut my design paper, this one is kinda thick, and then rolled it and used scor-tape to hold the ends together. Next I used scor-tape again along the bottom with some hot glue to hold it extra well. Then I used the pinking sheers along the bottom. Now for the band on the top, I used a Martha stewart punch and  ran that around the top part of the pouch. I then used an old bow die to add to the top. I also used a heart die on the center to place my little Chocolate bunny piece, and love this, super easy and fun to make for Valentines day. I've been working on some fun things to share and to gift to my grandkids, kids, and my mom for Valentines day this year. Hope you like!

Desing paper is oldie from American crafts
Bow die CC
punch Martha Stewart


Video https://youtu.be/Y-6IyFNRoEc

Thank you so much for stopping by and hope you have a lovely day!
hugs to all,
Cheryl

Friday, January 13, 2023

Really Reasonable Ribbon January blog hop

 
Welcome to "Really Reasonable Ribbon's  January” Blog Hop if you arrived here from Kathy's Blog you are on the right track. If not , you will want to head back to the Really Reasonable Ribbon Blog that way you don't miss out on any of the FABULOUS Designs from the Design Team today! There is going to be lots of Beautiful projects to see today using the Sweetheart Ribbon Assortment, so I hope you Enjoy

Today's project is a treat holder for Valentines day. It holds 3 Ghirardelli chocolates. I started with a piece of card stock that measures 3 1/2" x 10 1/4" then score at 1" , 5 1/2, 6". then fold up at the bottom, and the fold down at the top scores. Next I cut out my design paper piece for the top and it measures 3 1/2" x 3 1/2" then cut a heart out of that using a die. Next I placed a light pink behind it using the 1/8" scor tape to hold it. Then attach the main front piece to the treat base using scor-tape. now I added some other hearts using foam tabs, and the gorgeous delicate satin from this months ribbon assortment to make my bow and add ribbon to the top folded piece. I tied my tag on using the twine.  I also used the pink twine, and then some Gabrielle Lace along the bottom. I lastly added a pearl shape heart to the top sticker heart.

Thank you so much for stopping by, and hope you enjoyed my Halloween Scare Bear card for today.

Your NEXT stop for today's hop is Bonnies Wonderful Blog!!!
Hugs to all,

Cheryl

Thursday, December 15, 2022

Christmas Candy Cane Holders

Hello Crafty friends and Happy Thursday to you all!  Today I have some fun Candy Cane Tags that I made for Christmas. I've been having so much fun creating different types of tags and treat holders for the holidays, love making these! Need a quick gift for a neighbor or co-worker, these would be perfect!

So to start with I grabbed a few tags from my stash that I had gotten from somewhere and covered them with Christmas design papers. Next I added my Ribbon from Really Reasonable Ribbon to create a bow and tie. I ended up using the Plaid Ribbon Christmas Red and Green in 5/8". Love this beautiful ribbon and makes gorgeous bows. Now I used my craft knife to make some cuts in the tag to hold the candy cane in place. 
SNOWMAN-
Now for the snowman I used punches to create him, and I did cut his hat by hand. I also added some of the same ribbon to create his scarf, and then used the 3/8" Poppy red checkerboard Satin ribbon for his hat. Next I added a snowflake to his hat, as I thought it would be so darling. for his face I used some dew drops, and also for his buttons. The nose was cut by hand and then I added his mouth. Lastly I added some white paint pen marks around the black scallops.  I did add a poinsettia embellishment and a Merry Christmas tag. 
Monkey tag-
I did the same with the tag for this one, and then added my KaDoodle Bug SVG Santa Monkey that I had cut on my cricut and then distressed and put together. Lastly on both tags I added the Merry Christmas sticker that I placed on the red scallop circle using foam tabs.

Really Reasonable Ribbon supplies:
Thank you for stopping by and I sure hope you enjoyed my post for today!
Hugs to all,
Cheryl
 

Tuesday, December 13, 2022

Really Reasonable Ribbon December Blog Hop


Welcome to "Really Reasonable Ribbon's  December” Blog Hop if you arrived here from Kathy's Blog you are on the right track. If not , you will want to head back to the Really Reasonable Ribbon Blog that way you don't miss out on any of the FABULOUS Designs from the Design Team today! There is going to be lots of Beautiful projects to see today using the Winter Carnival Mix Ribbon Assortment, so I hope you Enjoy


For today's Hop I chose to make another fun treat holder using a spellbinders die. I love creating different treat holders for the holidays, and this one here is for a candy cane and some Andes mints. I just cut my card stock as wide as I wanted for this project which is 3 1/4" wide, 7 1/2 long ,then I cut the top only using part of a spellbinders shape die, so now it measures 6” long that how I got the top part of this done. Next I scored to create a folded area (score at the bottom at 2" up and then 2 1/4" . then fold these up. I then added some design papers and more spellbinders circles and scallopes for the sentiment. Now the scalloped circle piece is hot glued just in place at the top of the circle that way it will hold the bottom flap in place when closed. You could stamp Merry Christmas inside, and I may add a sentiment . I chose my ribbons to match from this months gorgeous ribbon collection. My darling Reindeer is from kaDoodle Bug Designs and is the darling Christmas Reindeer. Lastly I embellished with some dots, and a little sweet snowflake from Really Reasonable Ribbon.

To attach the candy cane and andes mints I used 1/4" score tape for candy cane,and then 1" for mints.


Thank you so much for stopping by, and hope you enjoyed my treat holder for today.

Your NEXT stop for today's hop is Bonnies Wonderful Blog!!!
Hugs to all,

Cheryl


Christmas Poinsettia Treat Holder


 Hello crafty friends and Happy Tuesday to you all! Today I'm sharing this Andes Treat holder I designed using the TLC Butterfly Rectangle Die set, Peppermint Design paper and Delicate Poinsettia Stamp set. 

To start with I took the largest die out of the Butterfly Rectangle Dies and cut it in a green card stock. Next I scored it at 3" and then 3 1/4" press your folds so the small part comes up like in photo above. Next I just used the second largest die and cut a piece or portion of that using the die, so I did not cut out the entire die. I then glued my design paper to the front, easy peasy!  

Next I wanted to cut out the oval from the Loving petals square, this is what helps hold the bottom in place once treats are inside. So I cut out a pink card stock and then used the smaller oval for a white. I stamped my sentiment on the white and then distressed using green ink. I did put these ovals together and then used a punch with 2 holes to tie my ribbon through to hold in place at the top. Now is time to add poinsettia and bow. super fun and easy treat holder for the holidays!

supplies used:


Thank you so much for stopping by and have a lovely day! Hugs to all, Cheryl

Tuesday, November 8, 2022

Jingle Time Treats


Hello crafty friends and Happy Tuesday to you all! Today I'm sharing this darling Jingle Time Santa I colored from TLC Designs, isn't he a cutie? 
for my treat holder I chose to use the Digital Stamp file Jingle Time from TLC Designs, I colored the tree and santa in copic markers and then fussy cut them out. I also added some stickles to both of them. Love how they turned out. This is a easy treat holder to make , I ended up using Really Reasonable Ribbon along the bottom part of my treat holder, and also made a bow. I did add a button, and glued on 2 of the pieces from the sprinkles set.


Thank you so much for stopping by and have a lovely day!
Hugs to all,
Cheryl

Wednesday, October 12, 2022

Witchy Bear Treat Holder

Hello everyone and Happy Wednesday to you all! Todays sweet Halloween treat holder was designed for Really Reasonable ribbon and The Robins Nest Creative. Love making these as they are super fun and super easy to create. I will give instructions below. 

Making the treat holder

  • to start with I cut a piece heavy card stock measuring 4" x 8 1/4"
  • Next I score at 3/4" , 4 1/2" , and then 4 3/4" , now fold the 3/4" up and staple. also fold at the others so it closes like a matchbook.
  • I cut the design paper for the front at 3 1/2" high x 3 3/4" wide, and glued to the top flap. If you are wanting to you can add a message or more design paper to inside, would do this now.

adding the candy to inside


Decorating the front using The Robins Nest dew drops , Really Reasonable ribbon & witchy bear

  • I added the checkerboard satin in purple ribbon using hot glue to cover up the staple on the bottom of my treat holder, Then glued the dew drops in black to it.
  • Now I used the darling svg witchy bears that I bought from Kadoodle bug and thought how cute the robins nest dew drops would look on her and her broom. So I glued the purple, yellow and white to her hat, star, and broom.
  • then I used some glitter on her star, and some on the broom stick.
  • before adding the bear I added a haunted house foam sticker and then popped her off that. Next I added a sticker bat, and a tombstone. Super easy to make

Thank you so much for stopping by and I hope you enjoyed my post for today!

Hugs to all, Cheryl


Monday, March 21, 2022

Pretty In Pink Envelope Treat Holders

Hello everyone and Happy Monday to you all! Today I'm sharing a little envelope treat holder I designed for some friends. I will be gifting these at a get together next month and cant wait. These were super fun and I just had to share with you all today.
first I picked out my design paper, and then used an old envelope die to cut each one out. I made a total of 14 of these. Super fun! Next I used 2 stampinUp! old punches to punch out my circle layers, and then used wood buttons on these. The ribbon is from Really Reasonable Ribbon, and so are the roses, and heart gem. I Love how they turned out, and super fun to give. I just need to buy more Ghirardelli chocolates.

 Thank you for stopping by today! Have a lovely day! 

Hugs to all, Cheryl